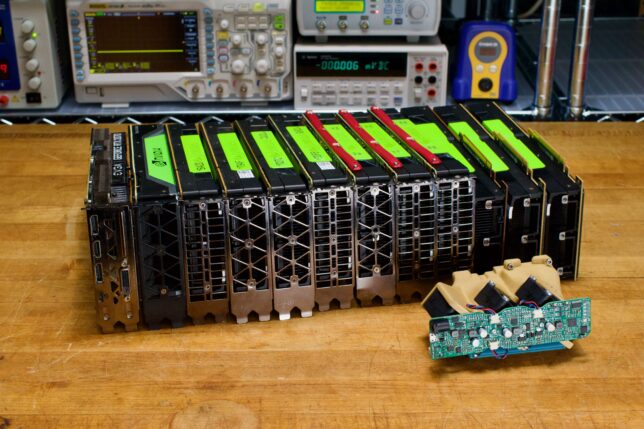
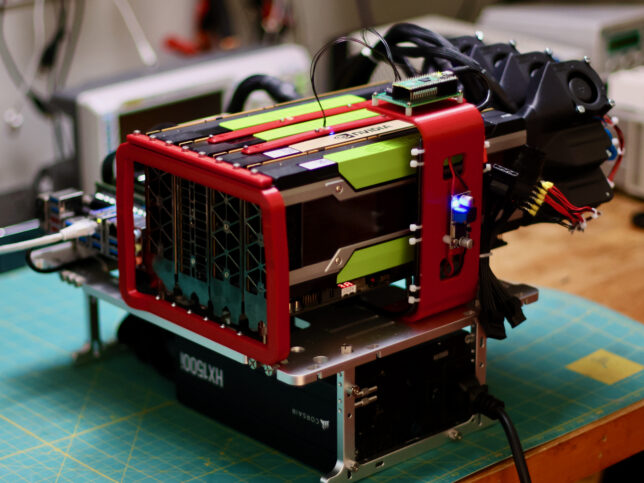
Decommissioned NVIDIA enterprise GPUs are one of the last remaining sources of idle VRAM. K80 with 24GB of GDDR5 sells for $60, P100-16GB for around $75 and V100-16GB for under $200. Shortcomings and all, it’s important to understand if we can utilize these widely available cards in the modern era. This project to benchmark tesla GPUs has been in the works for almost a year and over the winter I was able to spend many kilowatt hours heating up my studio with GPUs.
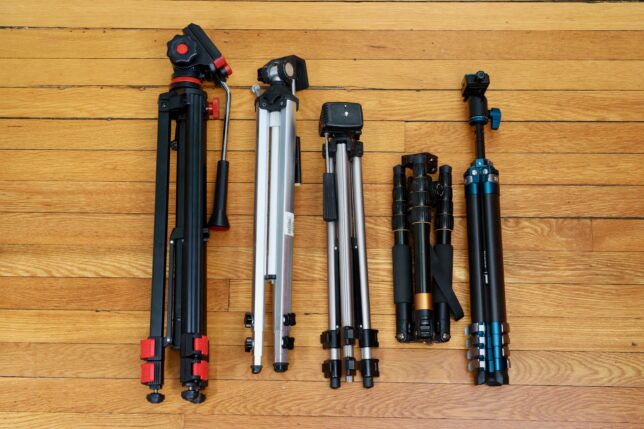
There are several semi-professional thrifters in my life that regularly rotate through the different Goodwill stores in our city prowling for deals. Their habit exposes me to a bit of second hand second hand shopping, and I always request camera equipment. Above is the current state of the tripod pile.
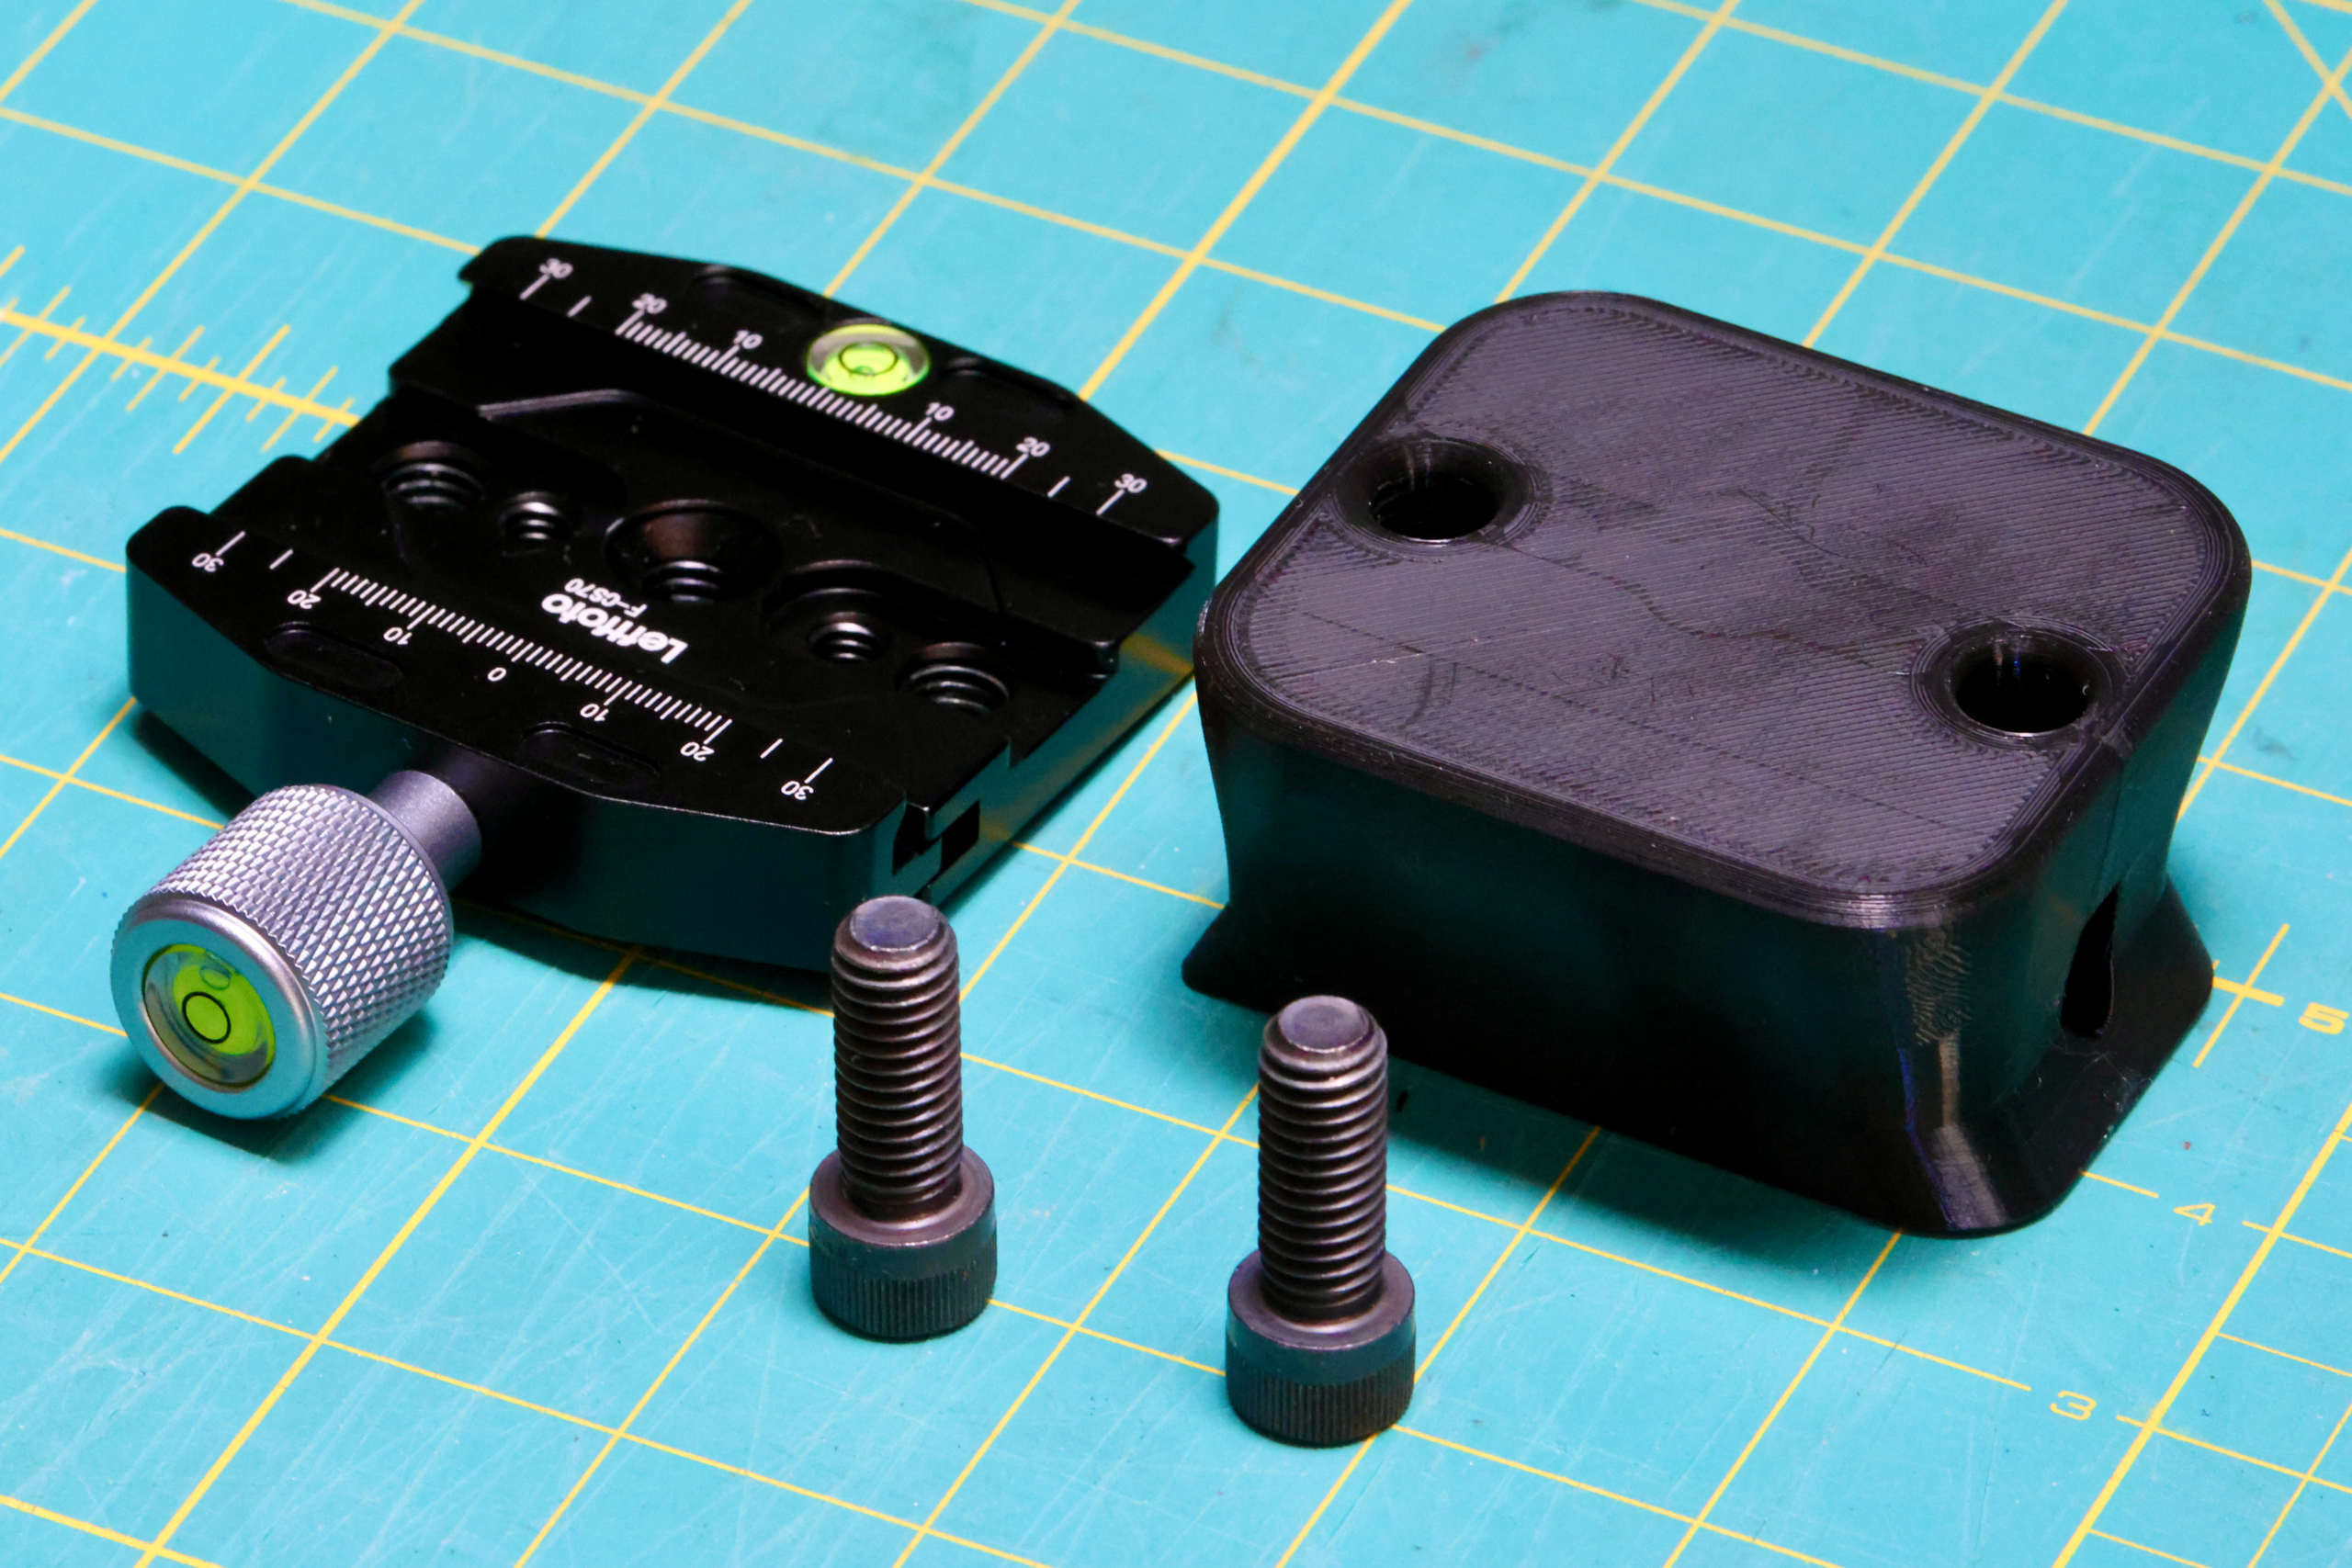
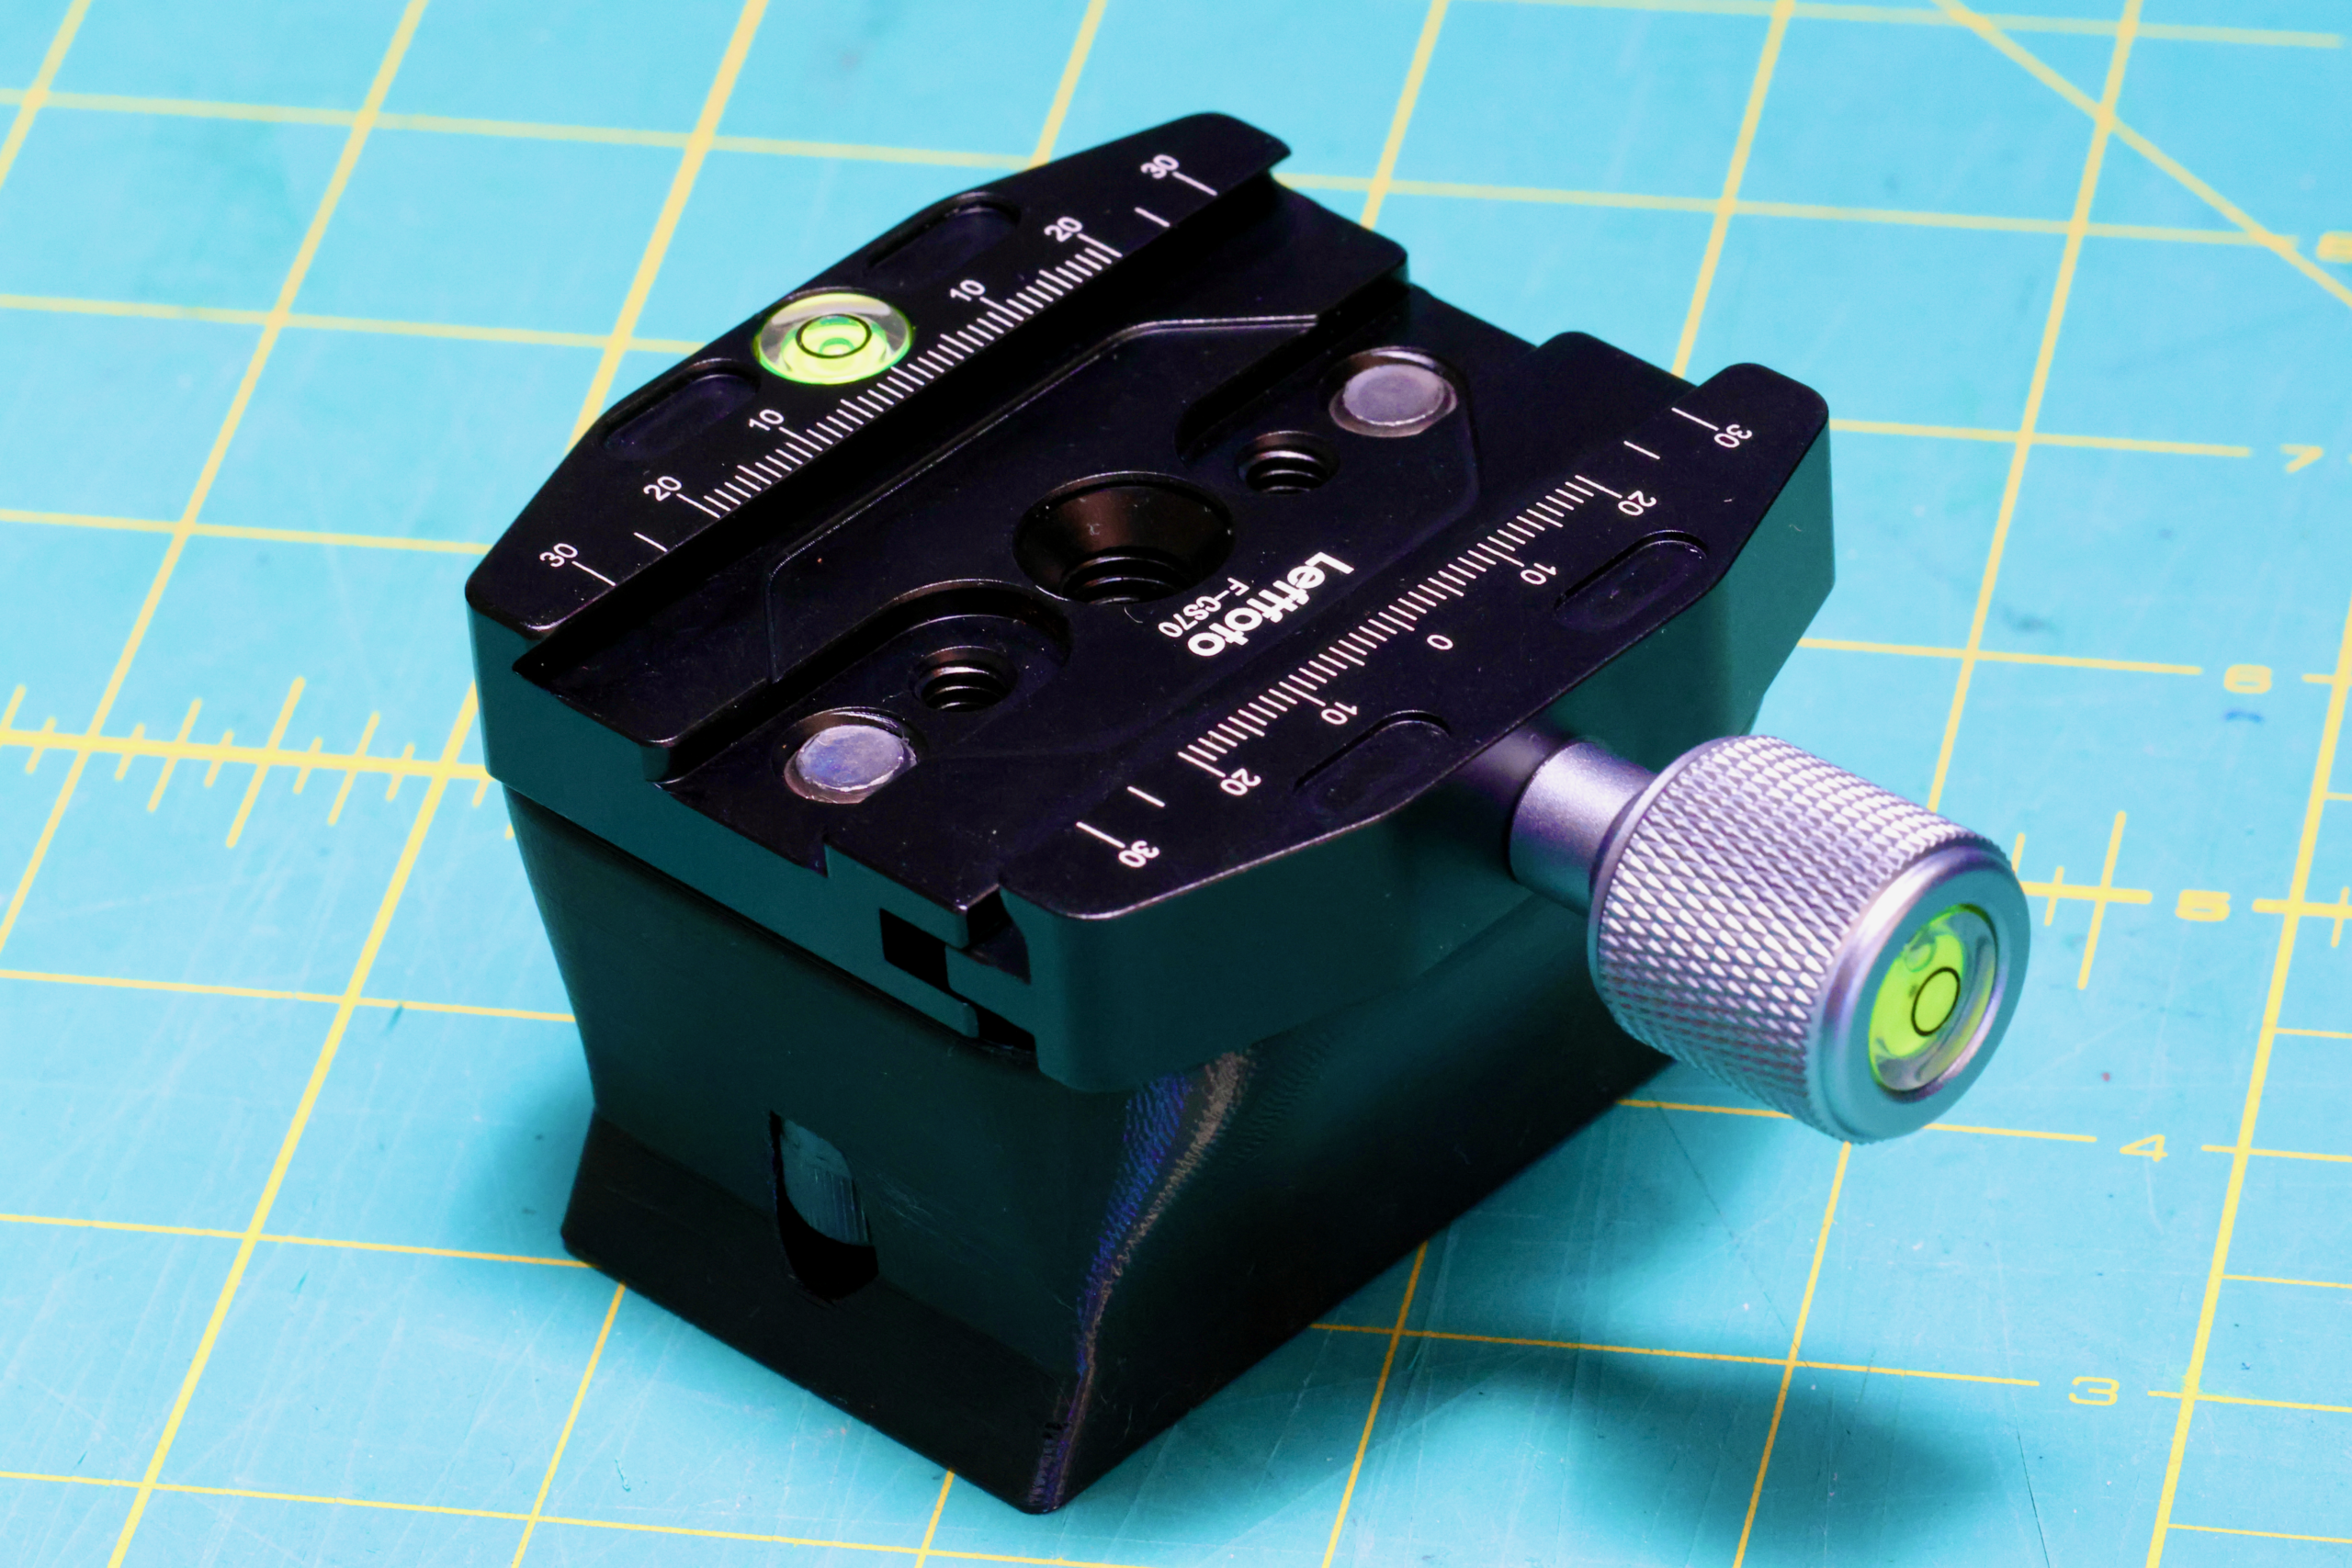
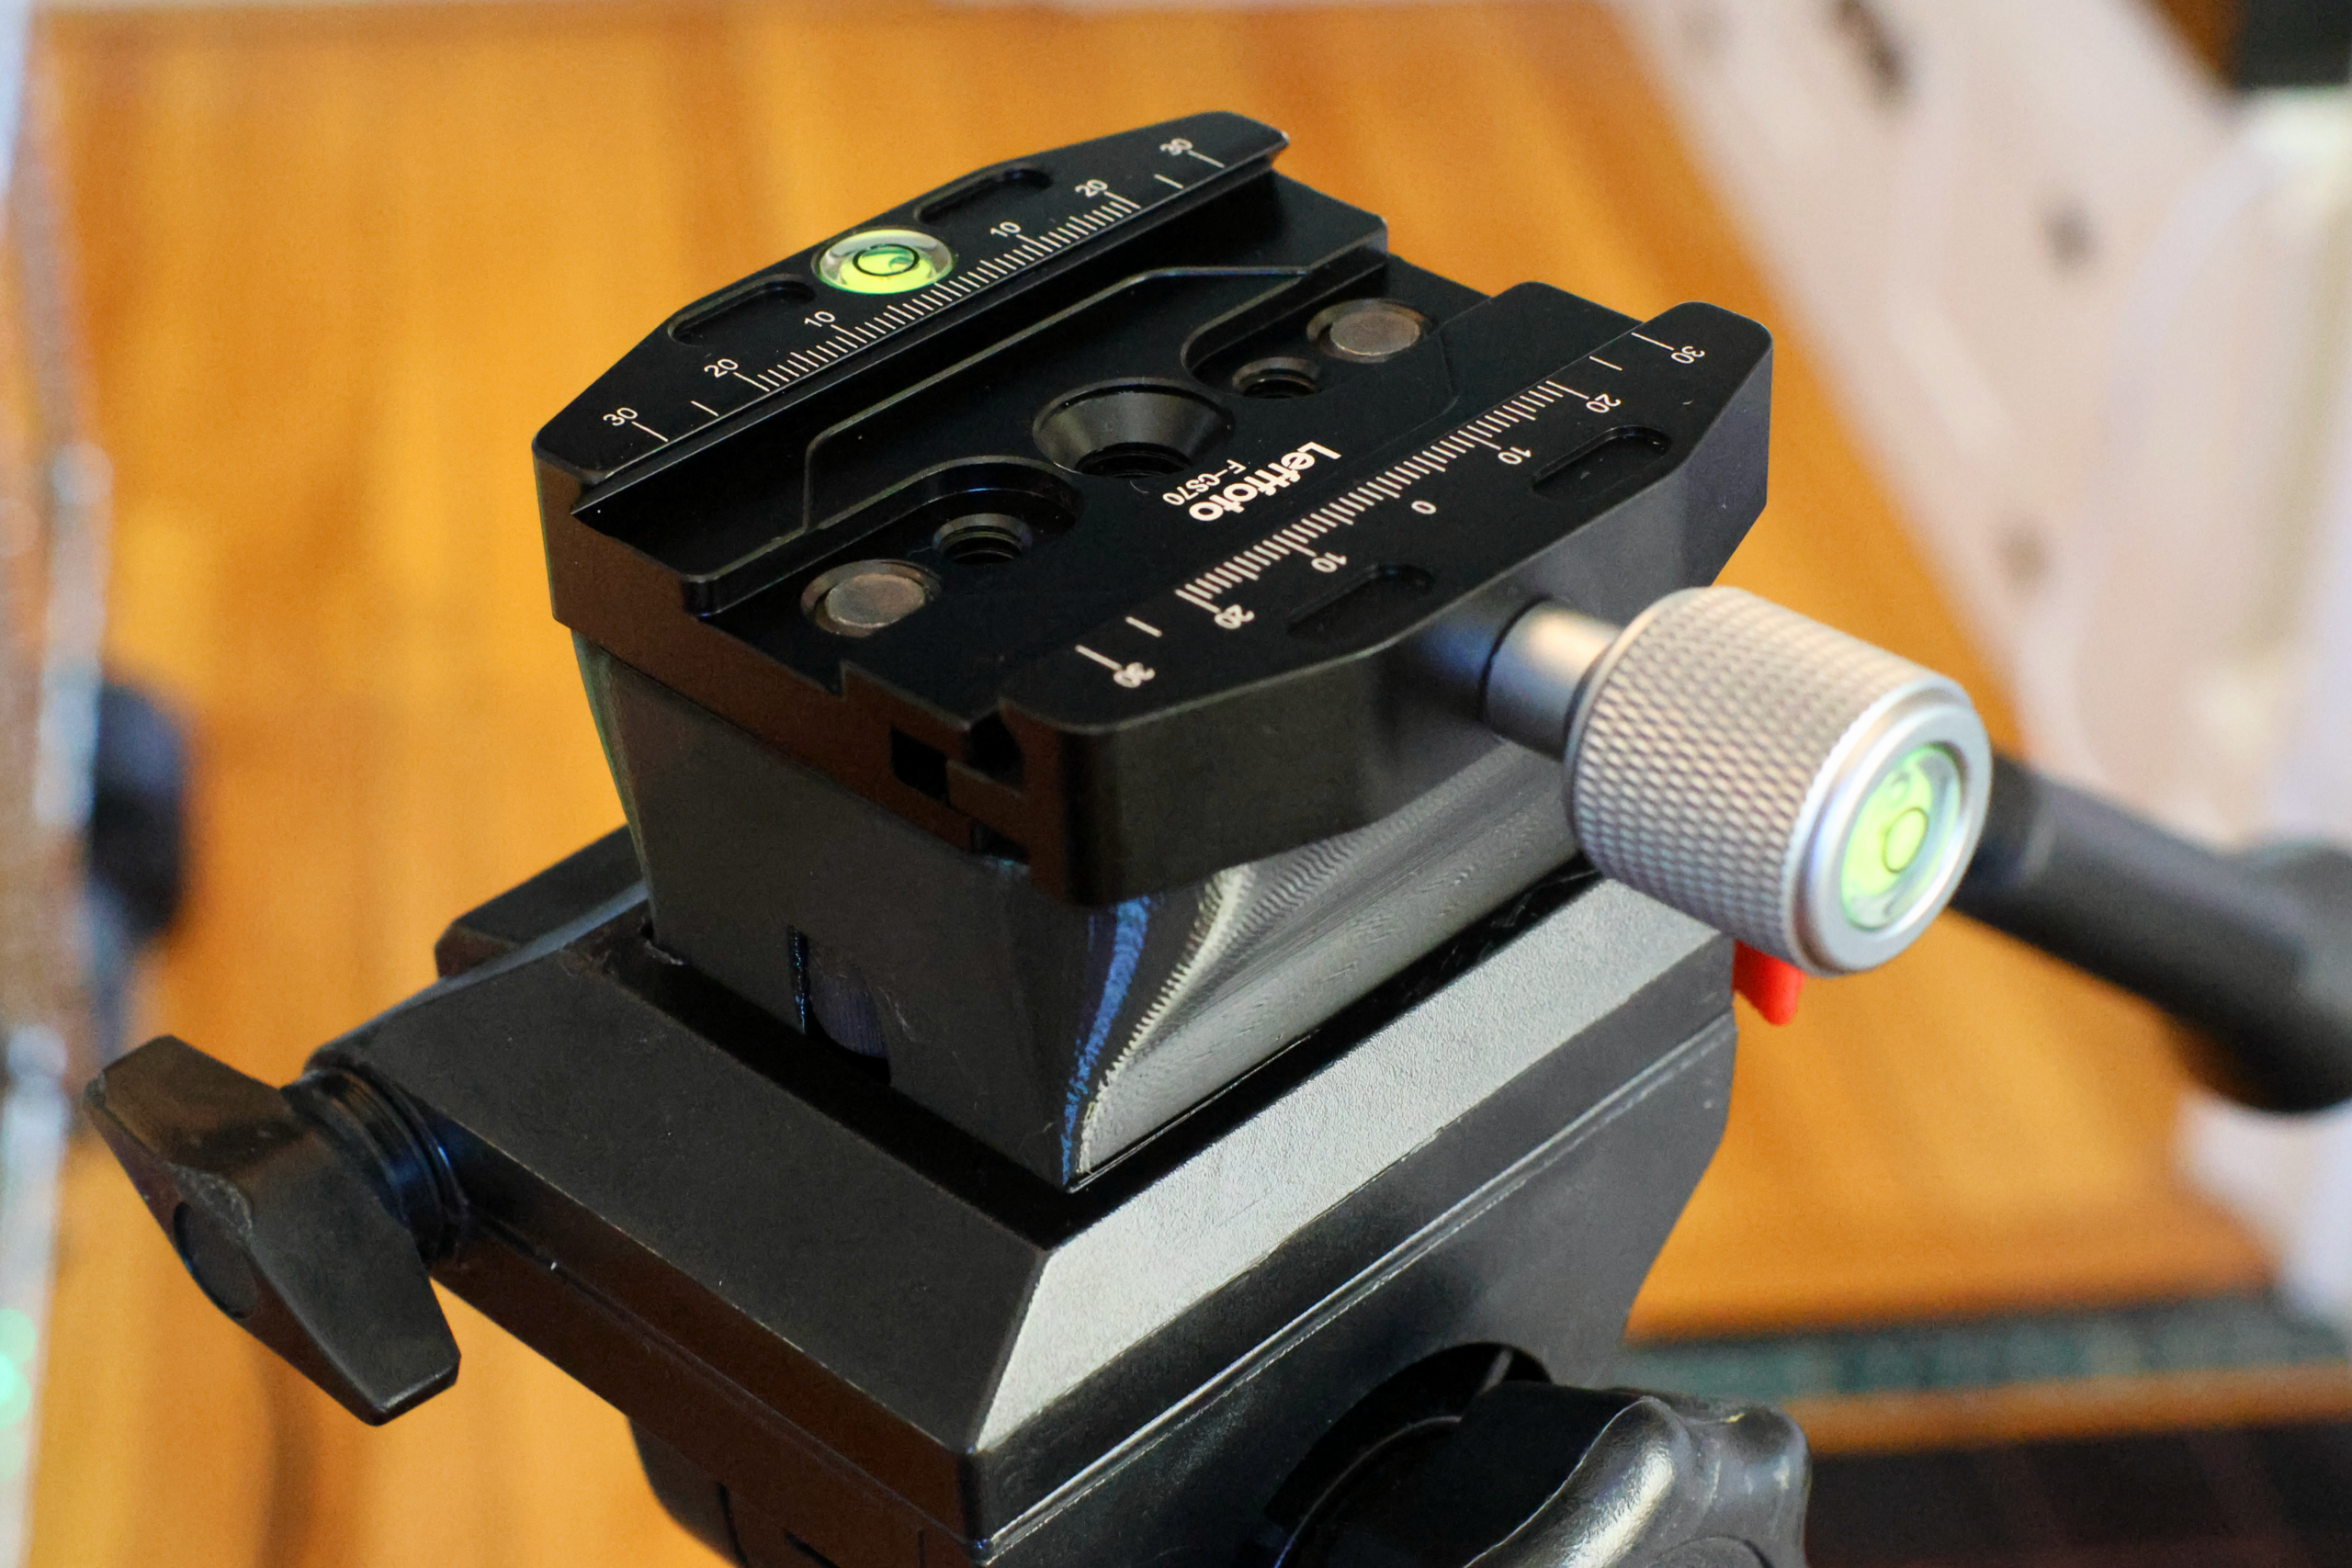
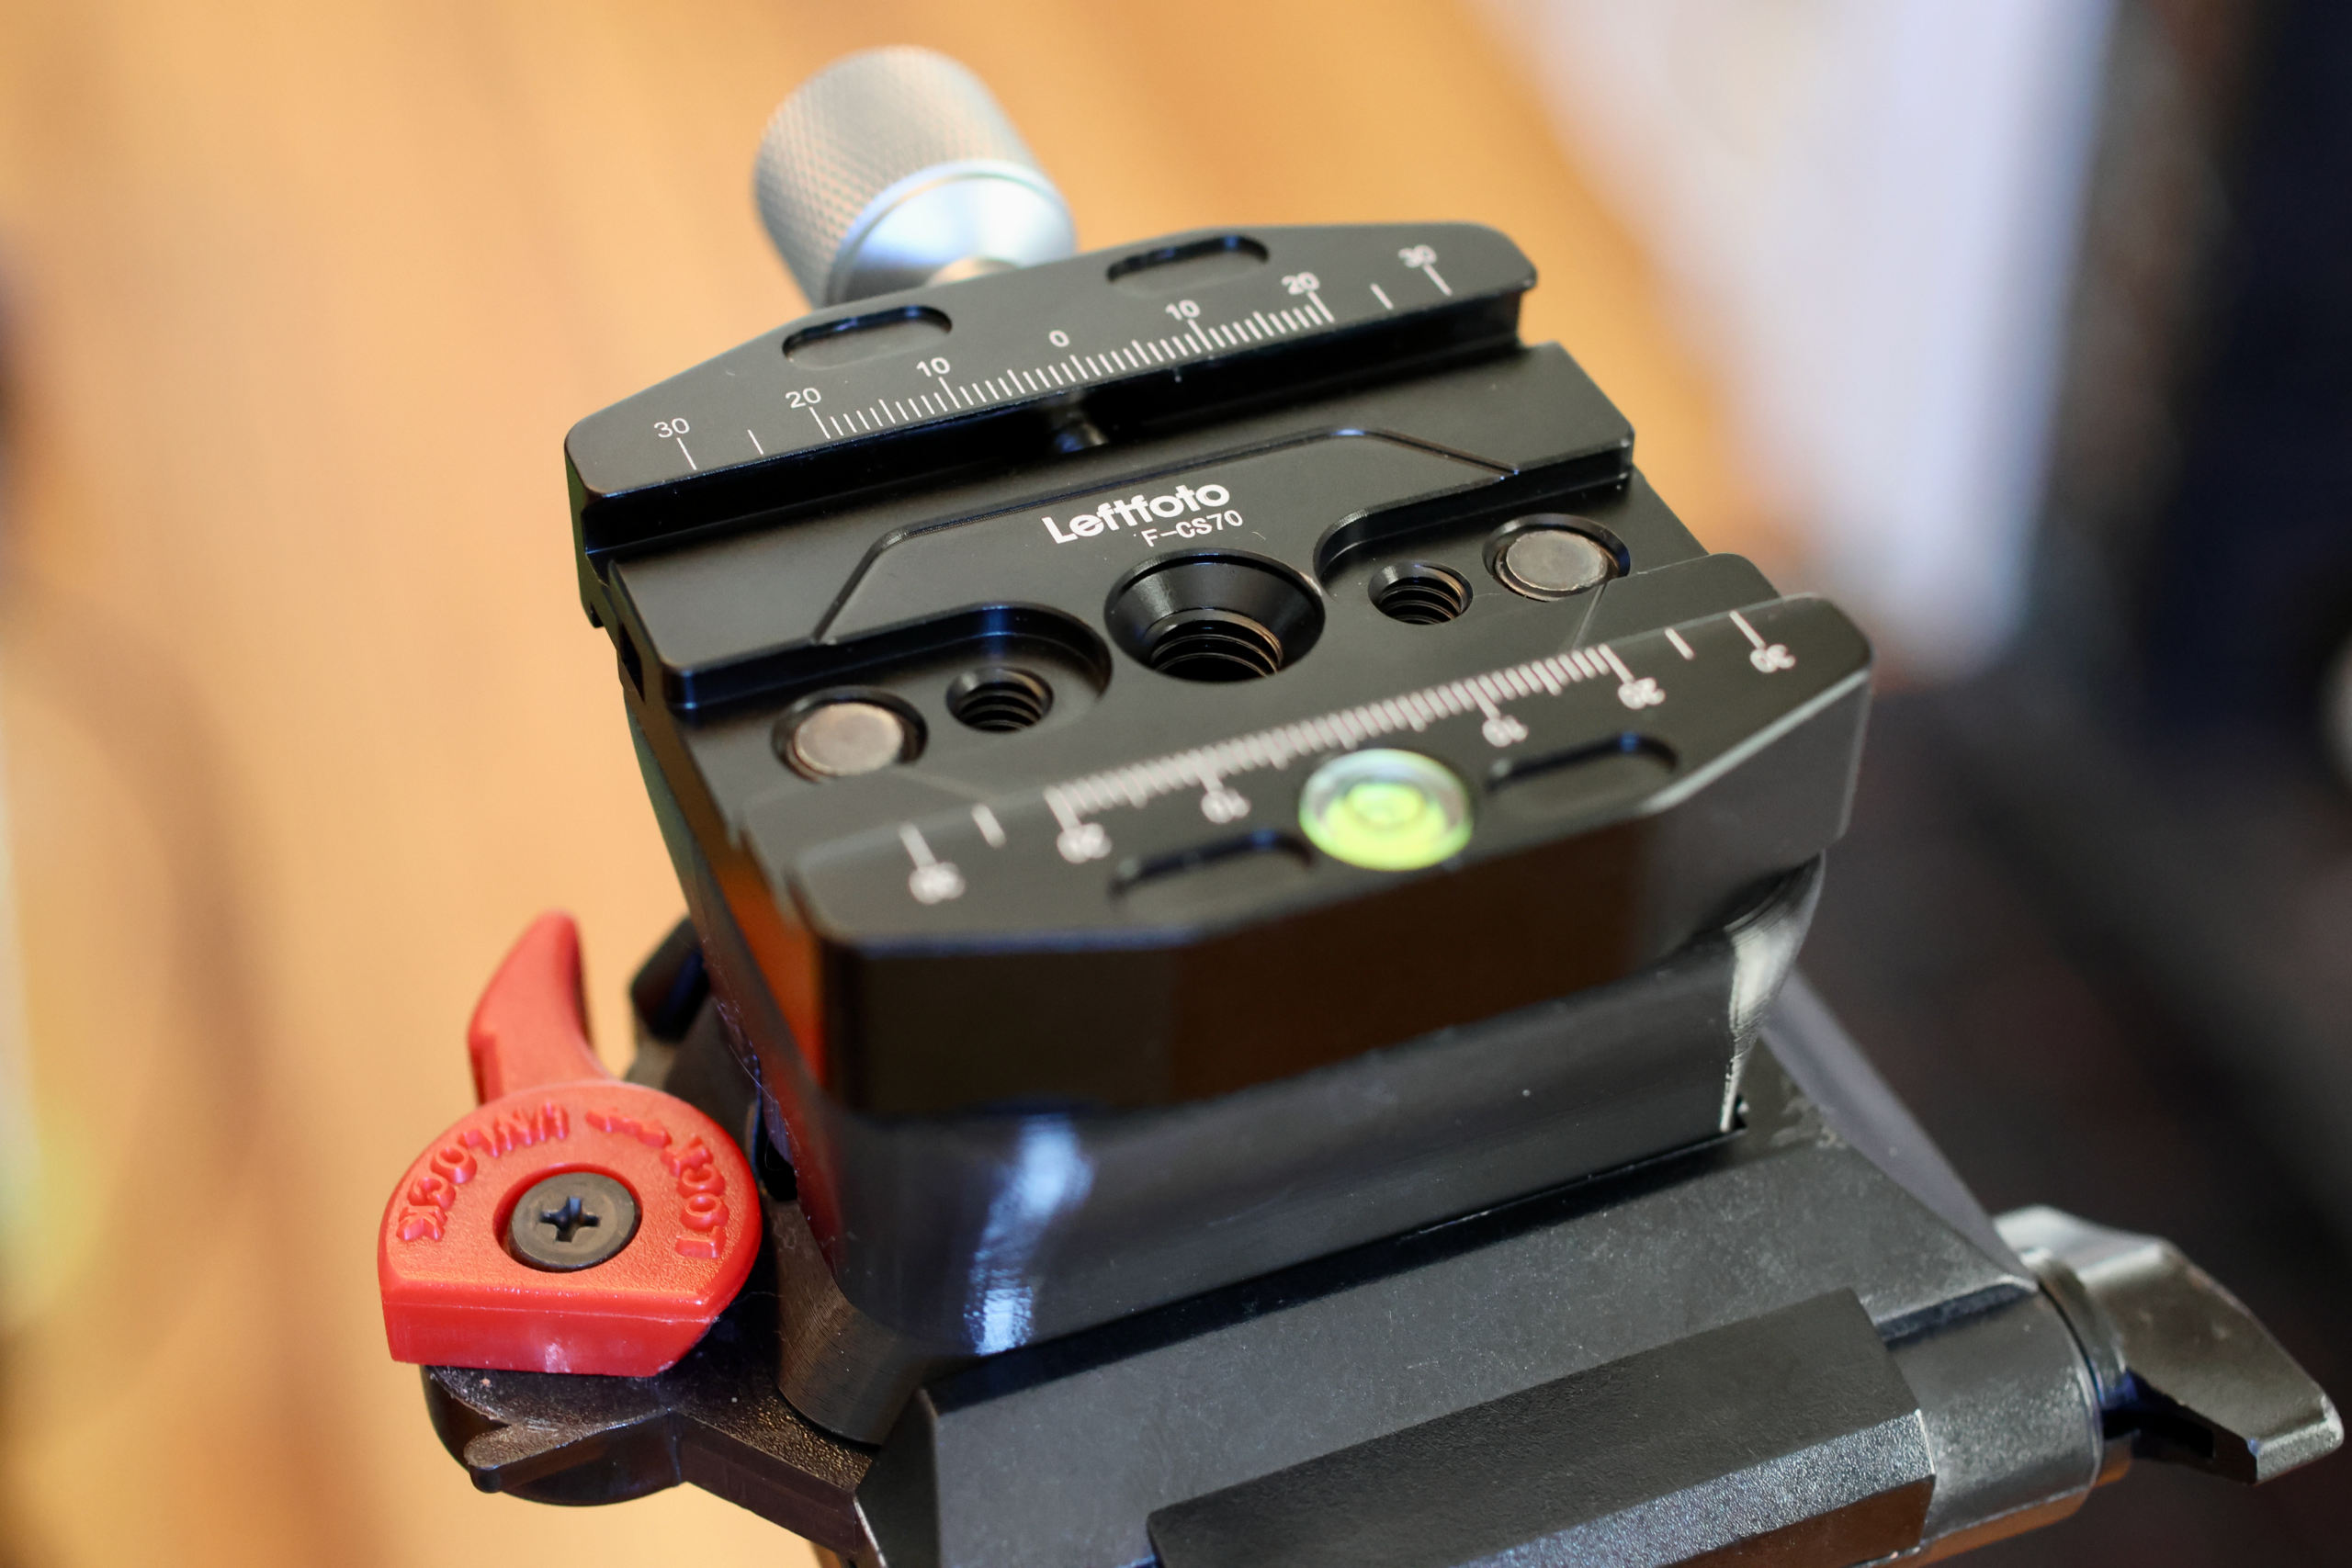
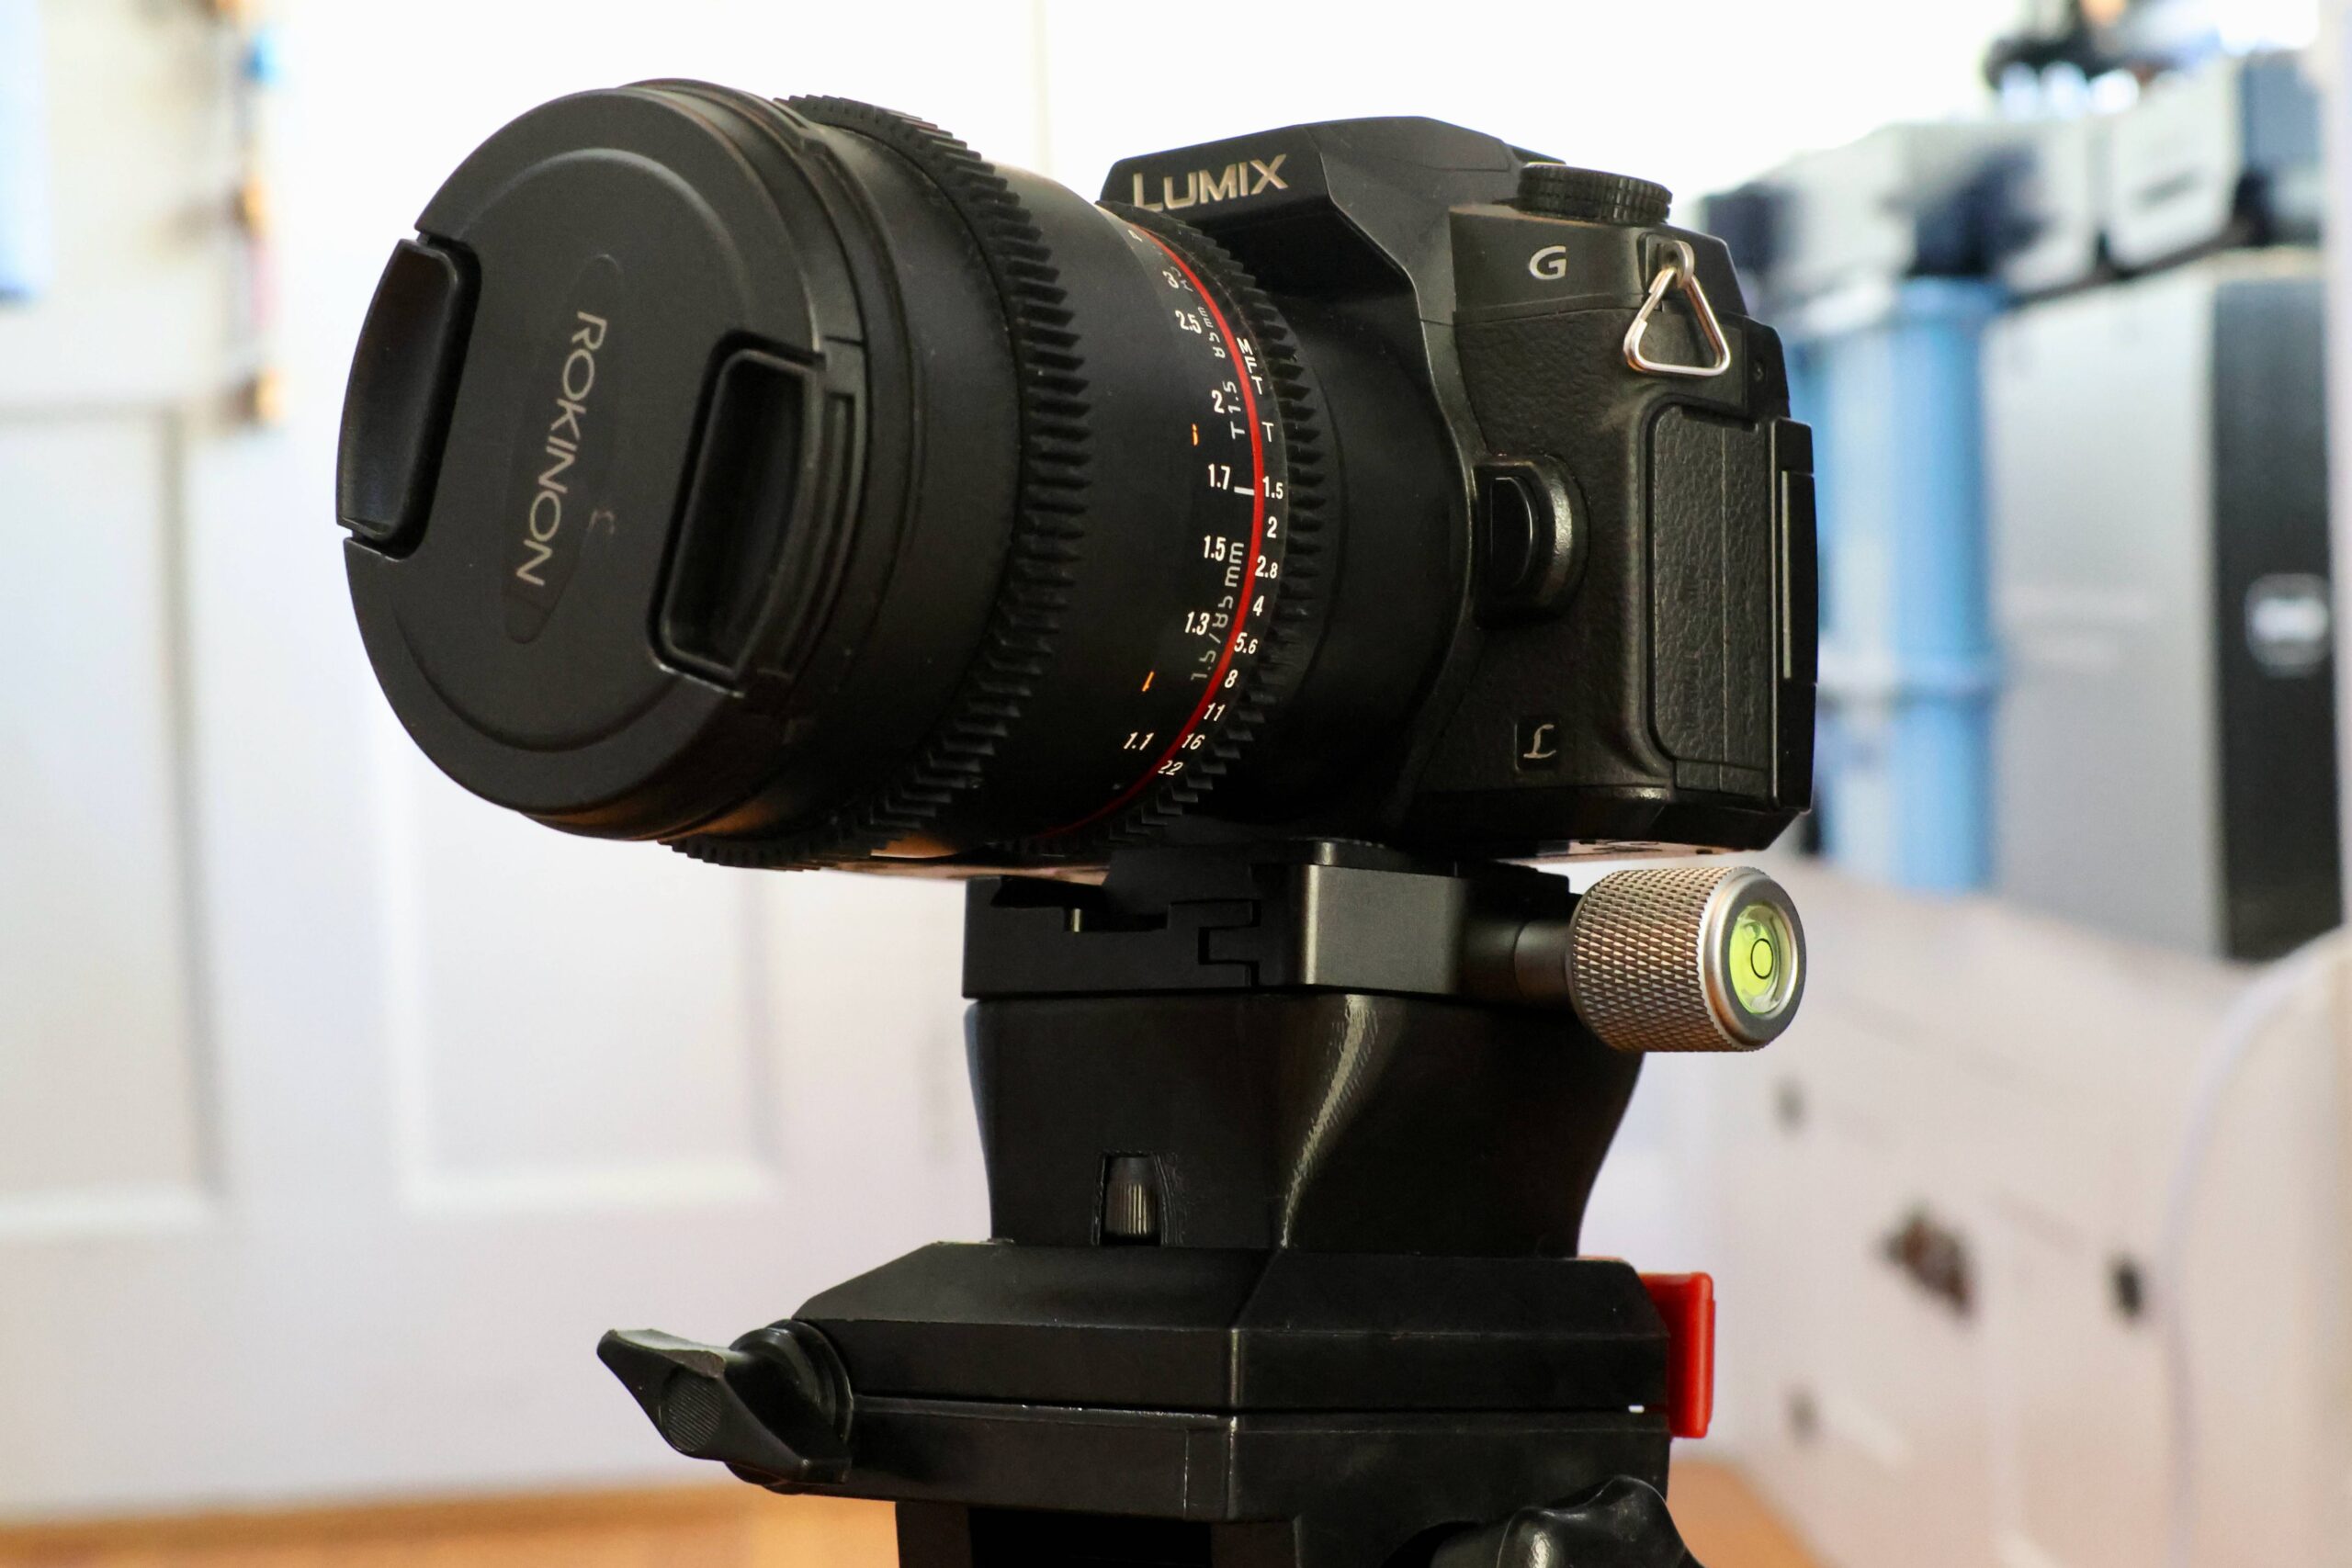
Often times these donated tripods don’t come fitted with their adapter plates for attaching to cameras. This nominally terminal condition is easily recoverable in the age of 3D printing.
Previously a plan was set in motion to benchmark my collection of mighty Tesla GPUs. The set of cooler manifolds are designed, a GPU server benchmark suite has been created, and the time has come to start working through the spreadsheet. I have long suspected that the older multi node cards could be fantastic for image processing. Finally we can quantify how much life is left in these older cards.
The rapid ascent of the LLM into the collective consciousness has sent the big players into a frenzy over datacenter GPUs. This is putting accelerating downward pressure on the price of all used compute GPUs, even the historically pricey stuff. P100s can be had for ~$100, V100 16GB are selling for ~$500, any day now the lower VRAM Ampere cards are going to drop below $1000…
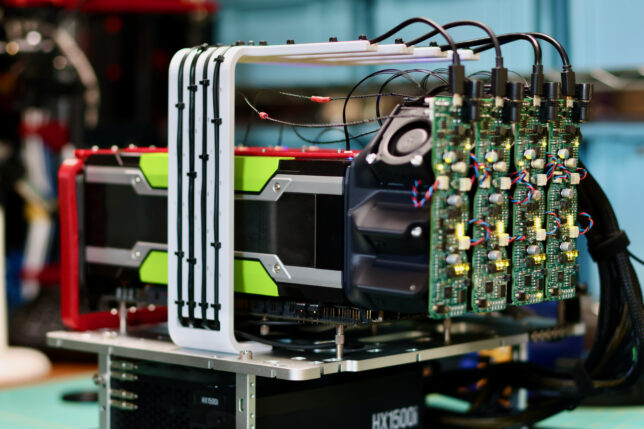
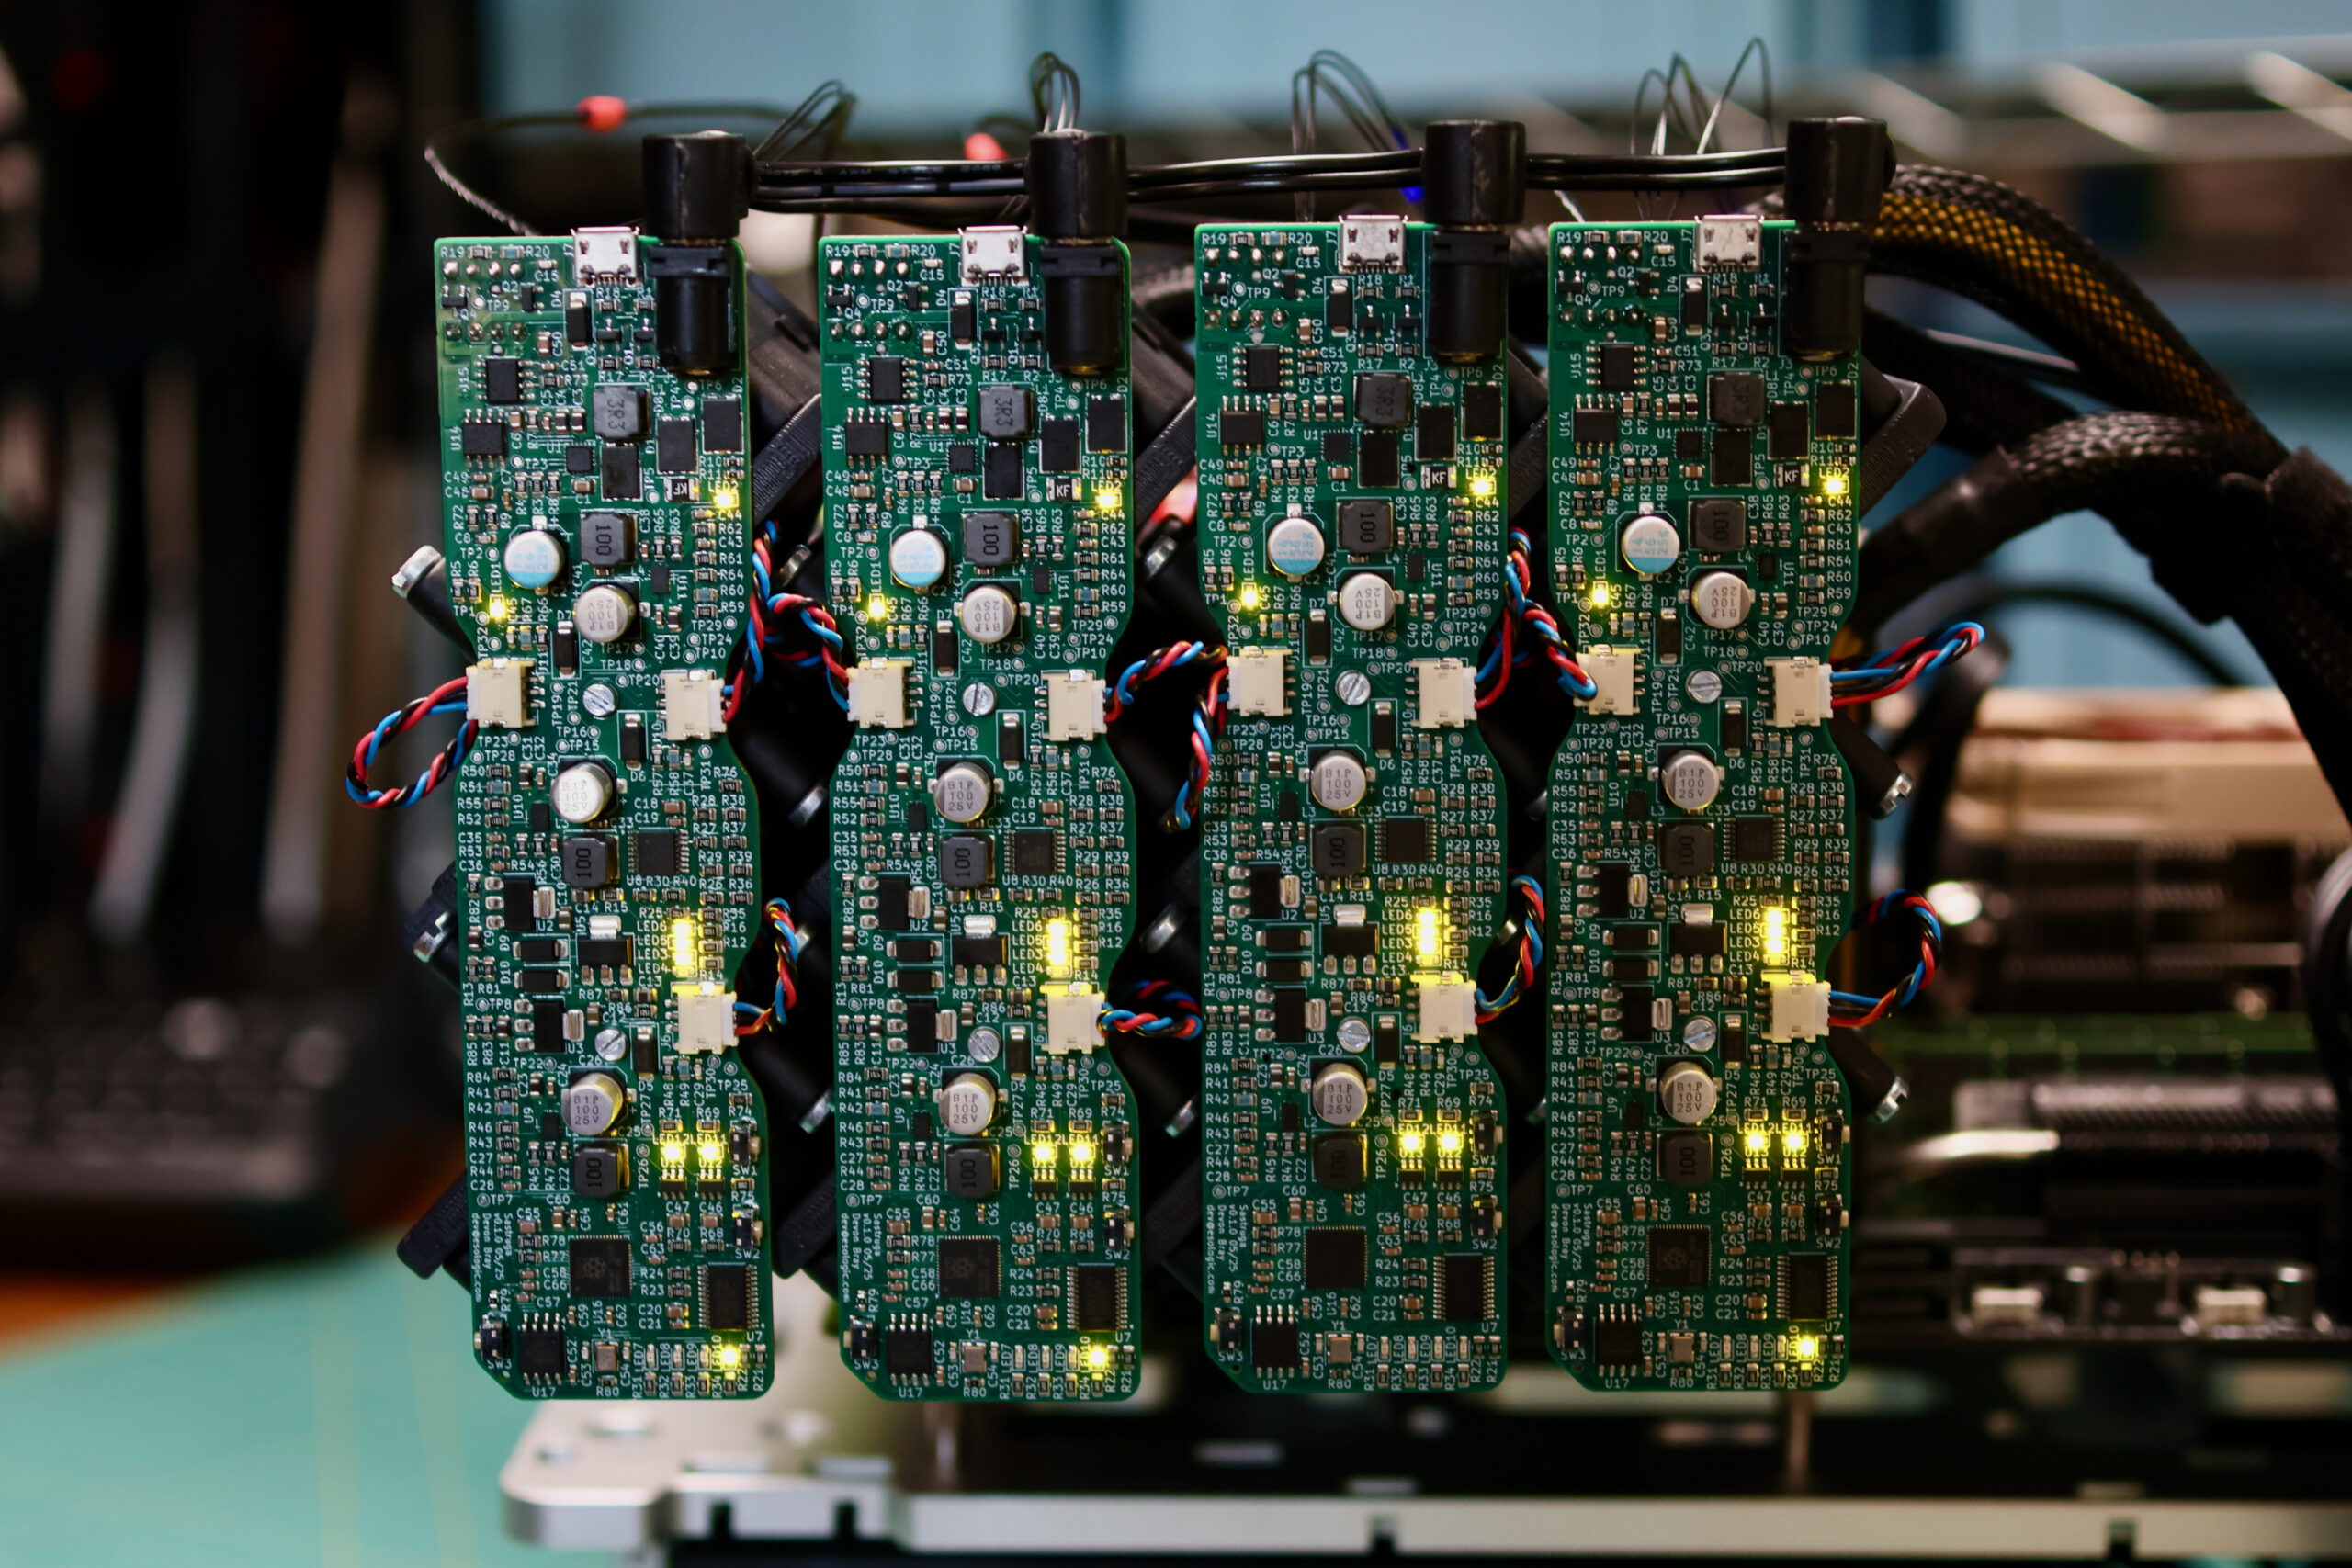
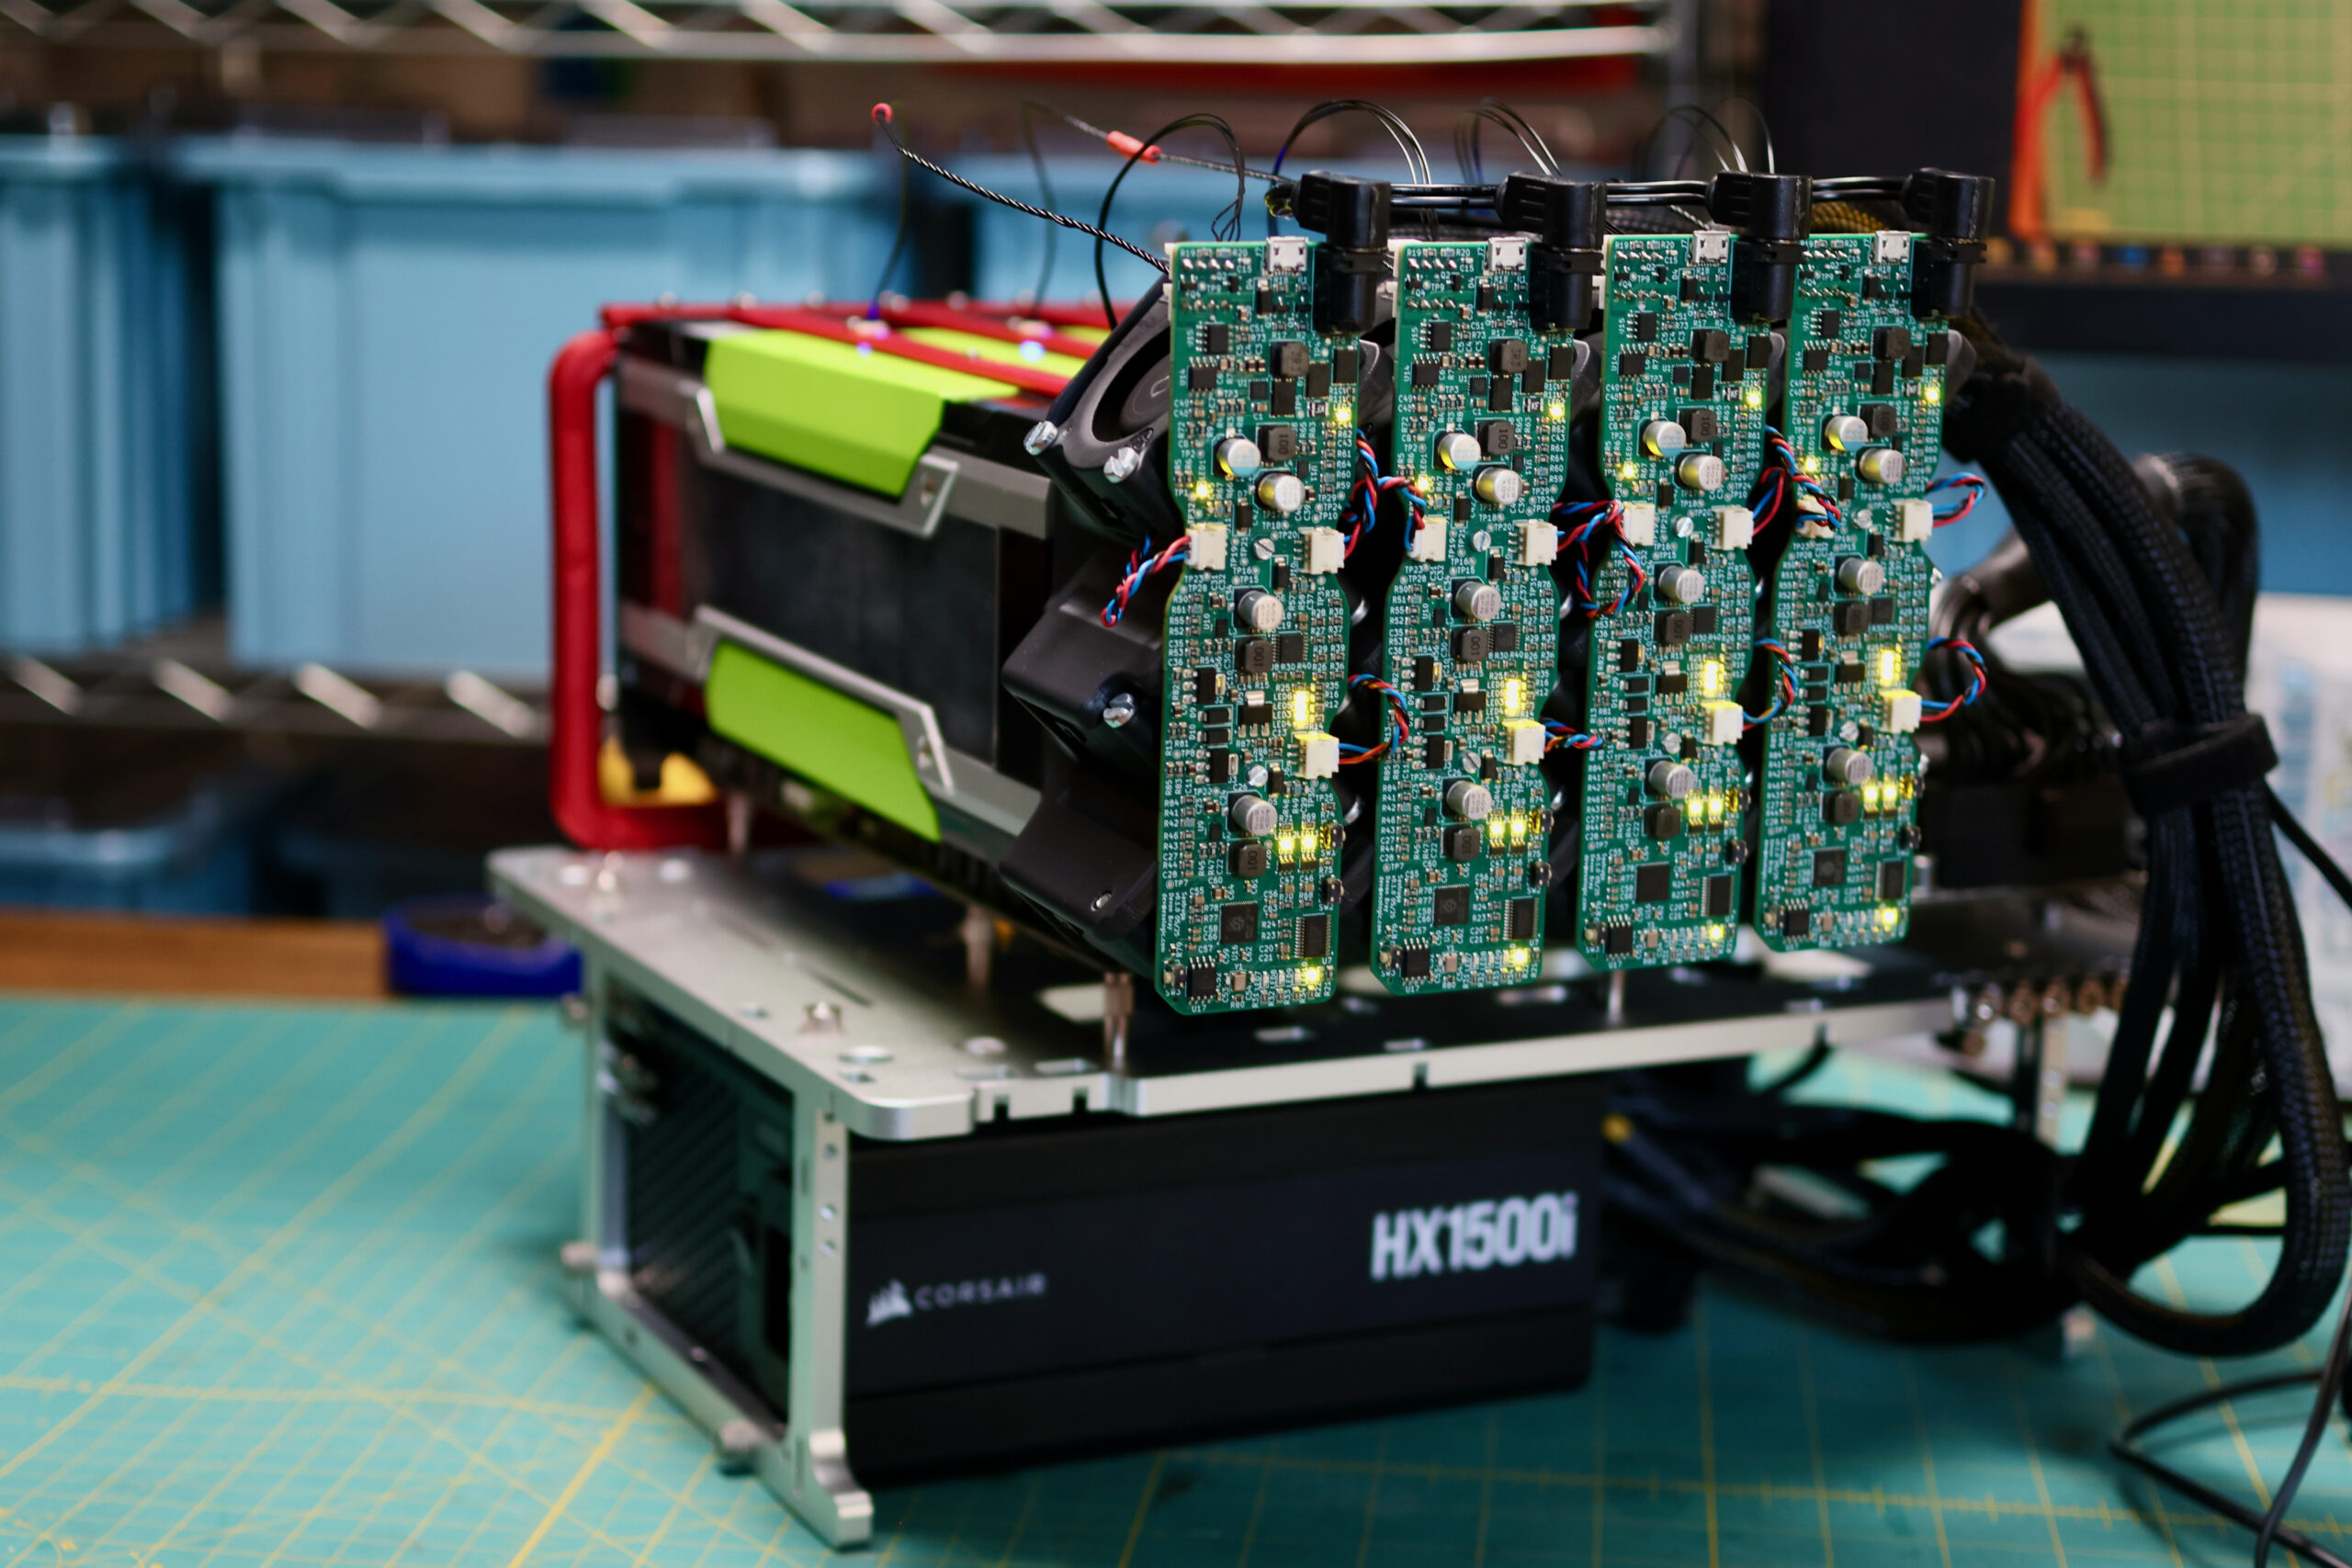
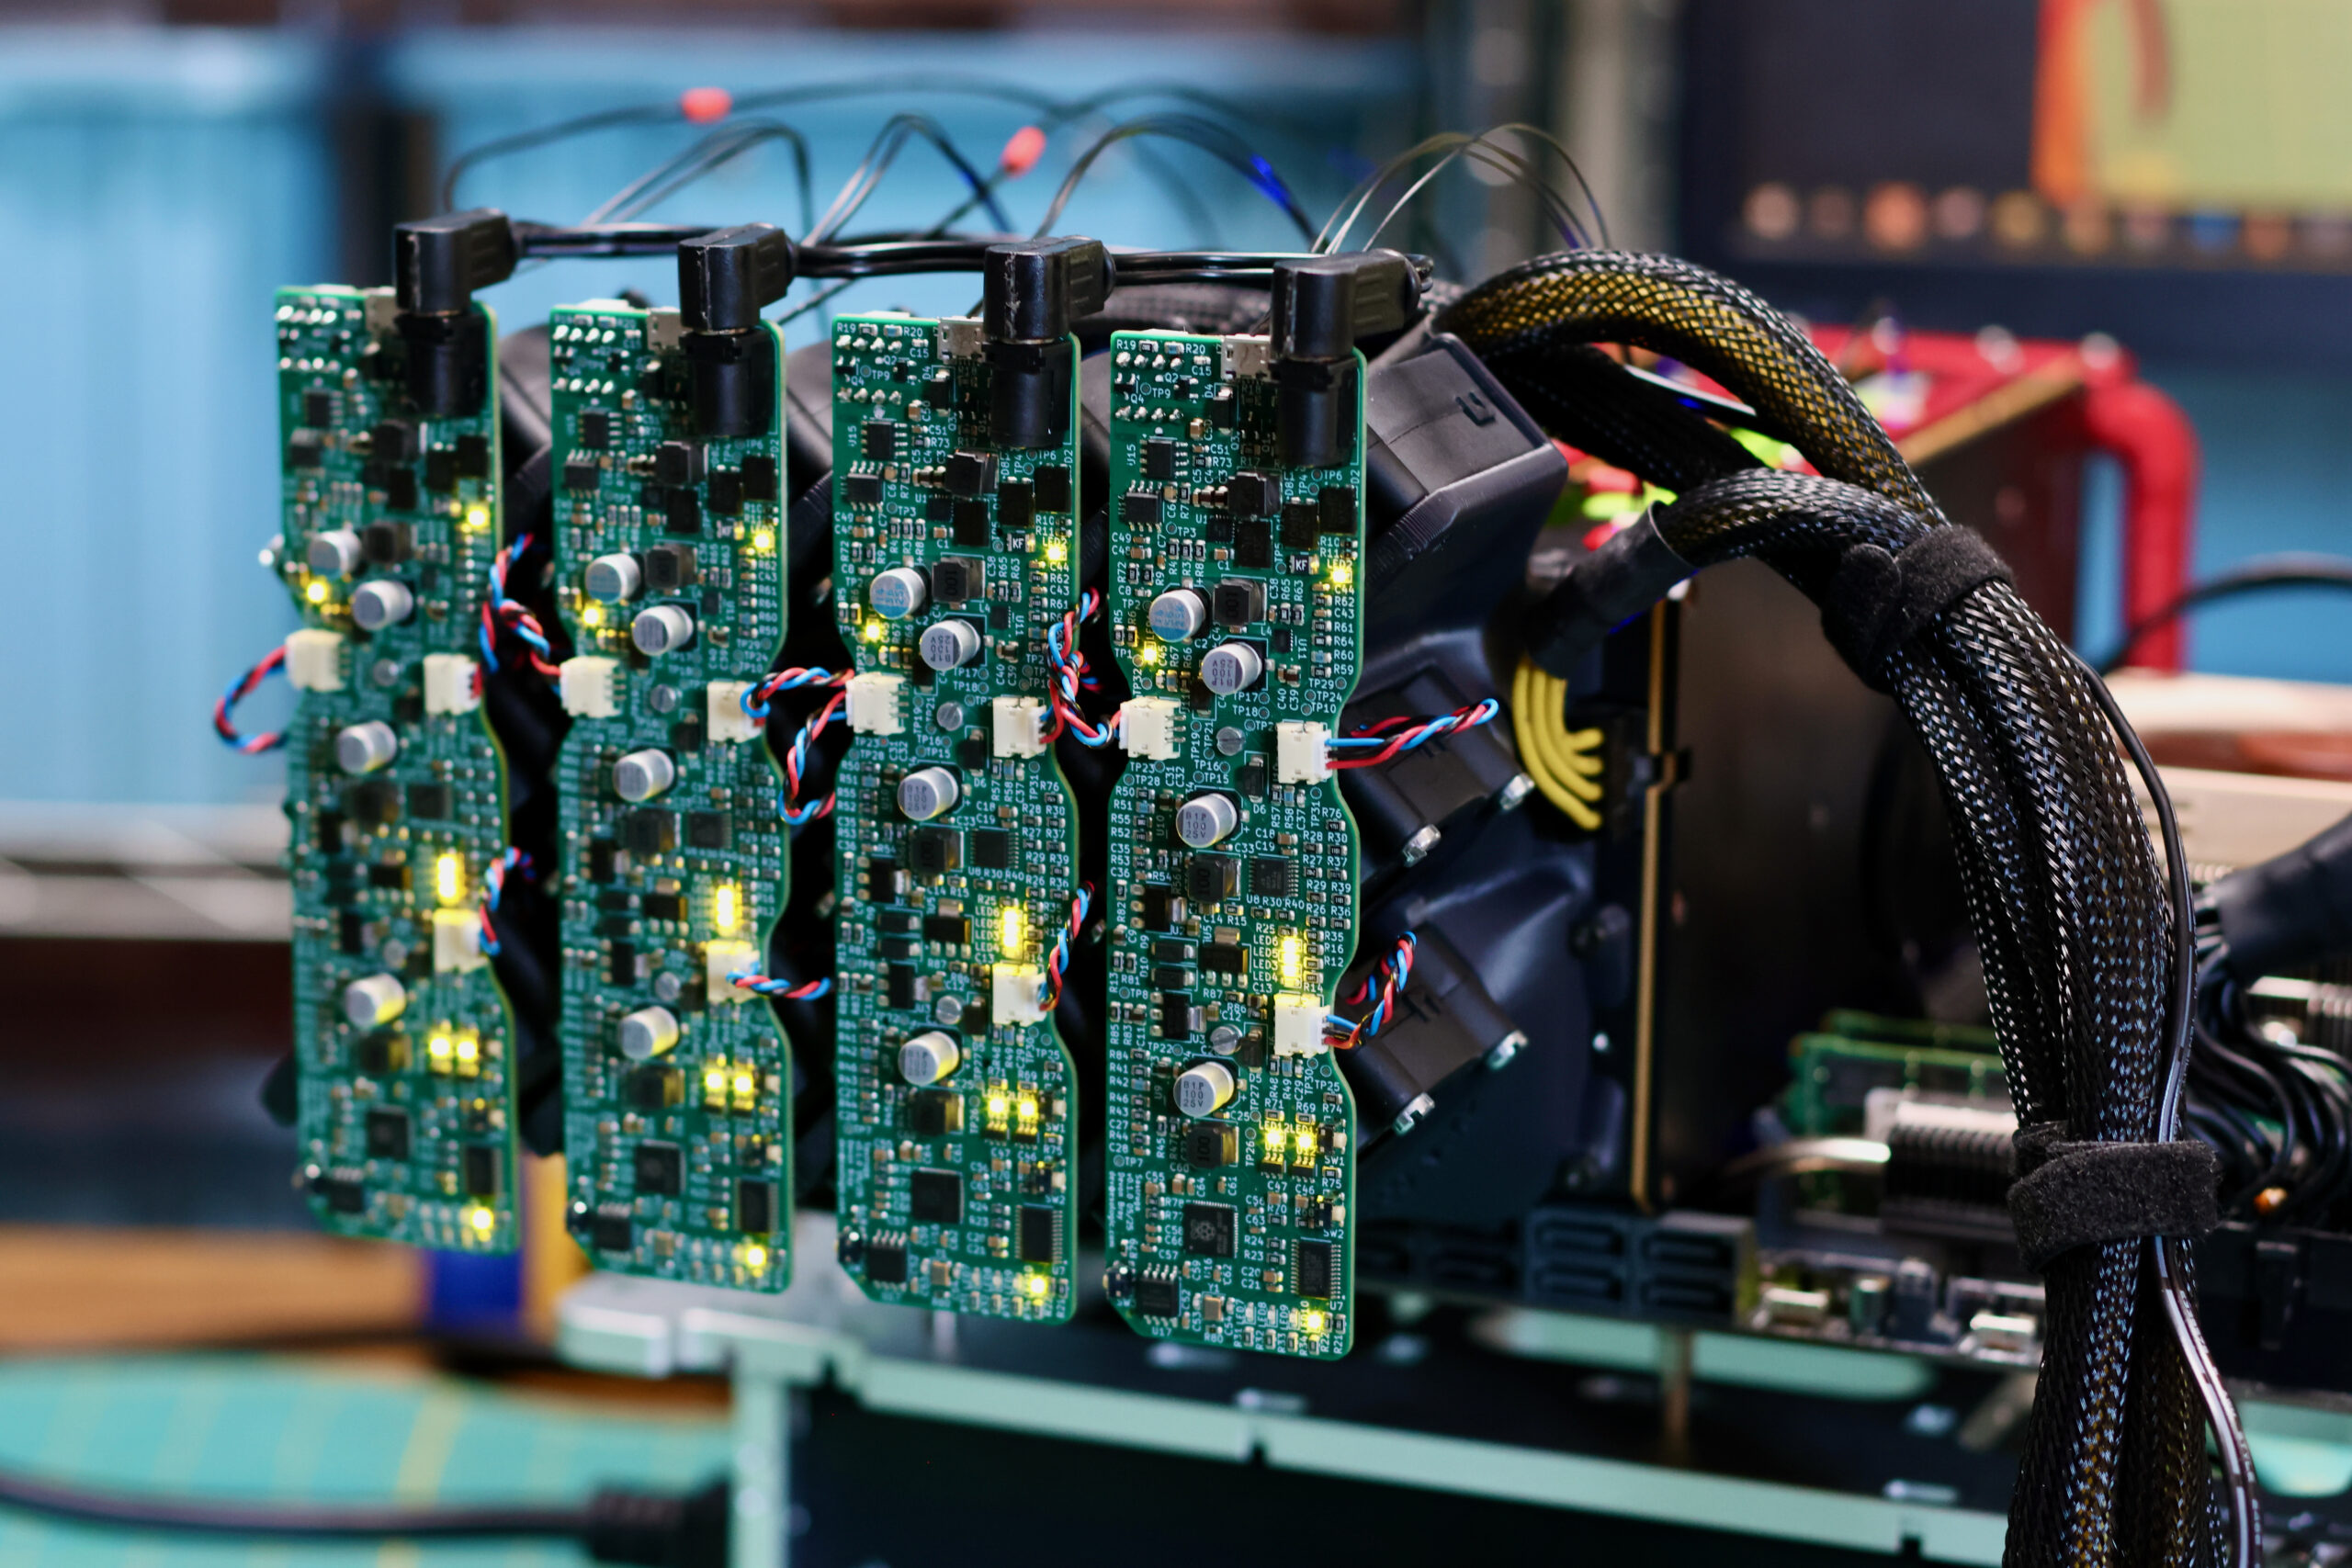
We need a new cooler that can support any of these 300W GPUs, can be installed as densely as the cards, and is easy on the ears for homelab use. Pictured below are four prototype coolers installed on Tesla P100s:
Four PCBs installed on Four P100s on the Open Bench Table build.
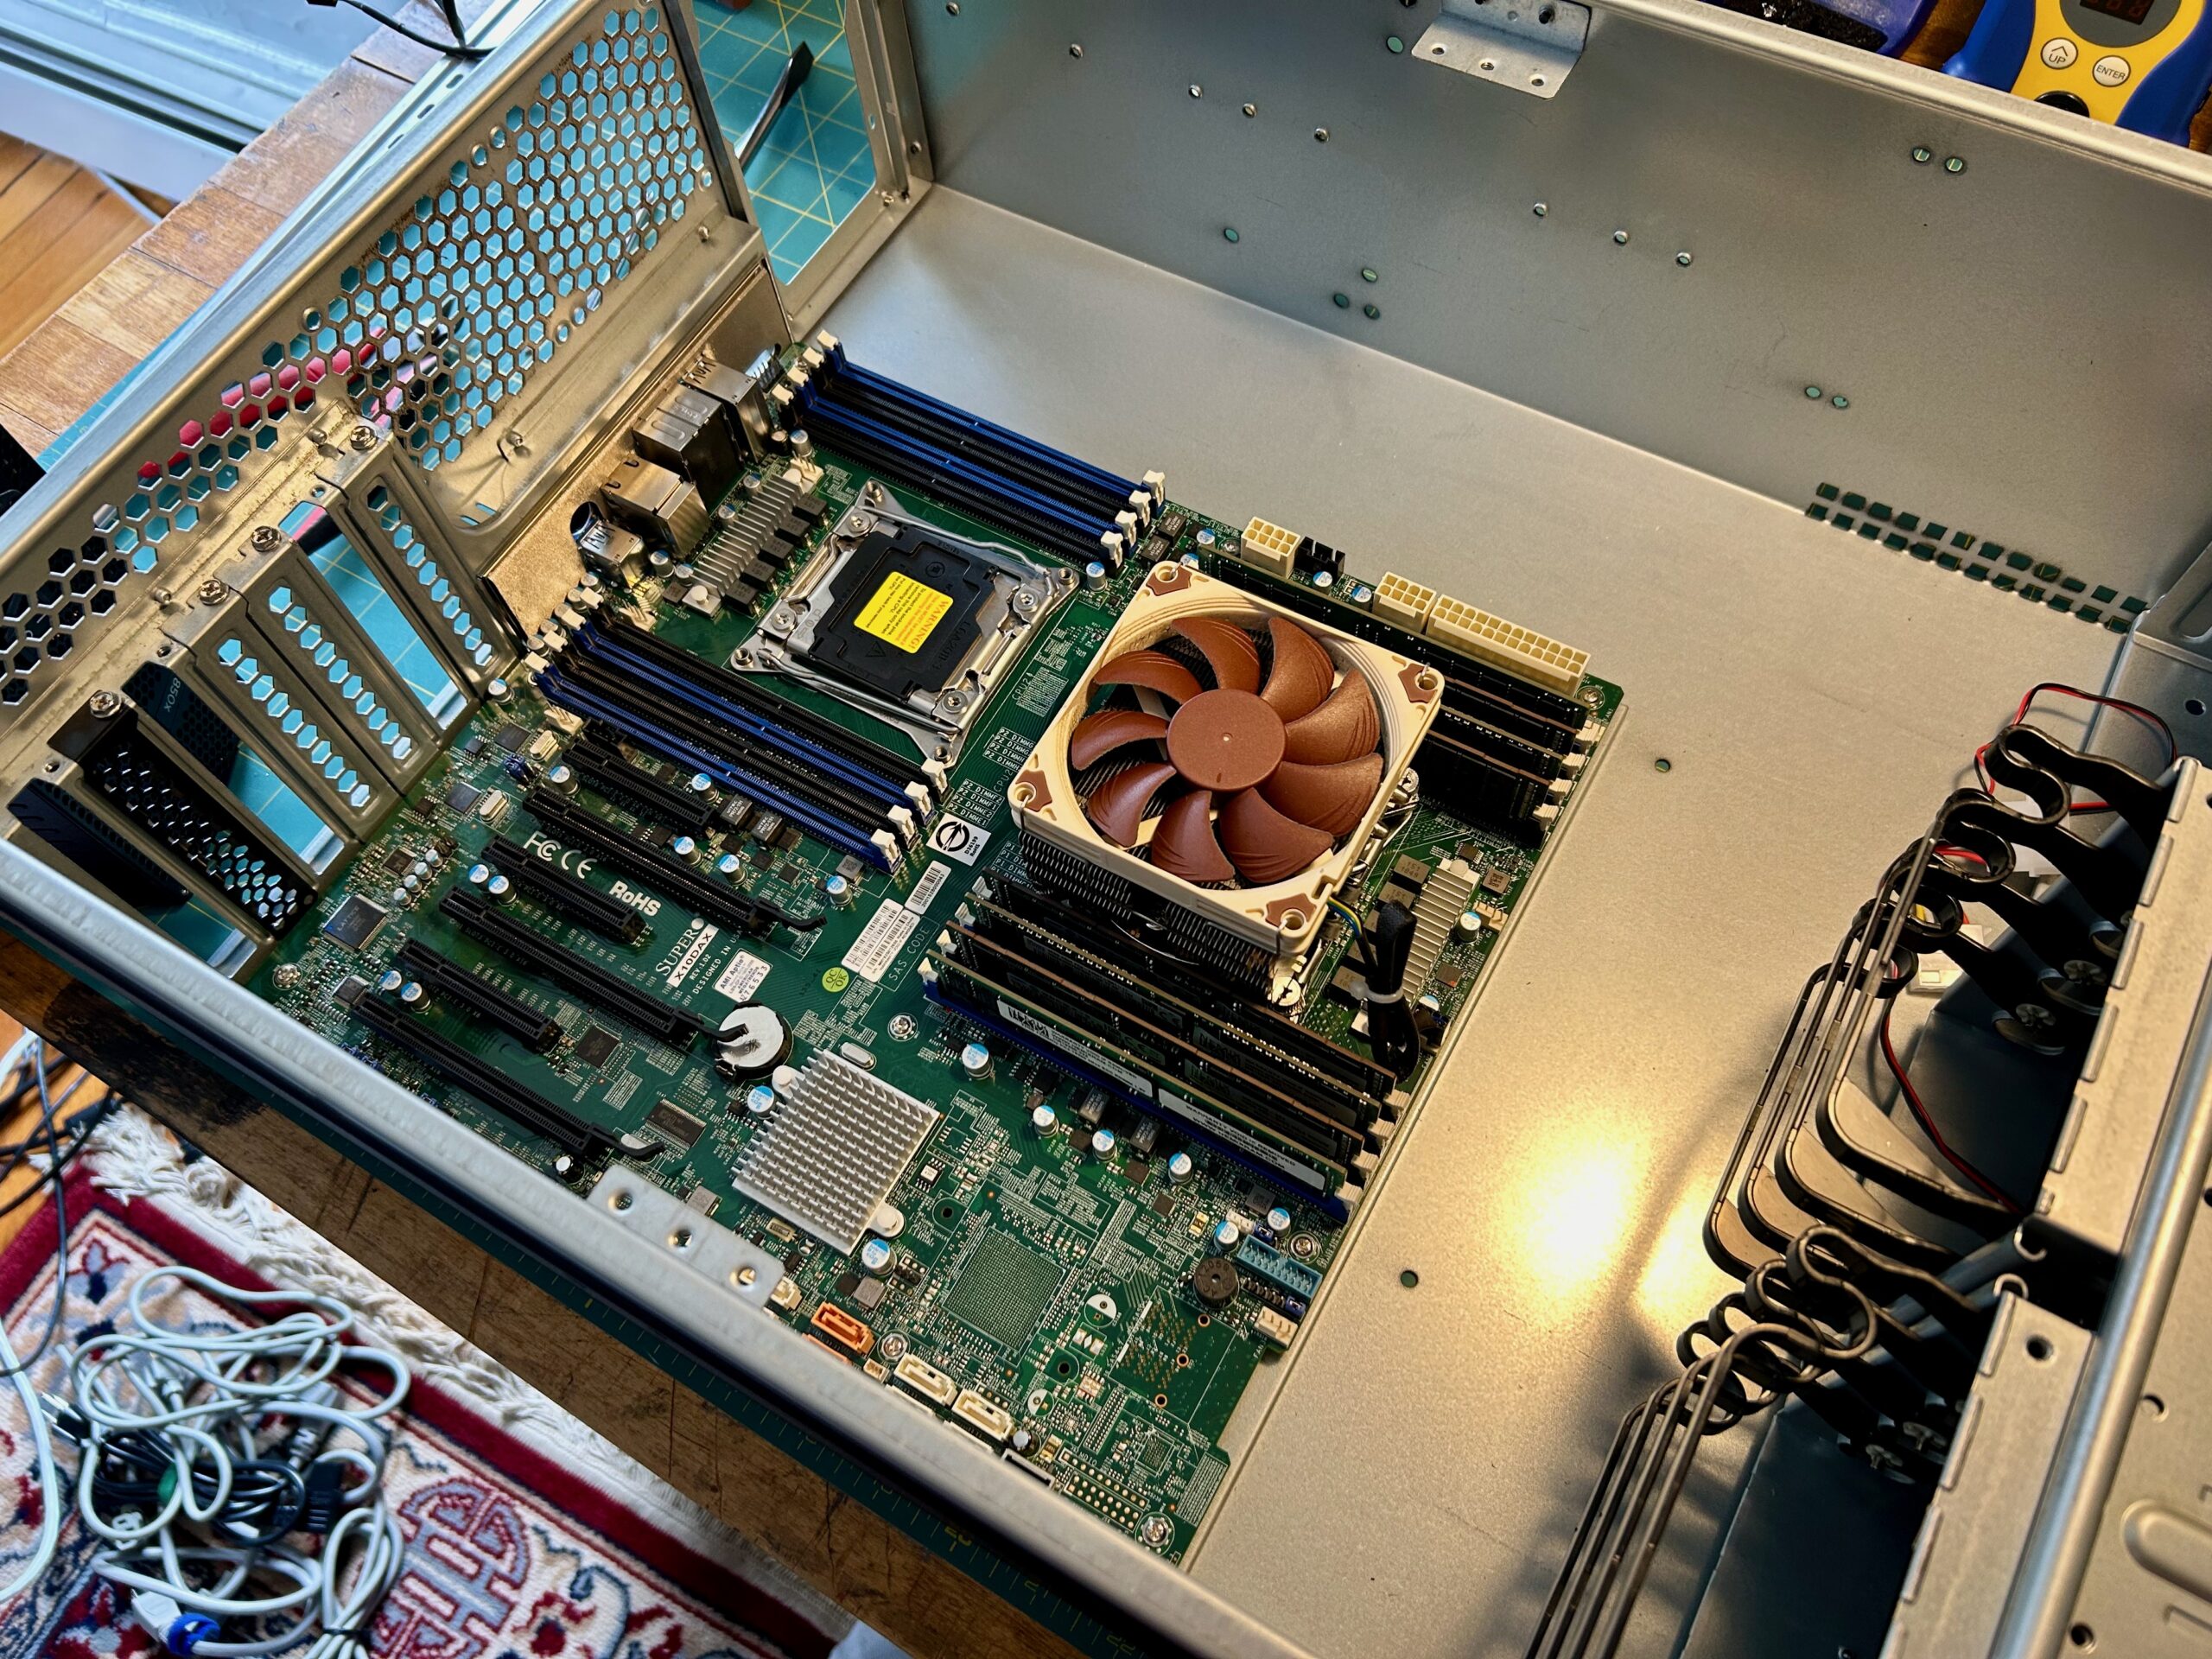
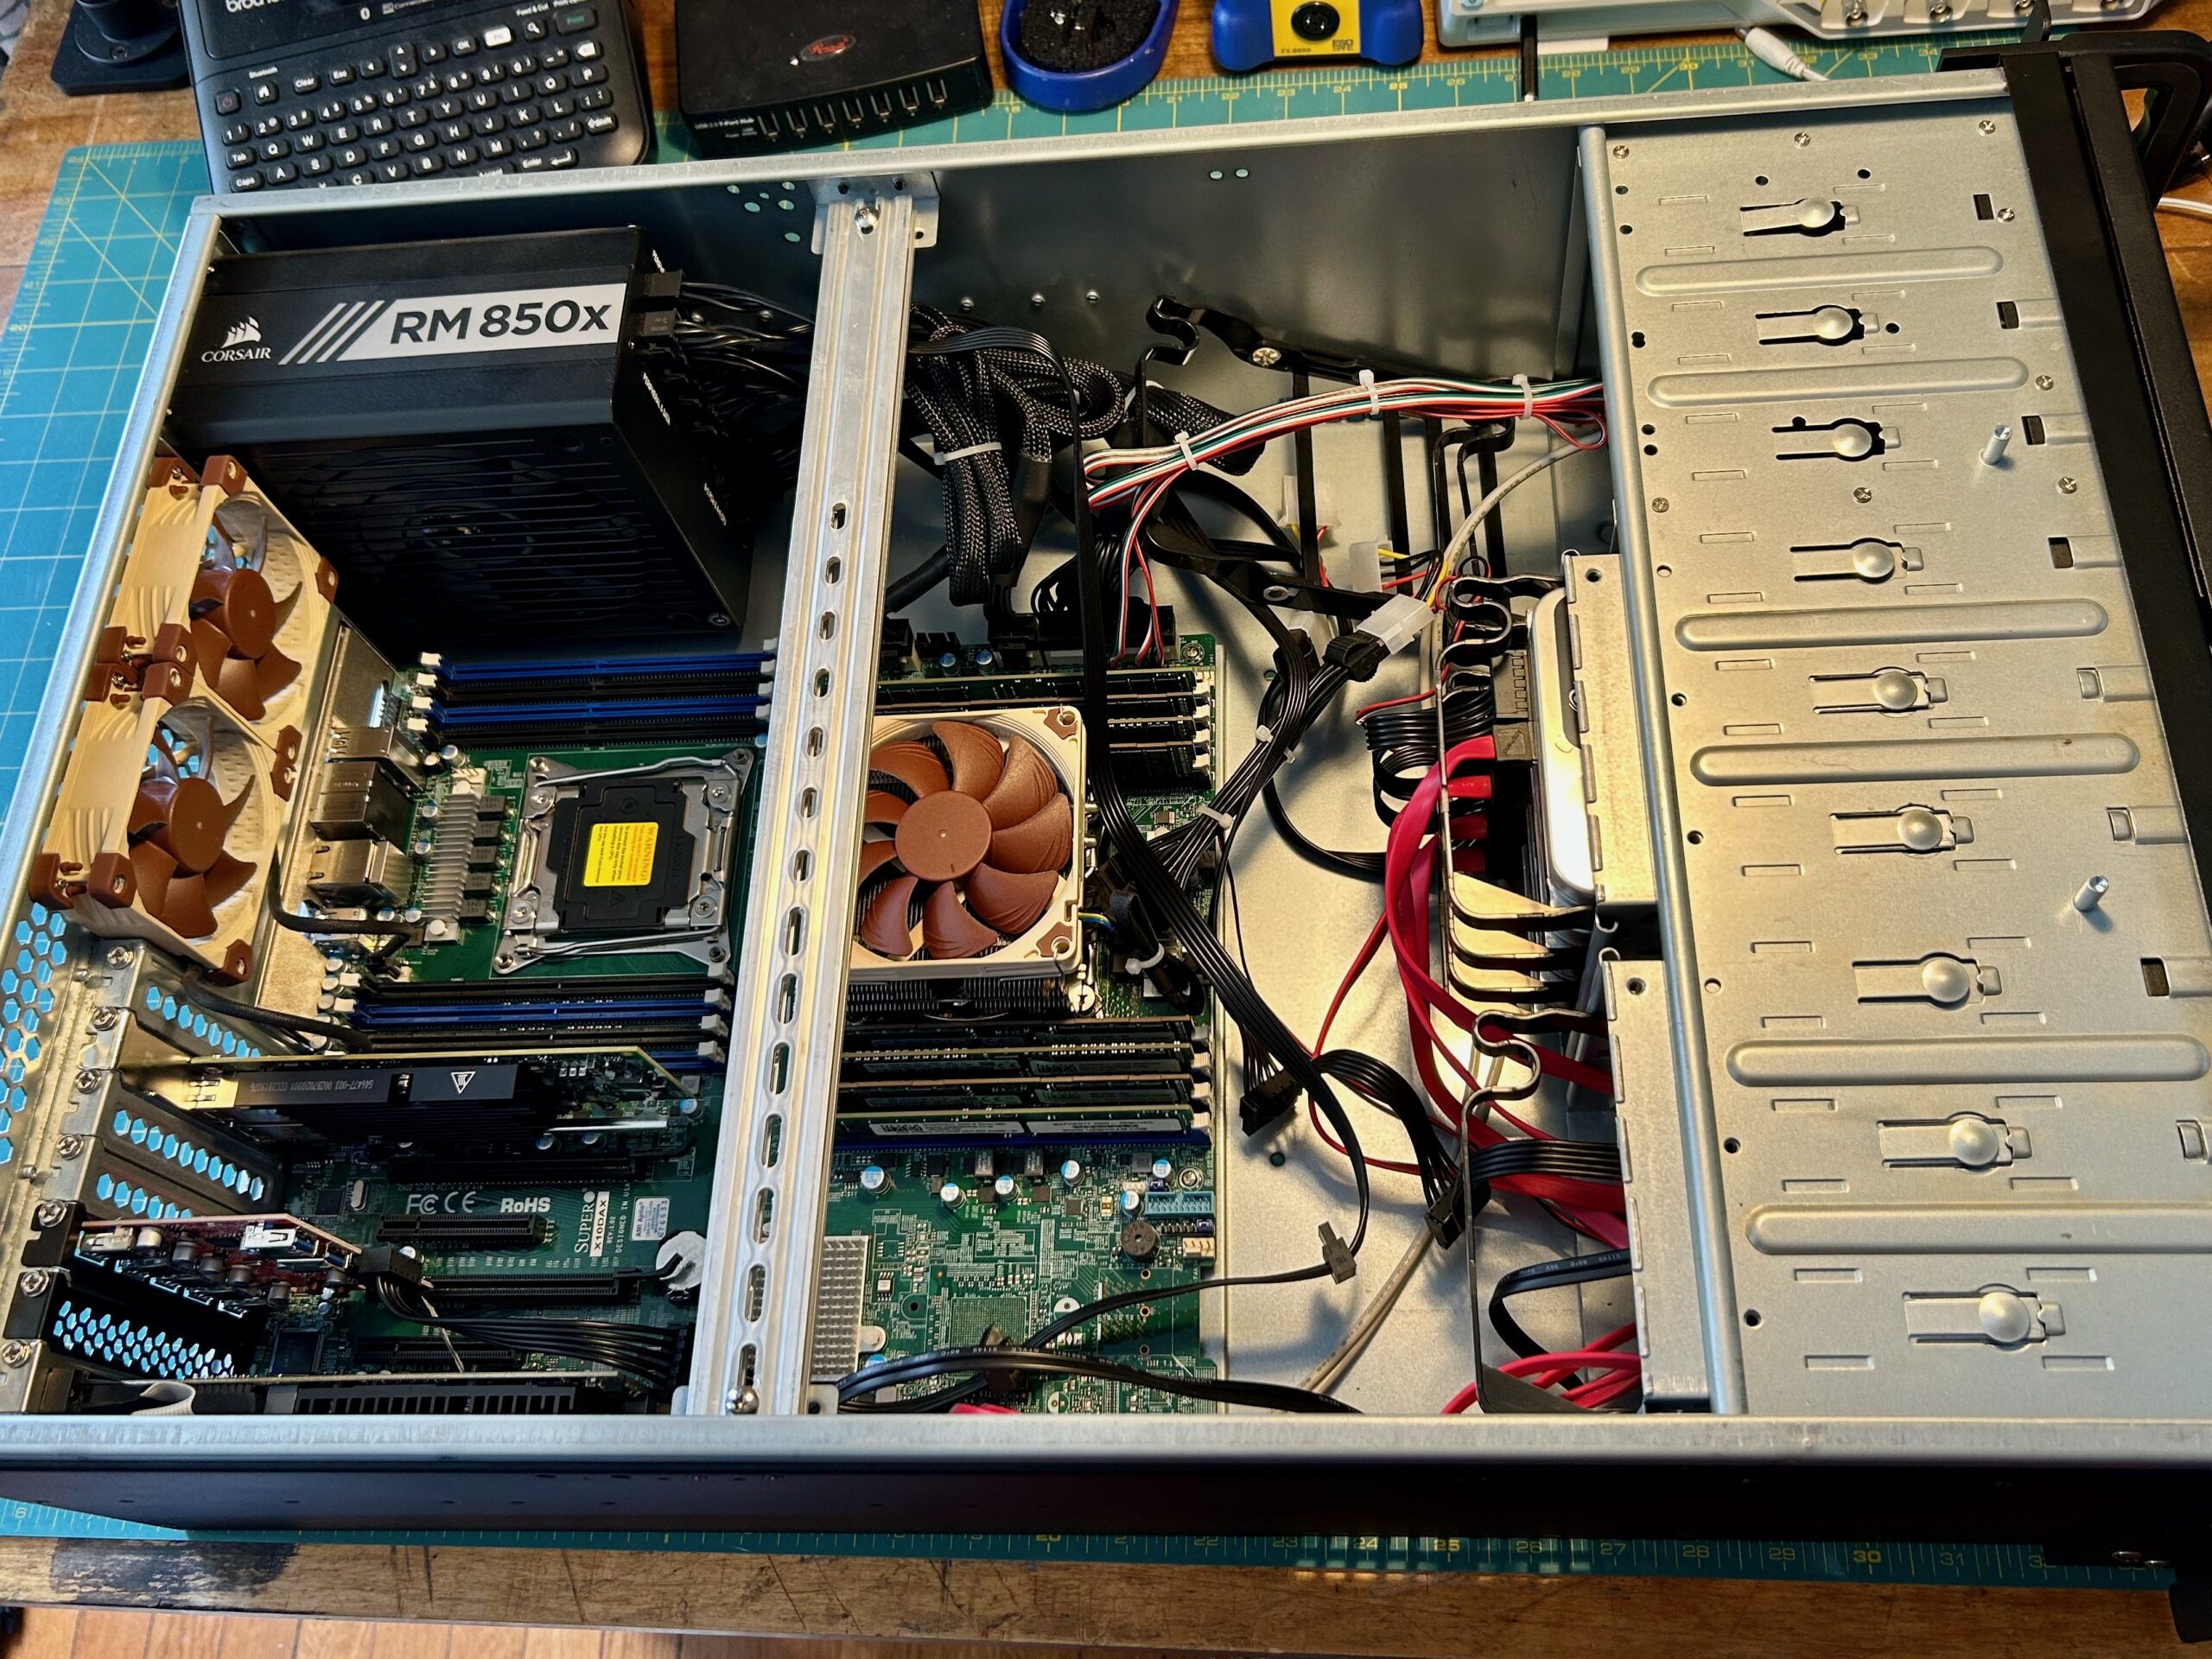
In the conclusion of my previous homelab post, I pled to the eBay gods begging for a 4xP100 system. My prayers were heard, possibly by a malevolent spirit as a V100 16GB for $400 surfaced. More money than I’d be willing to spend on a P100 but the cheapest I’d ever seen a V100, I fell to temptation. To use all four cards, I needed something bigger than the Rosewill RSV-R4100U. Enter the OpenBenchTable, and some 3d printed parts I designed to be able to securely mount four compute GPUs:
My beloved blog post still sits on the throne as the most effective format for engineering projects. To me, Inlining code, photographs, CAD models and schematics in an interactive way trumps other mediums. This level of interactivity closes the gap between reader and material, allowing an independent relationship with the subject outside of the story being told by the author.
Working on stream to an online audience has a similar effect, the unedited and interactive format yielding a real understanding of the creators process and technique.
For a while there, I’d settled into a nice habit of broadcasting project development live on twitch. Two moves later, things have settled down enough in my personal life that I feel it’s time to try to get back into this habit.
Before we get started again, I took some time to improve the ergonomics (both hardware and software) of my stream setup. The following documents a few smaller projects, all in service of these upcoming broadcasts.
There’s an unspoken tenant of the maker movement that demands: calls for bespoke engineering work from friends should always be answered. Maker projects for friends pay dividends in net-happiness injected into the world.
My ‘ol pal Ben (A.K.A Bensbeendead.) knows this kind of work is a favorite of mine. So when he asked, of course I jumped at the opportunity to design and manufacture some “elbows” that mount his laptop and controller atop RGB stage lighting.
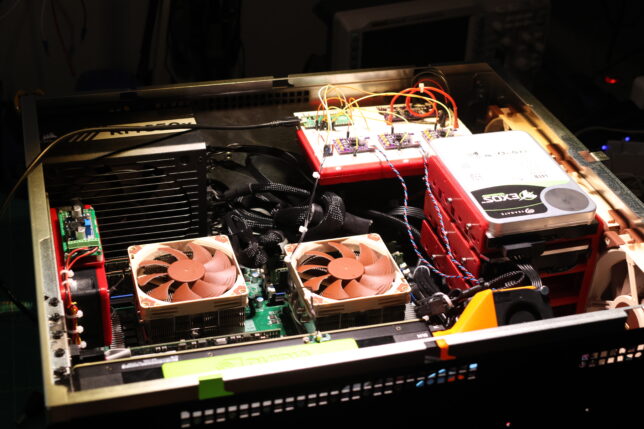
In the years since the GANce days, Rosewill’s massive 4U chassis, RSV-L4000U has housed my daily-driver virtualization host. The guts of the build are almost identical to the original spec, but it has come time to move into a smaller case. CX4200A from Sliger won out because of a few factors.
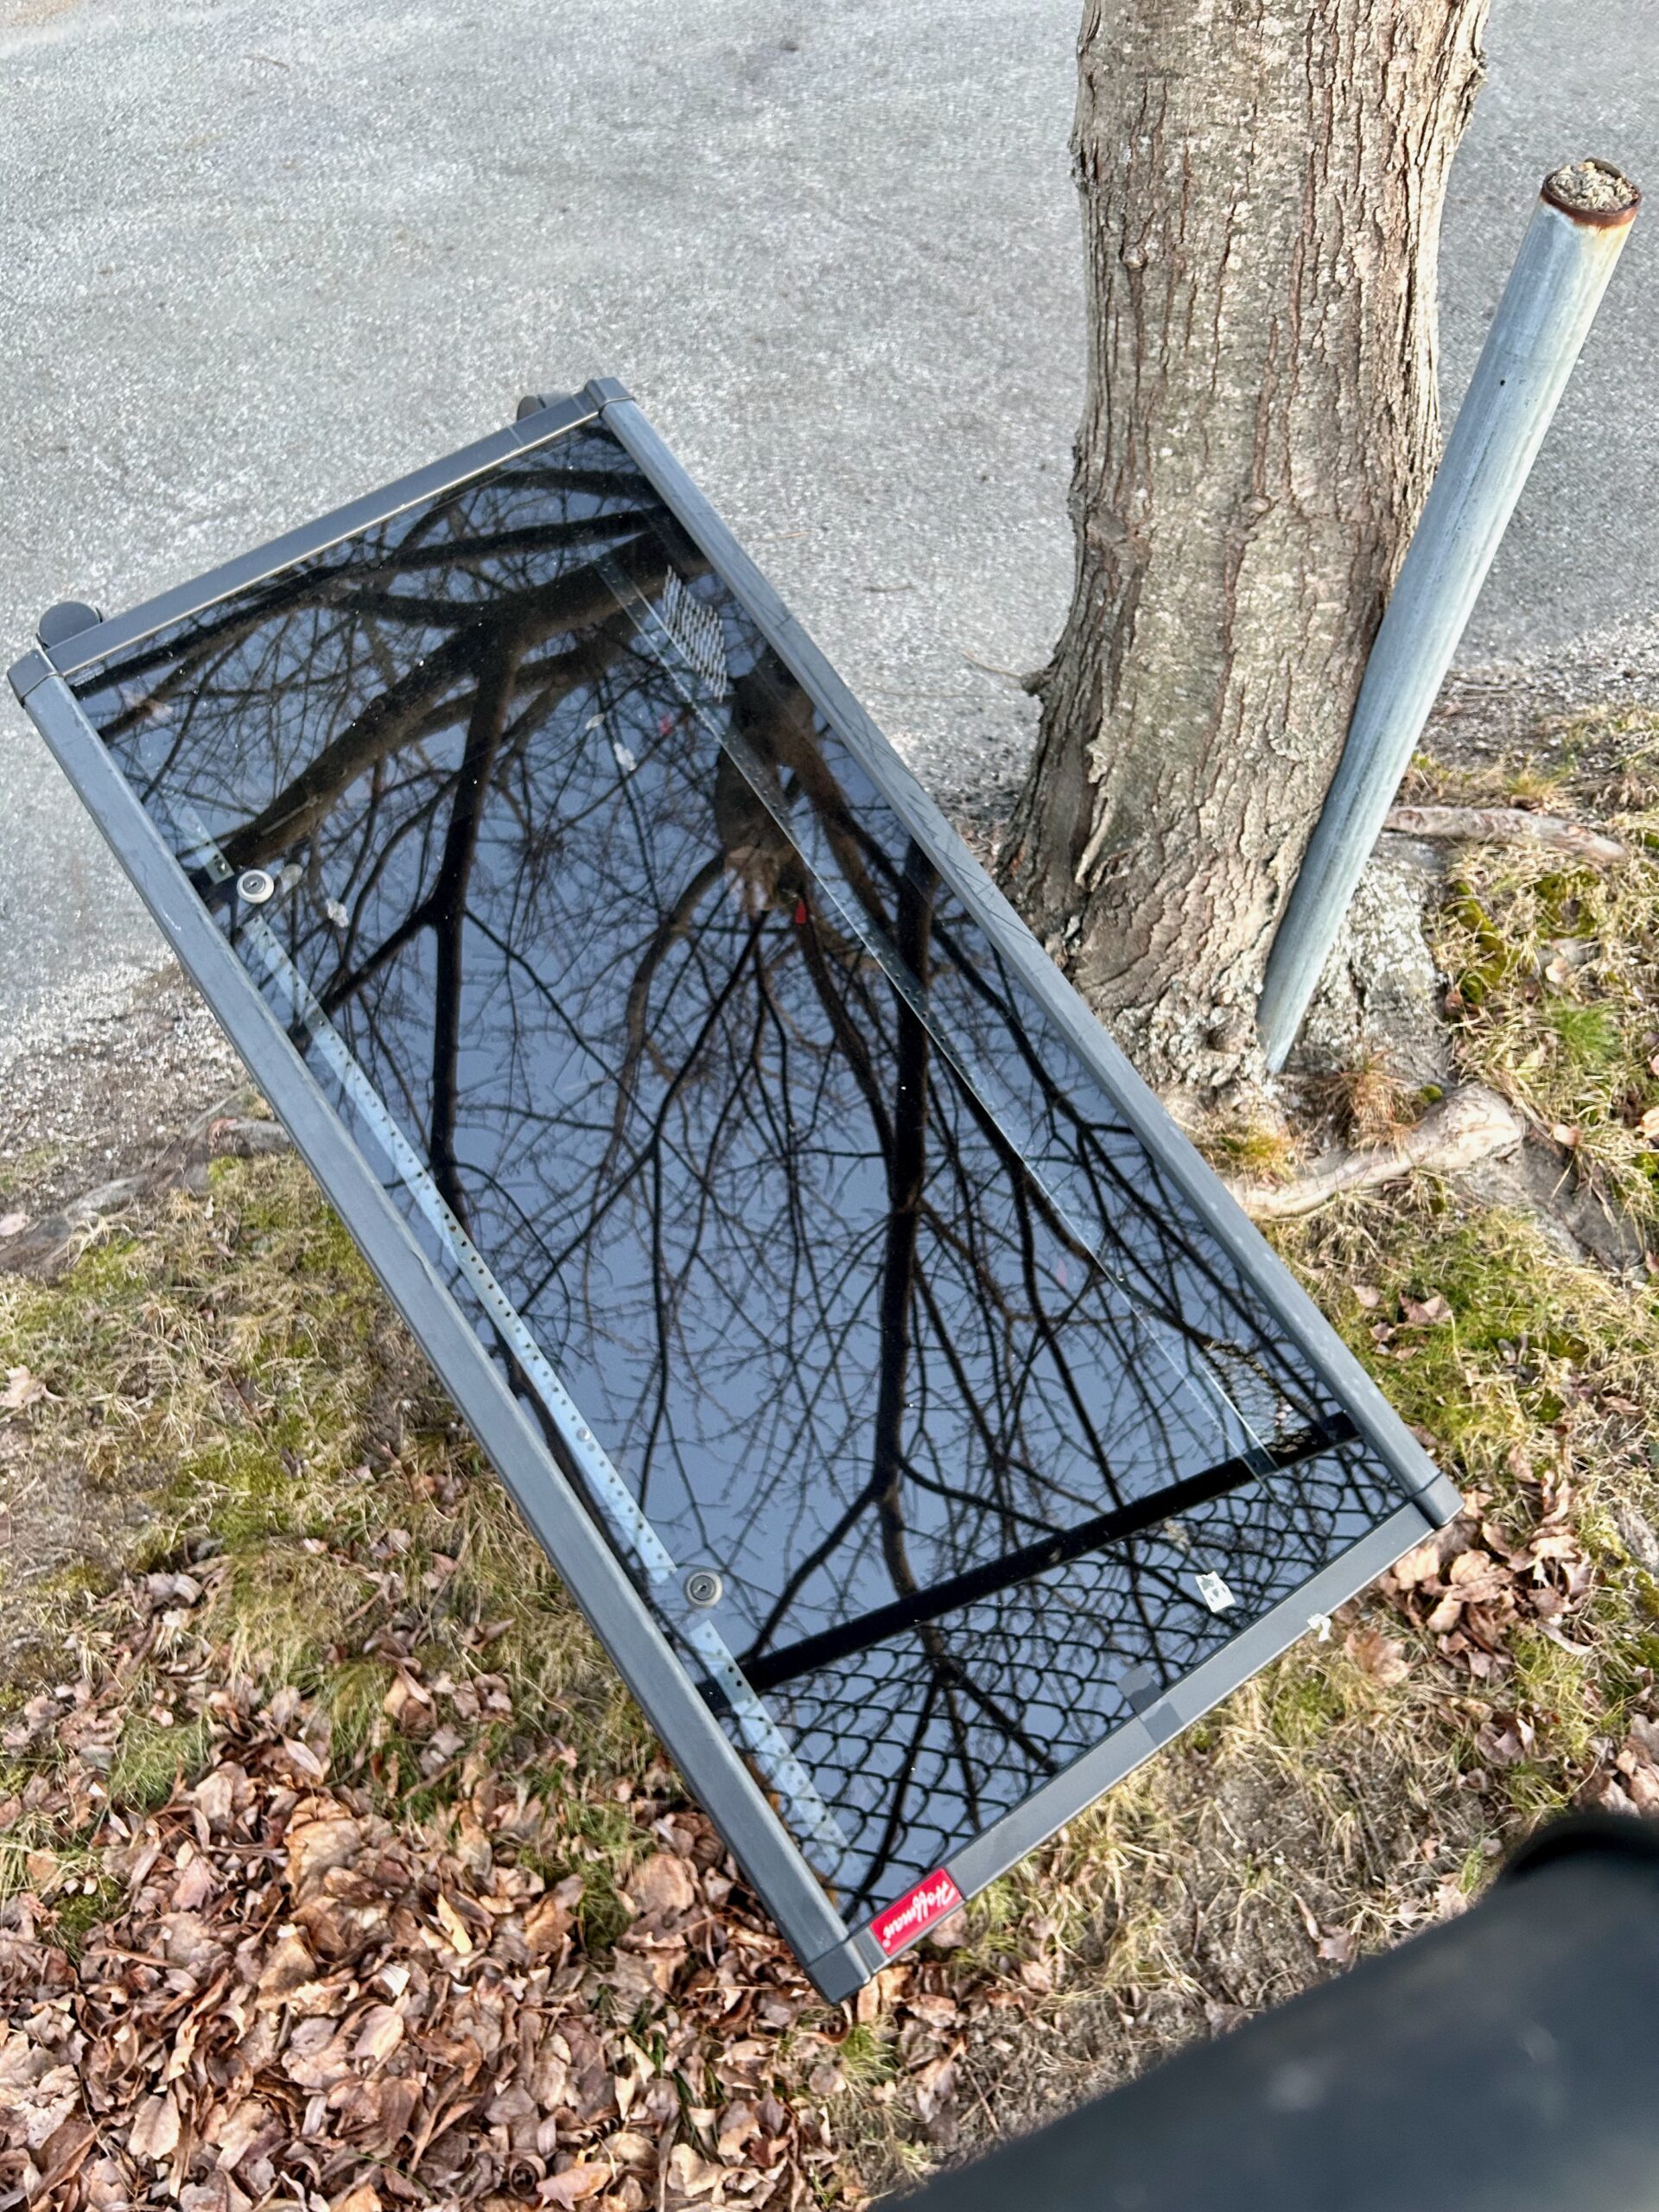
The main one is that, following some flooding in my city, someone discarded a Hoffman EWMW482425 26U short-depth rack with a flawless glass door and an MSRP over over $1000:
Before…
Original Discovery.
Fits in the S-10.
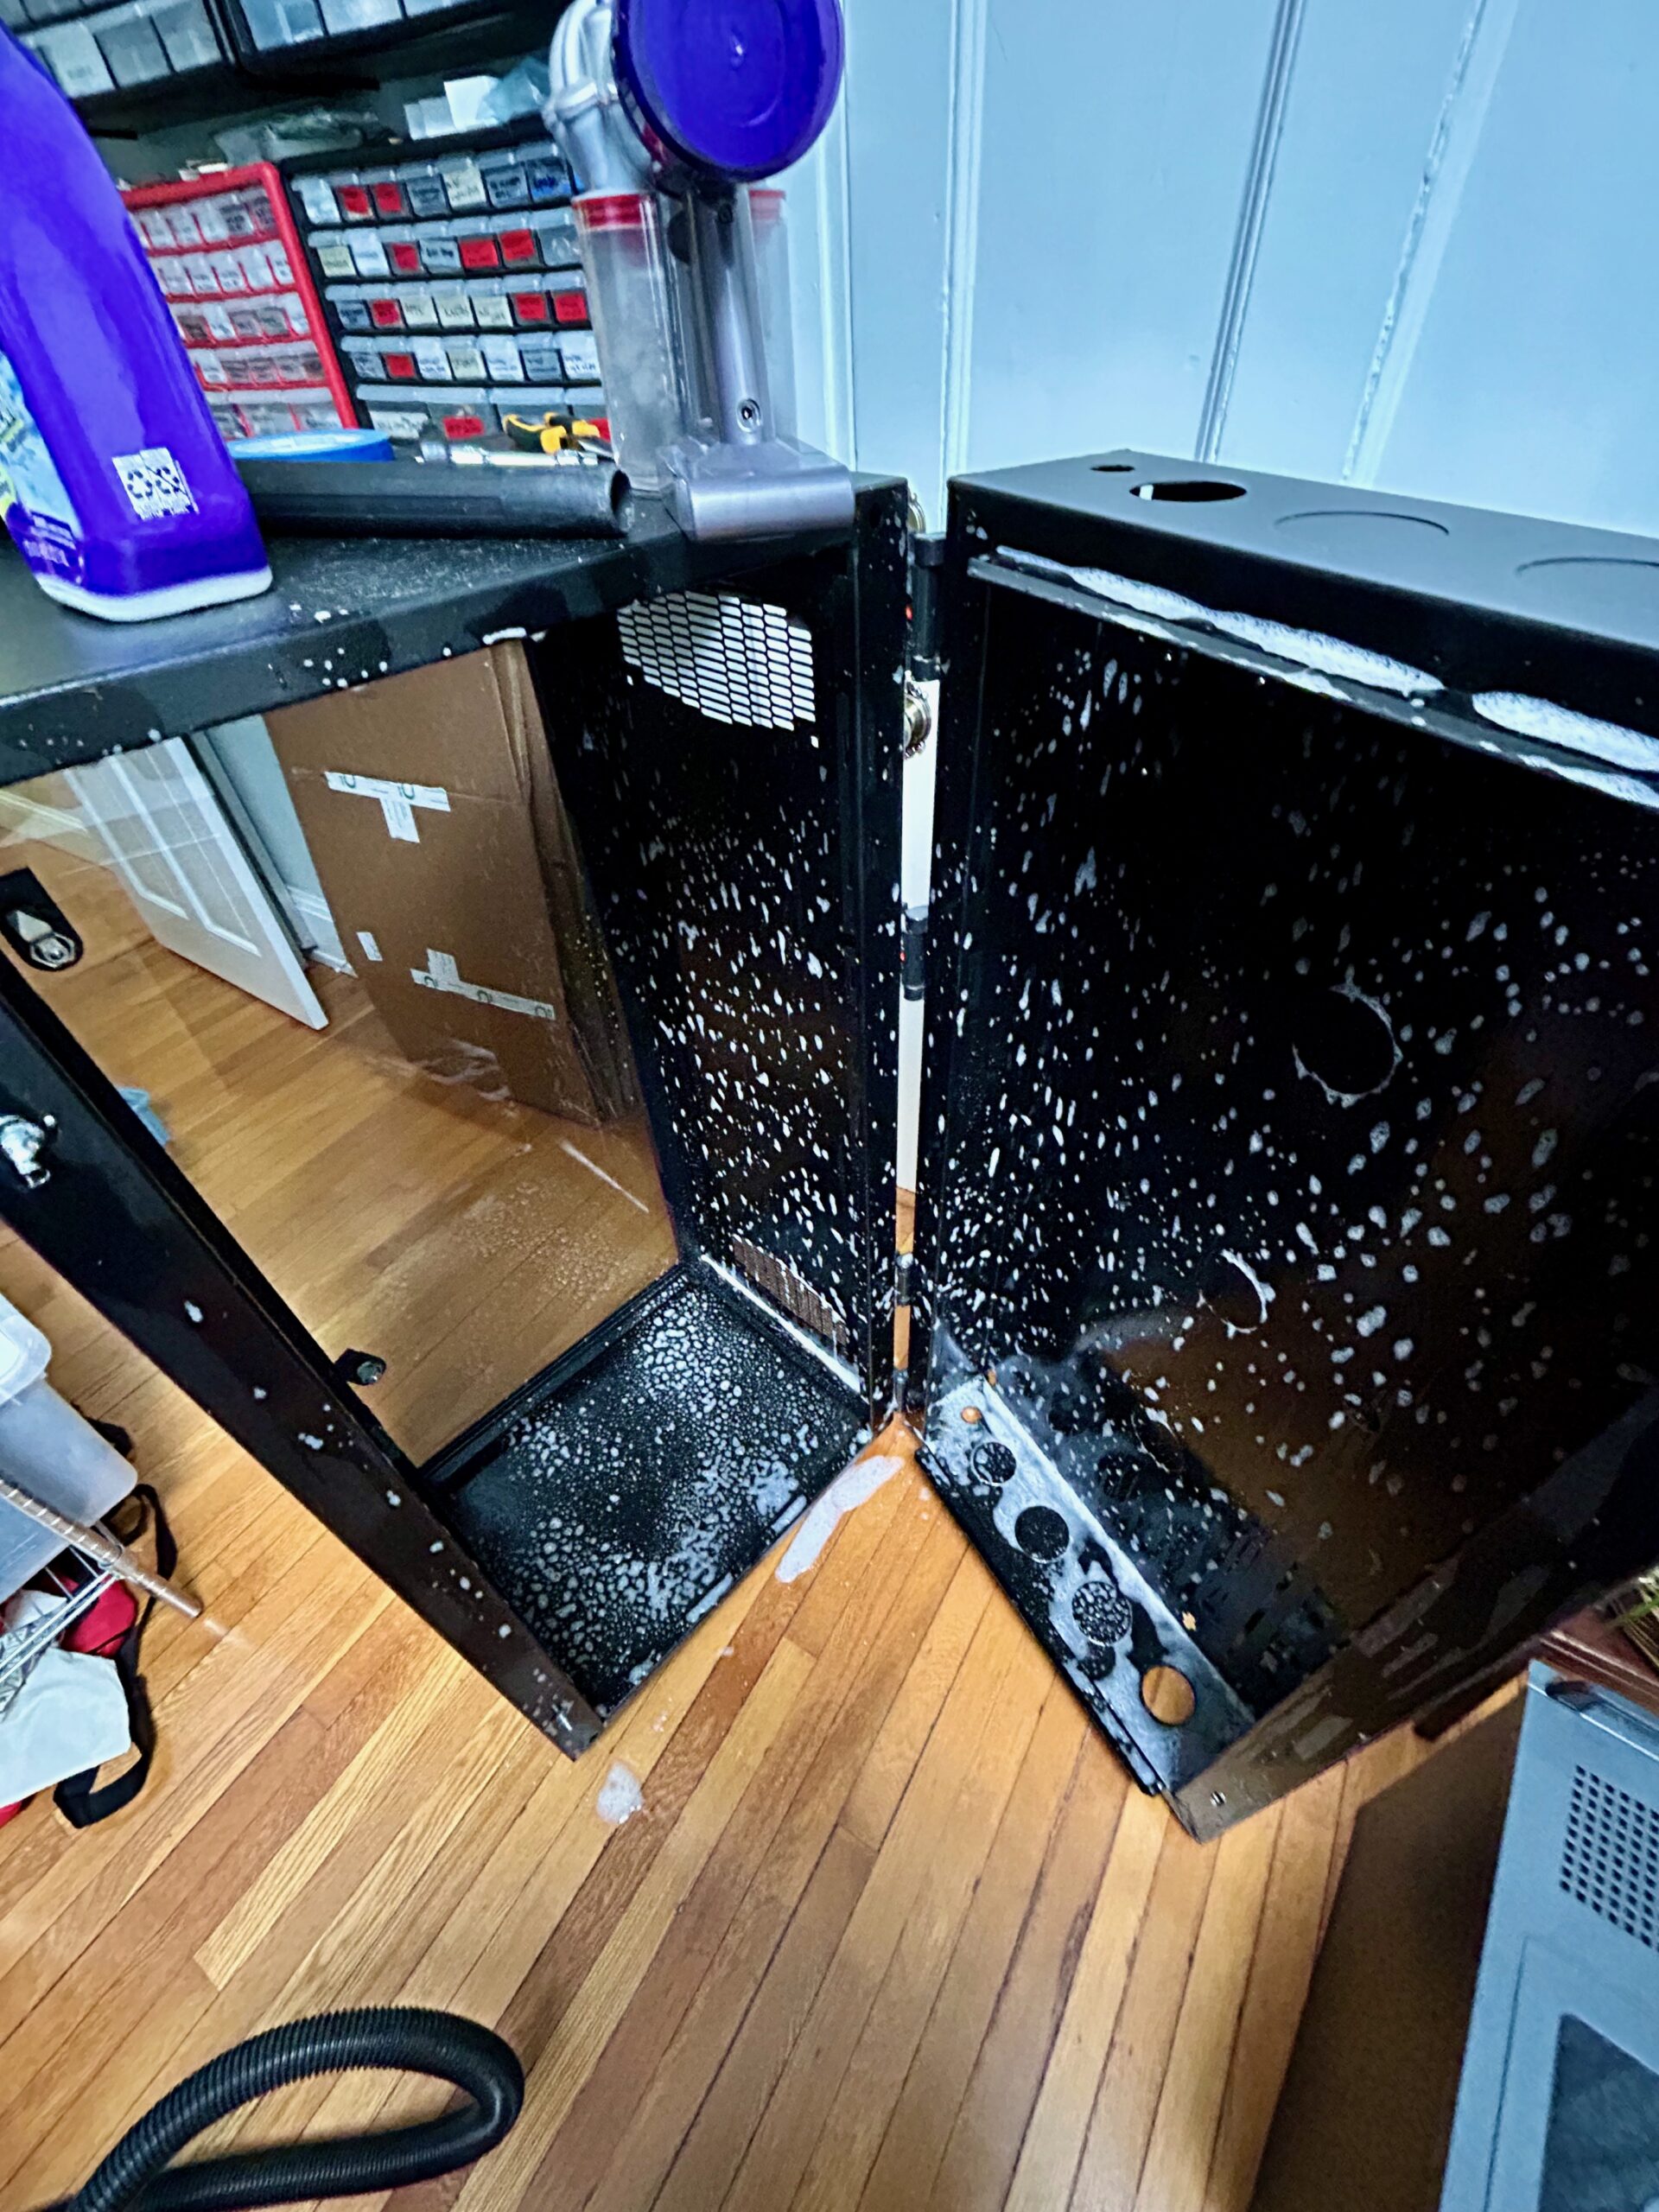
Dirt and grime.
Dirt and grime.
Cleaning.
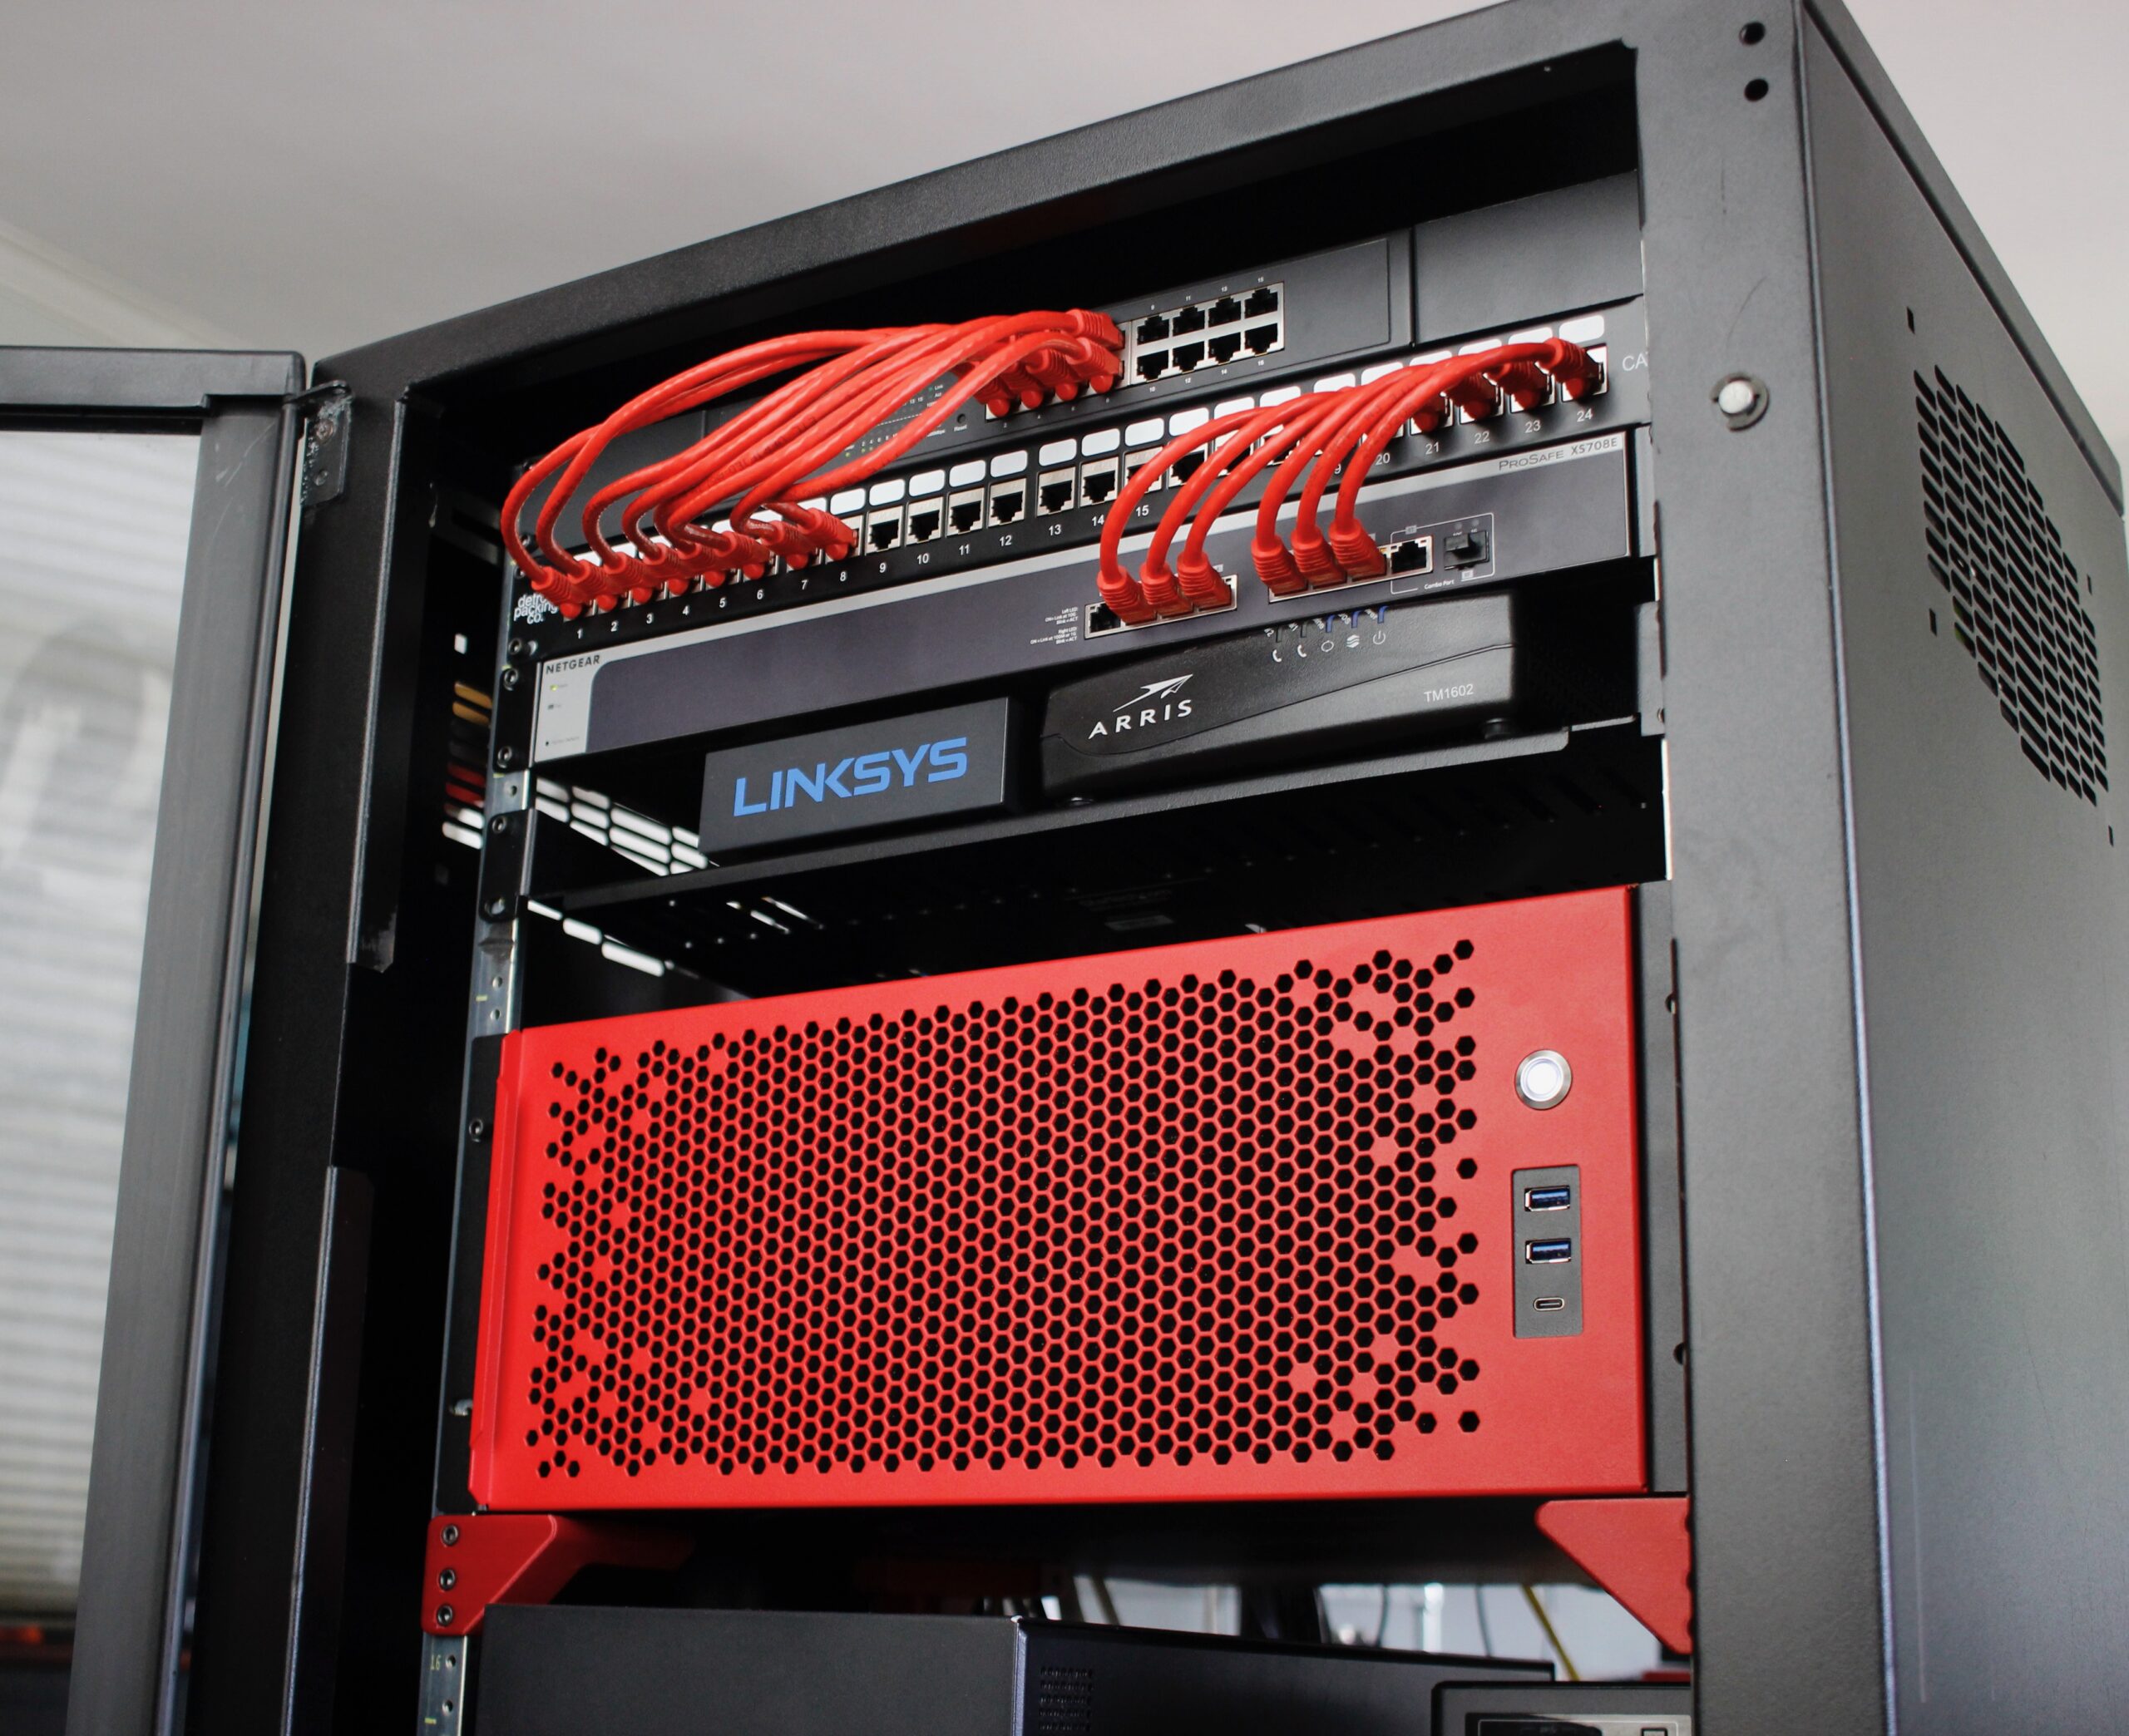
After! CX4200A is the big red one.
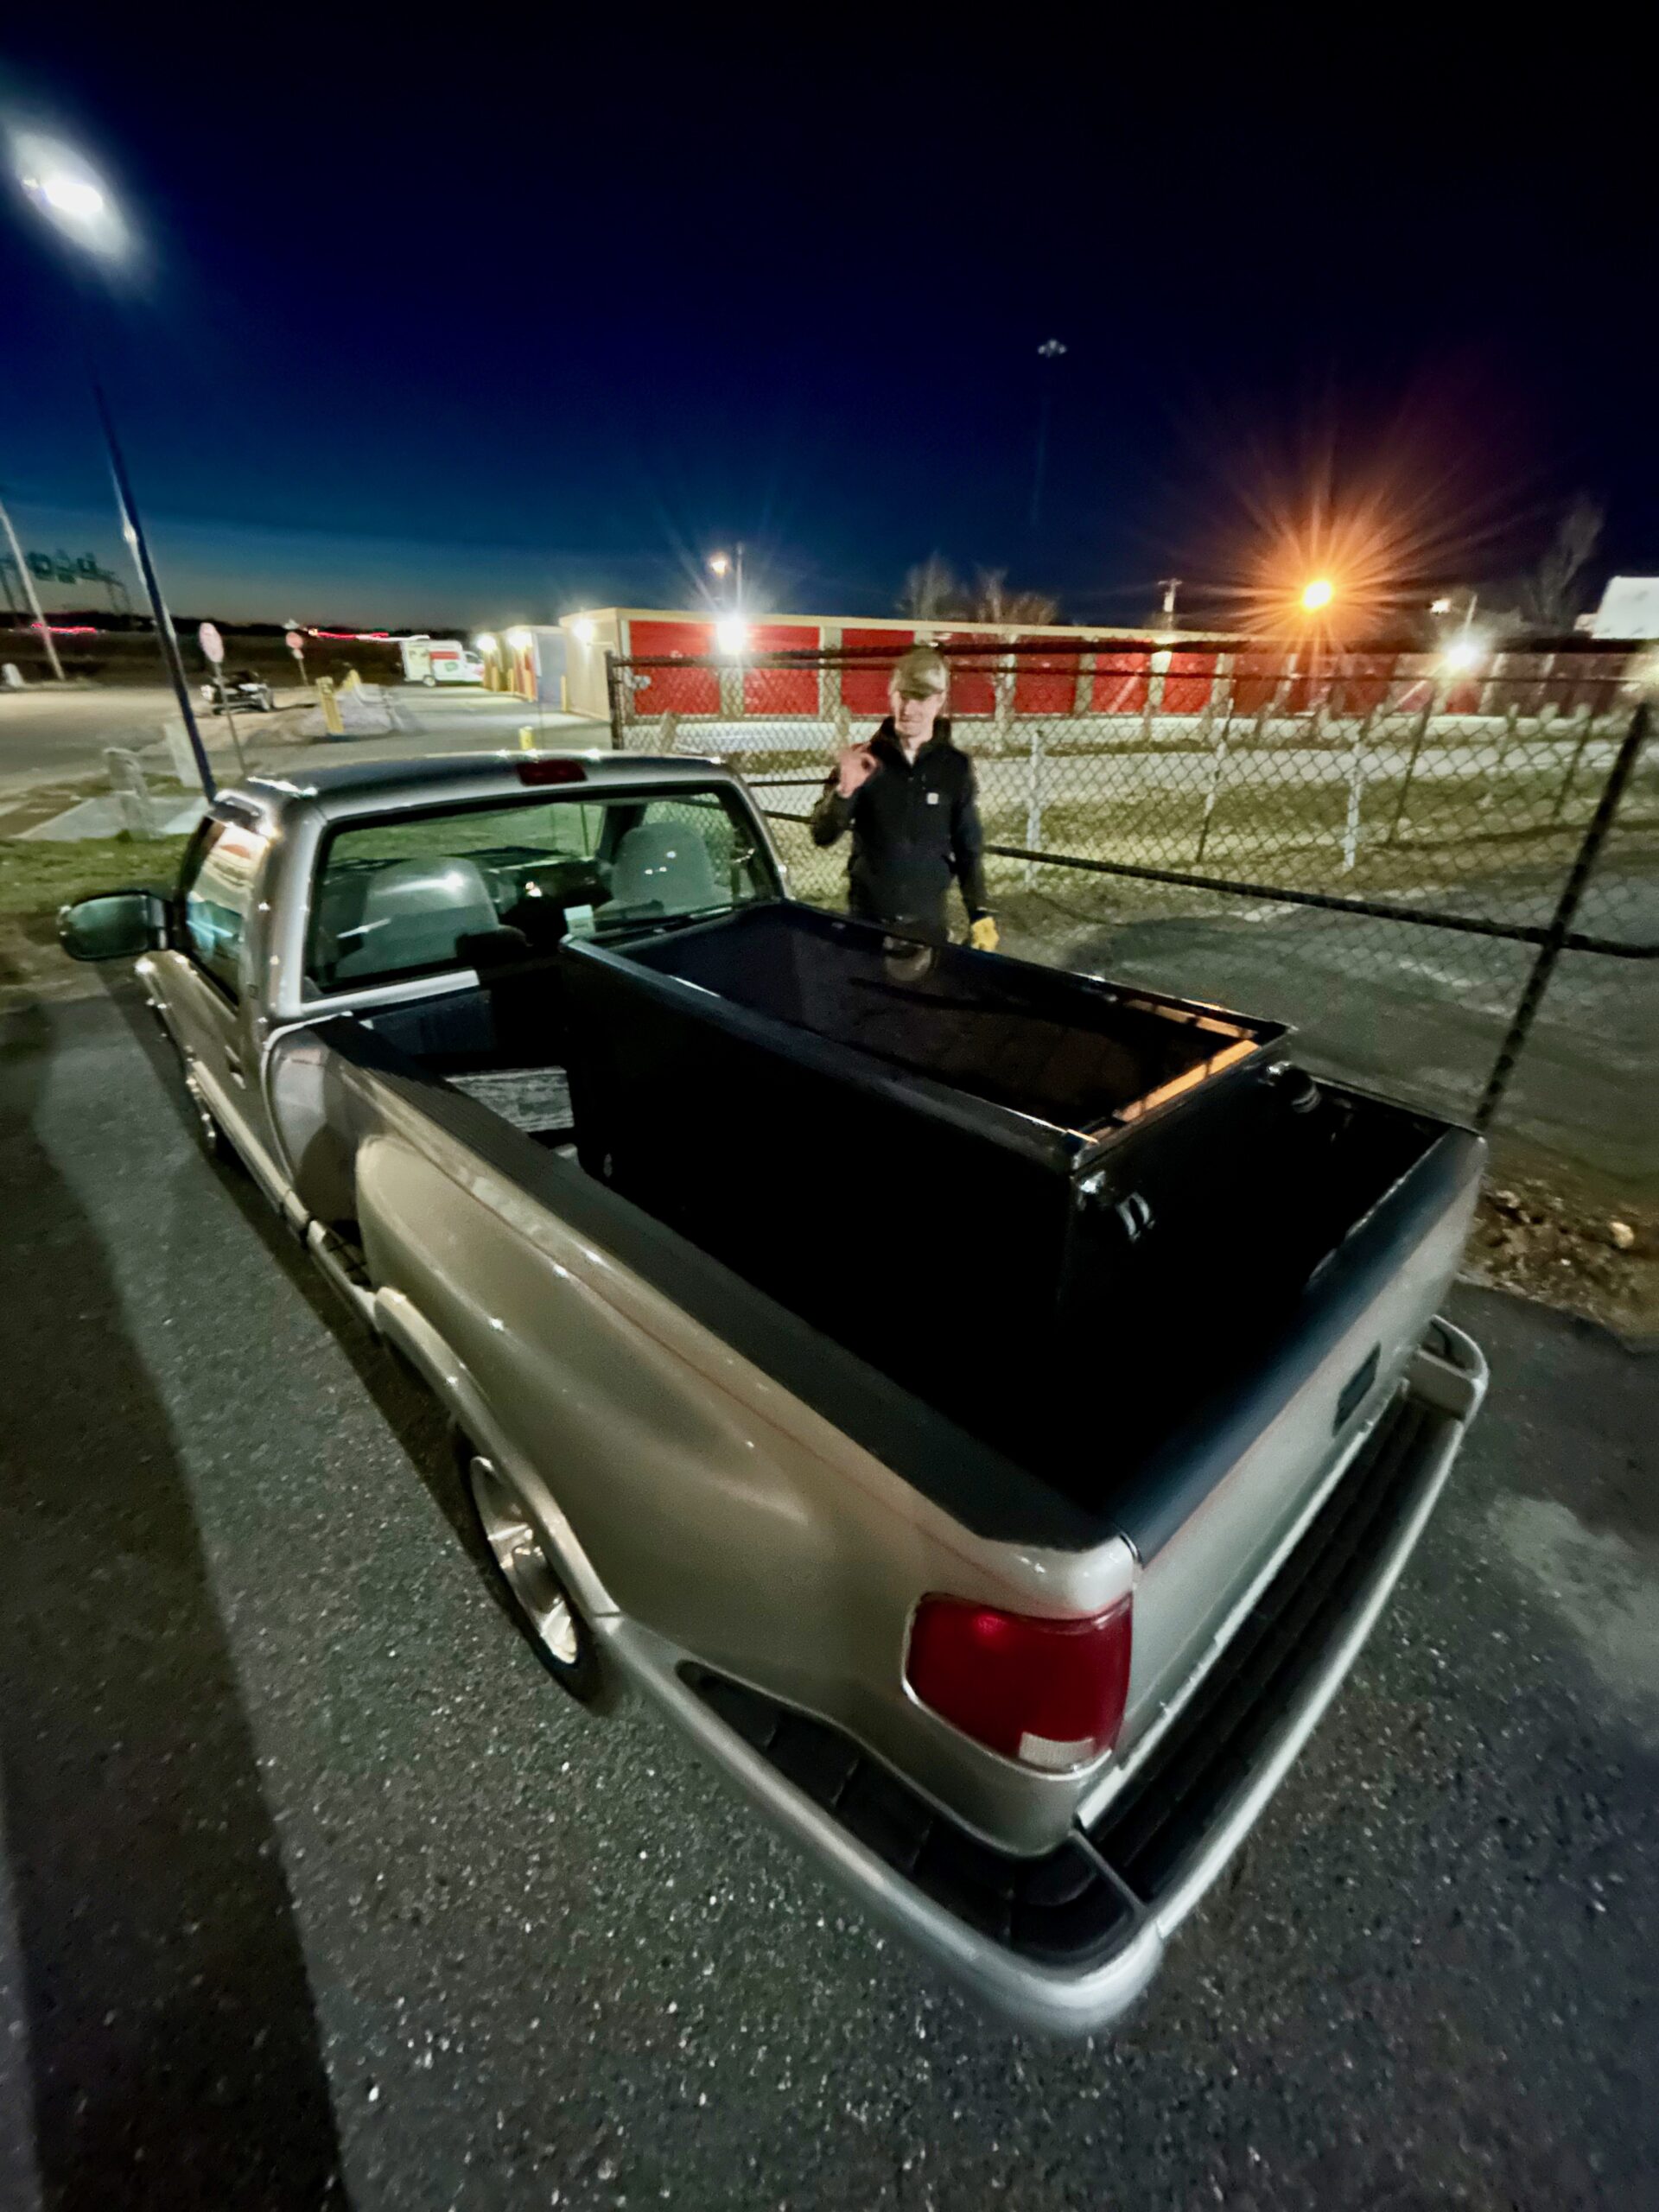
Under the cover of darkness, a co-conspirator and I were able to heist the rack from its resting place back to mine.
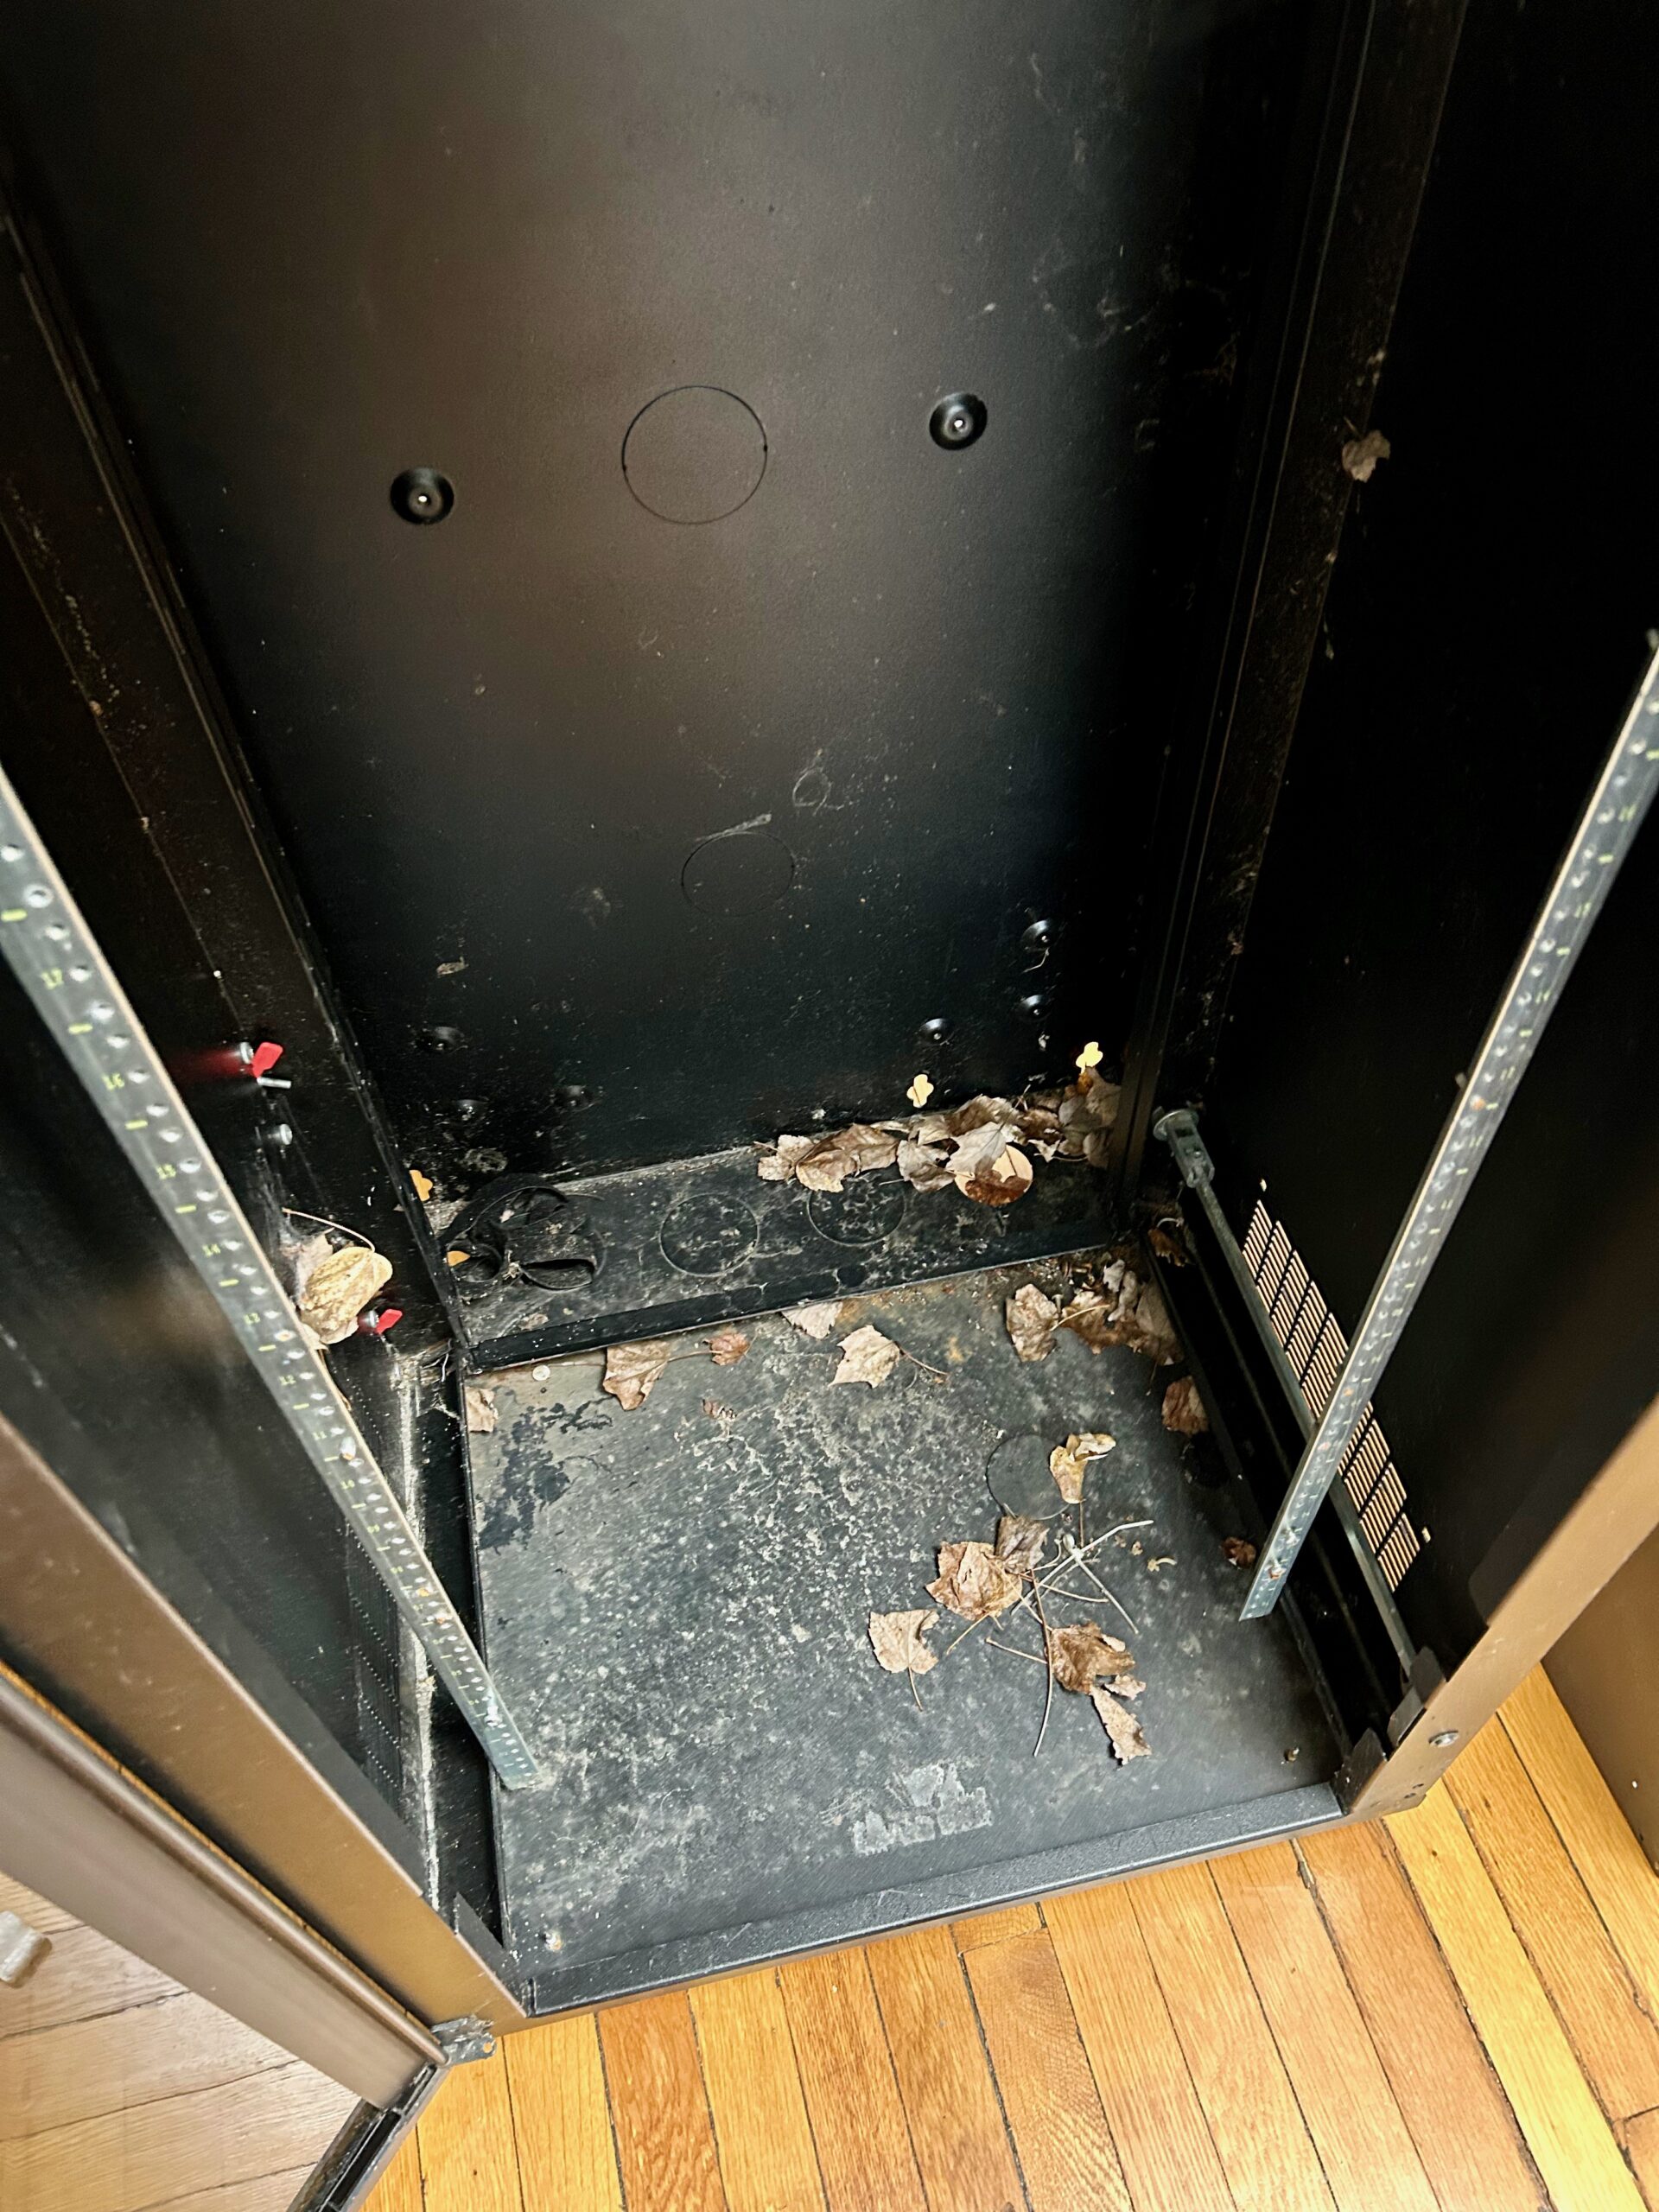
Judging by the bits left in inside, it looks to have served as a housing for telecom gear. Much of the rackable gear I’ve come into over the years is similarly short-depth with one exception, the Rosewill.
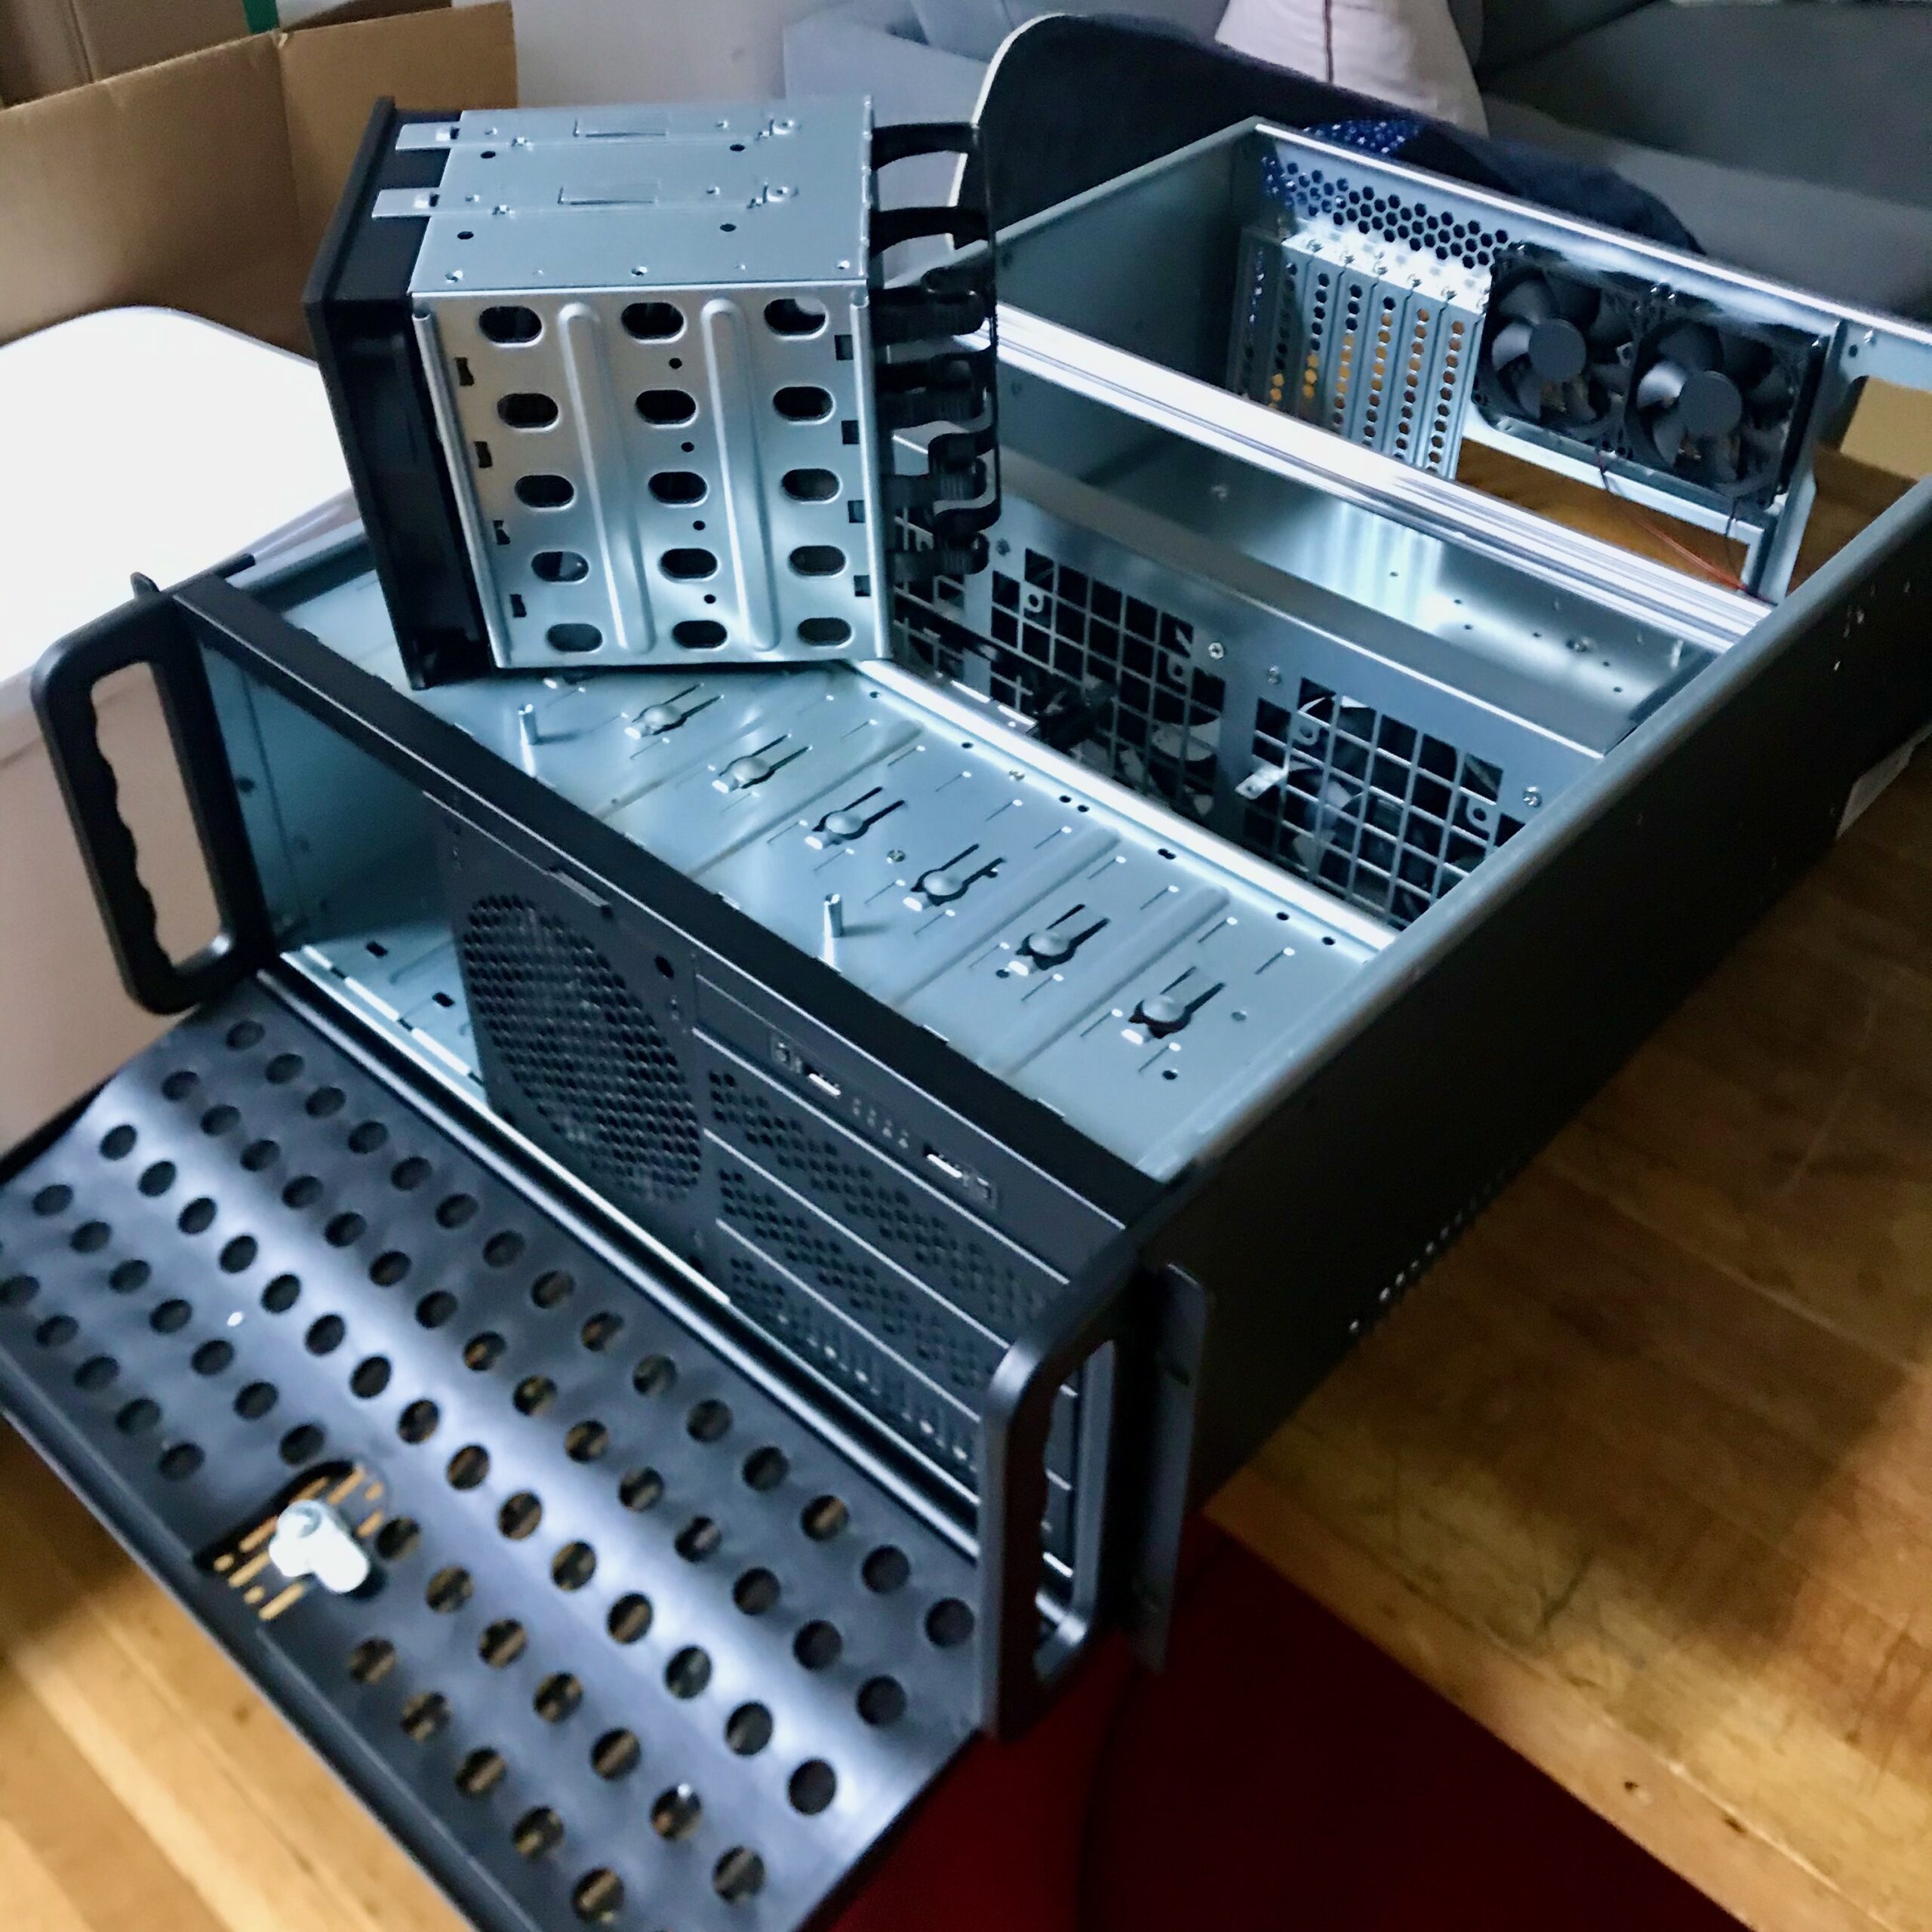
Freshly unboxed.
Big cooler fit no problem.
Recording For Tesla Cooler Livestreams
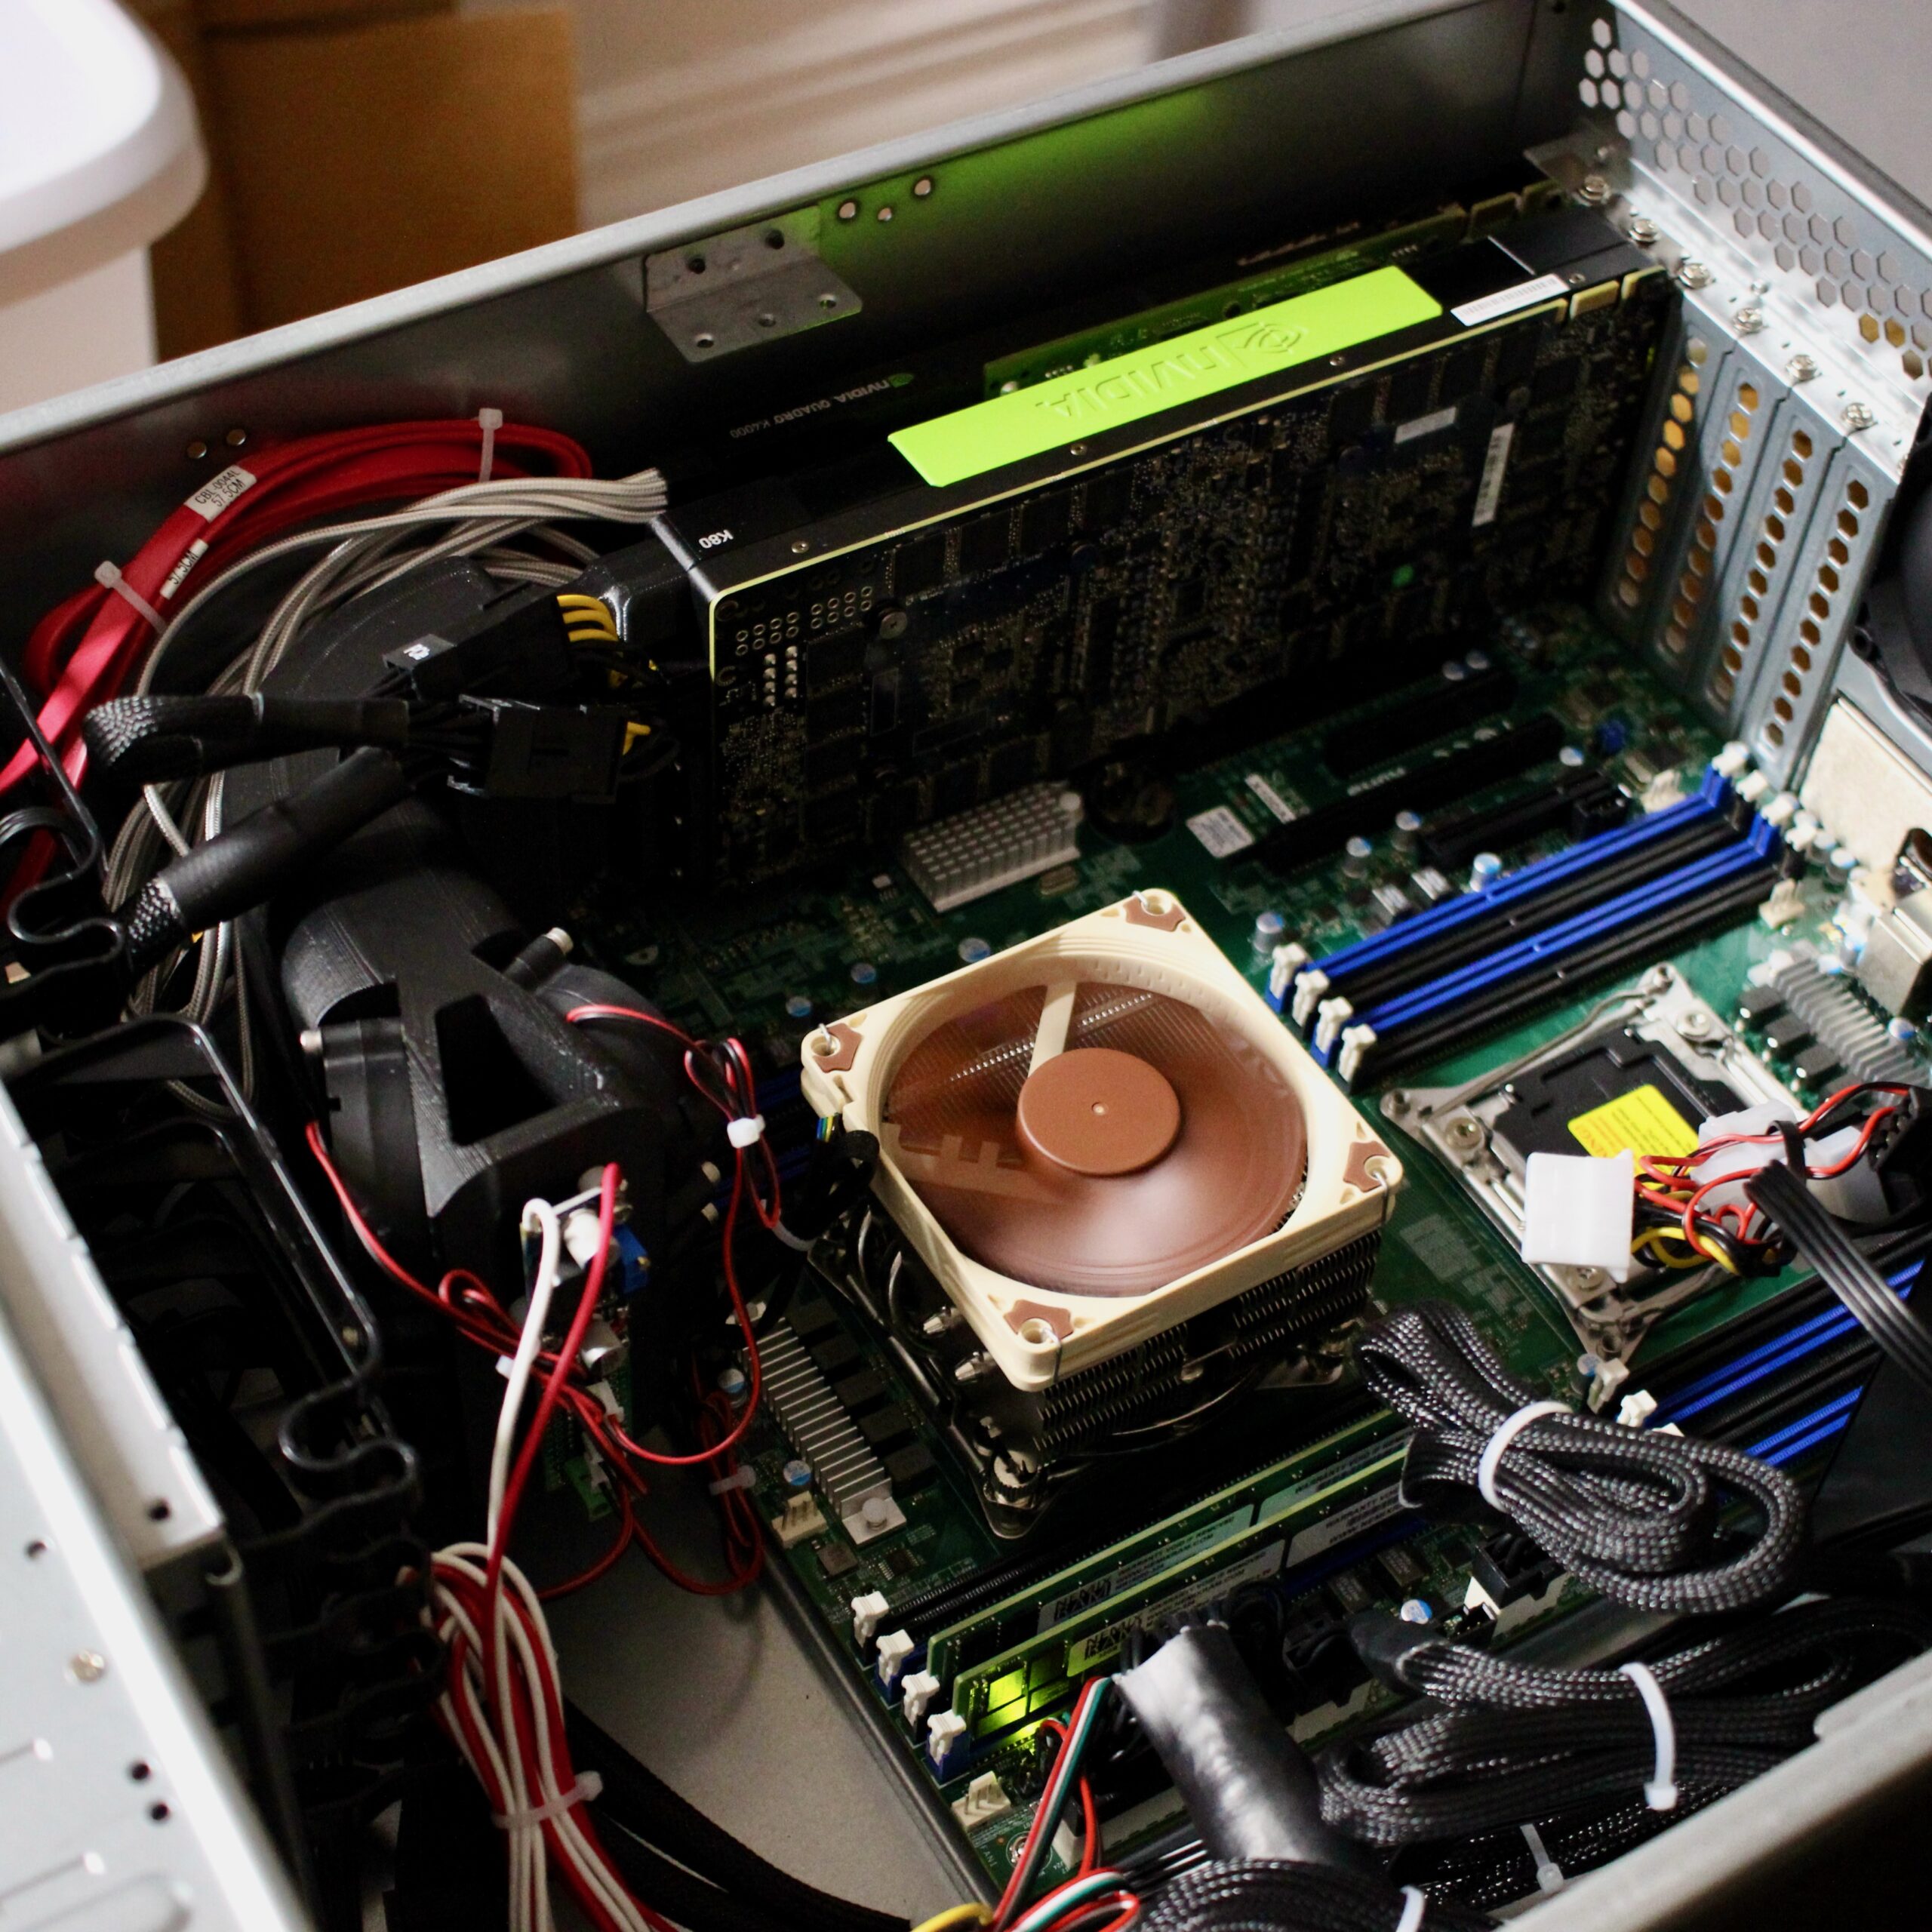
Motherboard only, so much space.
Final config before migrating the system to the sliger chassis.
The 25″ of depth is way too much for the rack. It was great for being able to work on tesla cooler, plenty of room for weird coolers and hard drives. The weight, the physical mass of the thing is also just too much. I’ve moved apartments twice since acquiring the Rosewill and have dreaded moving it both times. These aren’t RSV-L4000U’s fault, these are features for the majority of users. Just not for me right now.
Enter the Sliger CX4200A and a few modifications to make it perfect for my needs:
Close-readers, twitter-followers and corporeal-comrades will have already beheld the good news that Won Pound by Won Pound has been released! This is Won’s second album-length project (first of course being Post Space released in 2018), and graces listener’s ears courtesy of Minaret Records, a California jazz label.
The record is accompanied by an album-length music video synthesized with GANce, containing a completely unique video for each track. These 93960 frames have been the ultimate goal of this project since it’s inception, and serve as the best demonstration as to what GANce can do. Within the video (linked below), the video for ‘buzzz’ is a personal favorite, demonstrating the three core elements of a projection file blend:
As it stood, the three main features that would comprise the upcoming collaboration with Won Pound (slated for release mid-April) were:
Projection Files (using a styleGAN2 network to project each of the individual frames in a source video, resulting in a series of latent vectors that can be manipulated and fed back into the network to create synthetic videos)
Audio Blending (using alpha compositing to combine a frequency domain representation of an audio signal with a series of projected vectors)
Network Switching (feeding the same latent vector into multiple networks produced in the same training run, resulting in visually similar results)
As detailed in the previous post. The effect of these three features can be seen in this demo:
Knowing we had enough runway to add another large feature to the project, and feeling particularly inspired following a visit to Clifford Ross’ exhibit at the Portland Museum of Art, I began exploring the relationship between the projection source video and the output images synthesized by the network.