
There’s a triple-point energy to working on something out at the edge of your abilities. Enumerated alongside the possibilities for failure are visions of the finished piece, installed and gloriously humming along, that make the long nights ahead less intimidating.
In late October of 2018, I began the CAD for such a project. Telapush had just closed our largest deal to date. We were to contracted to build a massive illuminated sign that would map social media interactions to custom animations to be displayed in real time. The piece was to run, un-attended for the entire month of December in the Center Court of the Prudential Center mall, inside of Boston’s most distinctive skyscraper.
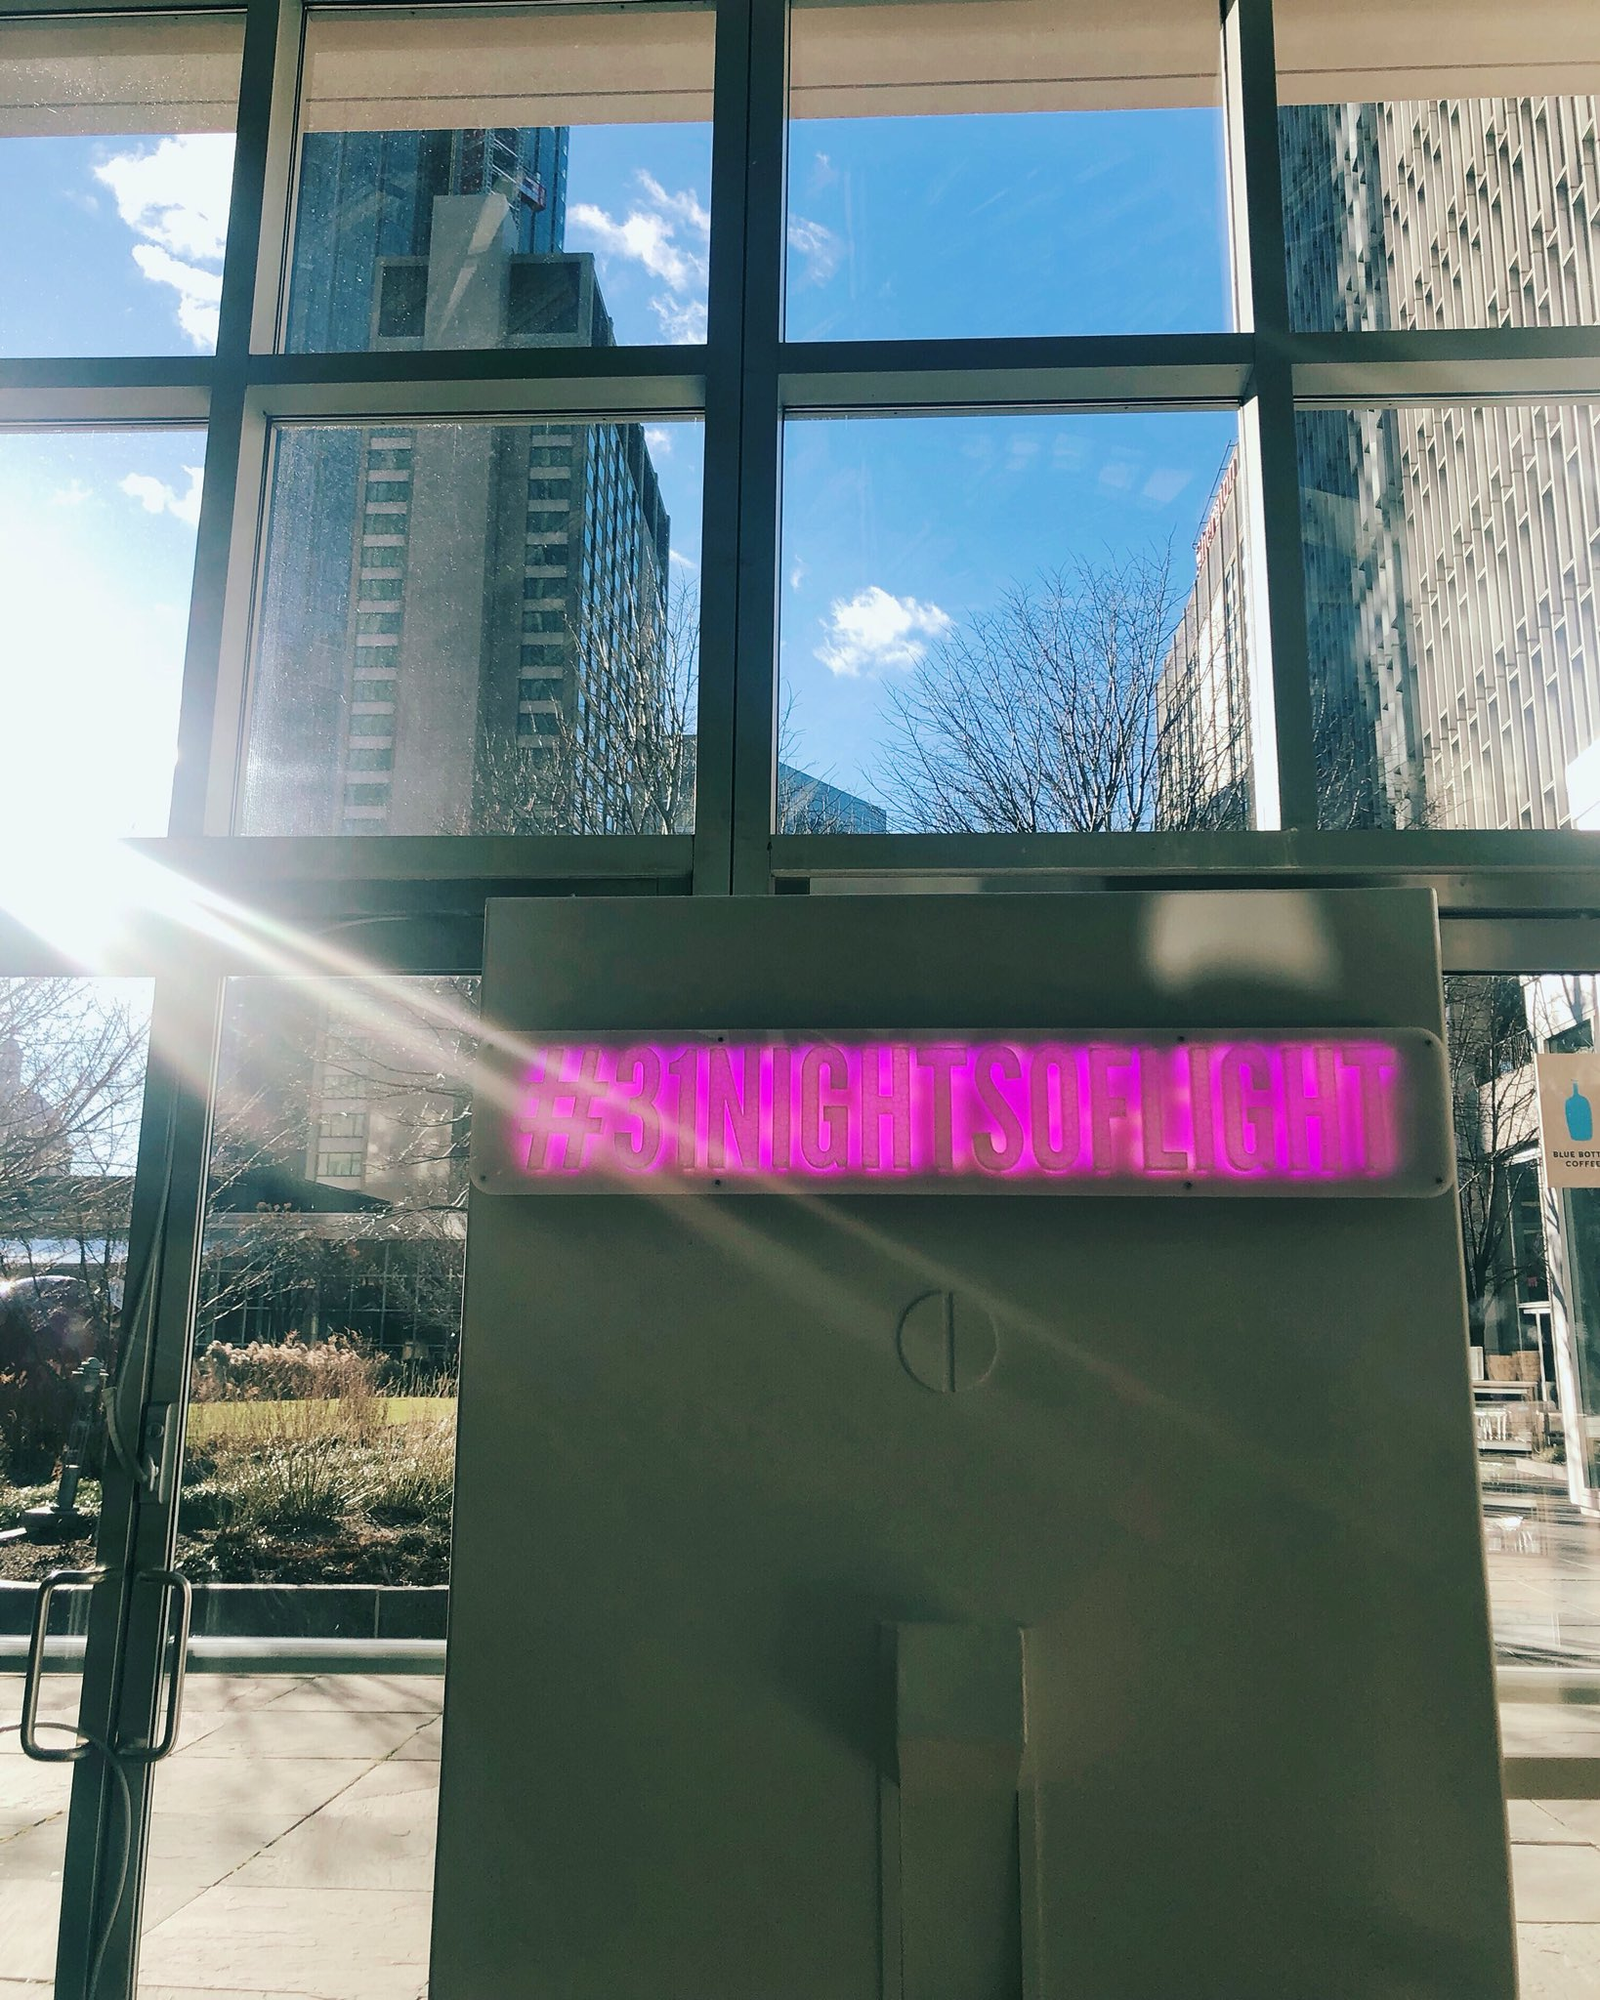
Erin and I had been pouring effort into Telapush for some time, and this installation was to be the largest tangible result from that effort. Serious people spending real money and expecting actual results. Boston was my new home and I felt that this project was my chance to make a good first impression to this new and intimidating place. This heightened importance, paired with the reverence for the challenge, coaxed out some good engineering; the project was a rousing success. More details about this installation can be found in my portfolio entry on the project.
Luckily, one element of the installation that I was able to retain possession of after the installation concluded was the LED matrix. An overwhelming array of 1215 addressable LEDs, and a 100W power supply to drive them.
Still brimming with usefulness, and valuable as a totem commemorating the successful project, the light bar was filed into storage. Unfortunately, I lacked the bandwidth and inspiration to pick it back up. In the past few months however, on quiet nights, I could hear it calling out to me from the crawlspace, pleading to be reanimated. And after a few years of rest, this post describes how this favorite project is given a new lease on life to enhance my 3D printing workflow.
Mechanical Design
Before diving into the implementation, and if you’re interested in reproducing this build, the STLs for the entire setup as well as the source solidworks files are available on my GitHub. If you end up reproducing any part of this build, please send along a note.
Perhaps ill-advisedly, the 3D printer central to the workflow lives on a wire shelf. The elegant concrete paver trick stabilizes things, increasing the frequency of the vibrations produced by the printer past the point of being audible.
Long-time readers will know my obsession for creating snap-fit assemblies around these shelves:
- A 3D printed solution for storing a Valve Index on a wire shelf
- Tiny Apartment Improvement Project – Wire Shelf Keyboard Holder
- Raspberry Pi Wire Shelf Mount
The mechanism they use to lock in the position of the shelves is easy to extend for other uses, and 3D printed PLA has the compliance needed to snap onto the poles. This makes re-configuring the shelves and ad-ons fast and easy, and lets you squeeze even more value out of these already inexpensive shelves.


Easy to reconfigure.
For this build, the same principal is used to mate the light assembly with the shelf.


The brackets bow outward to accommodate the full length of the lights, which comes in at 16 cm longer than the shelf itself. Holding things together is an M8 bolt and two perpendicular slots. These slots allow for a bit of play in the installation.
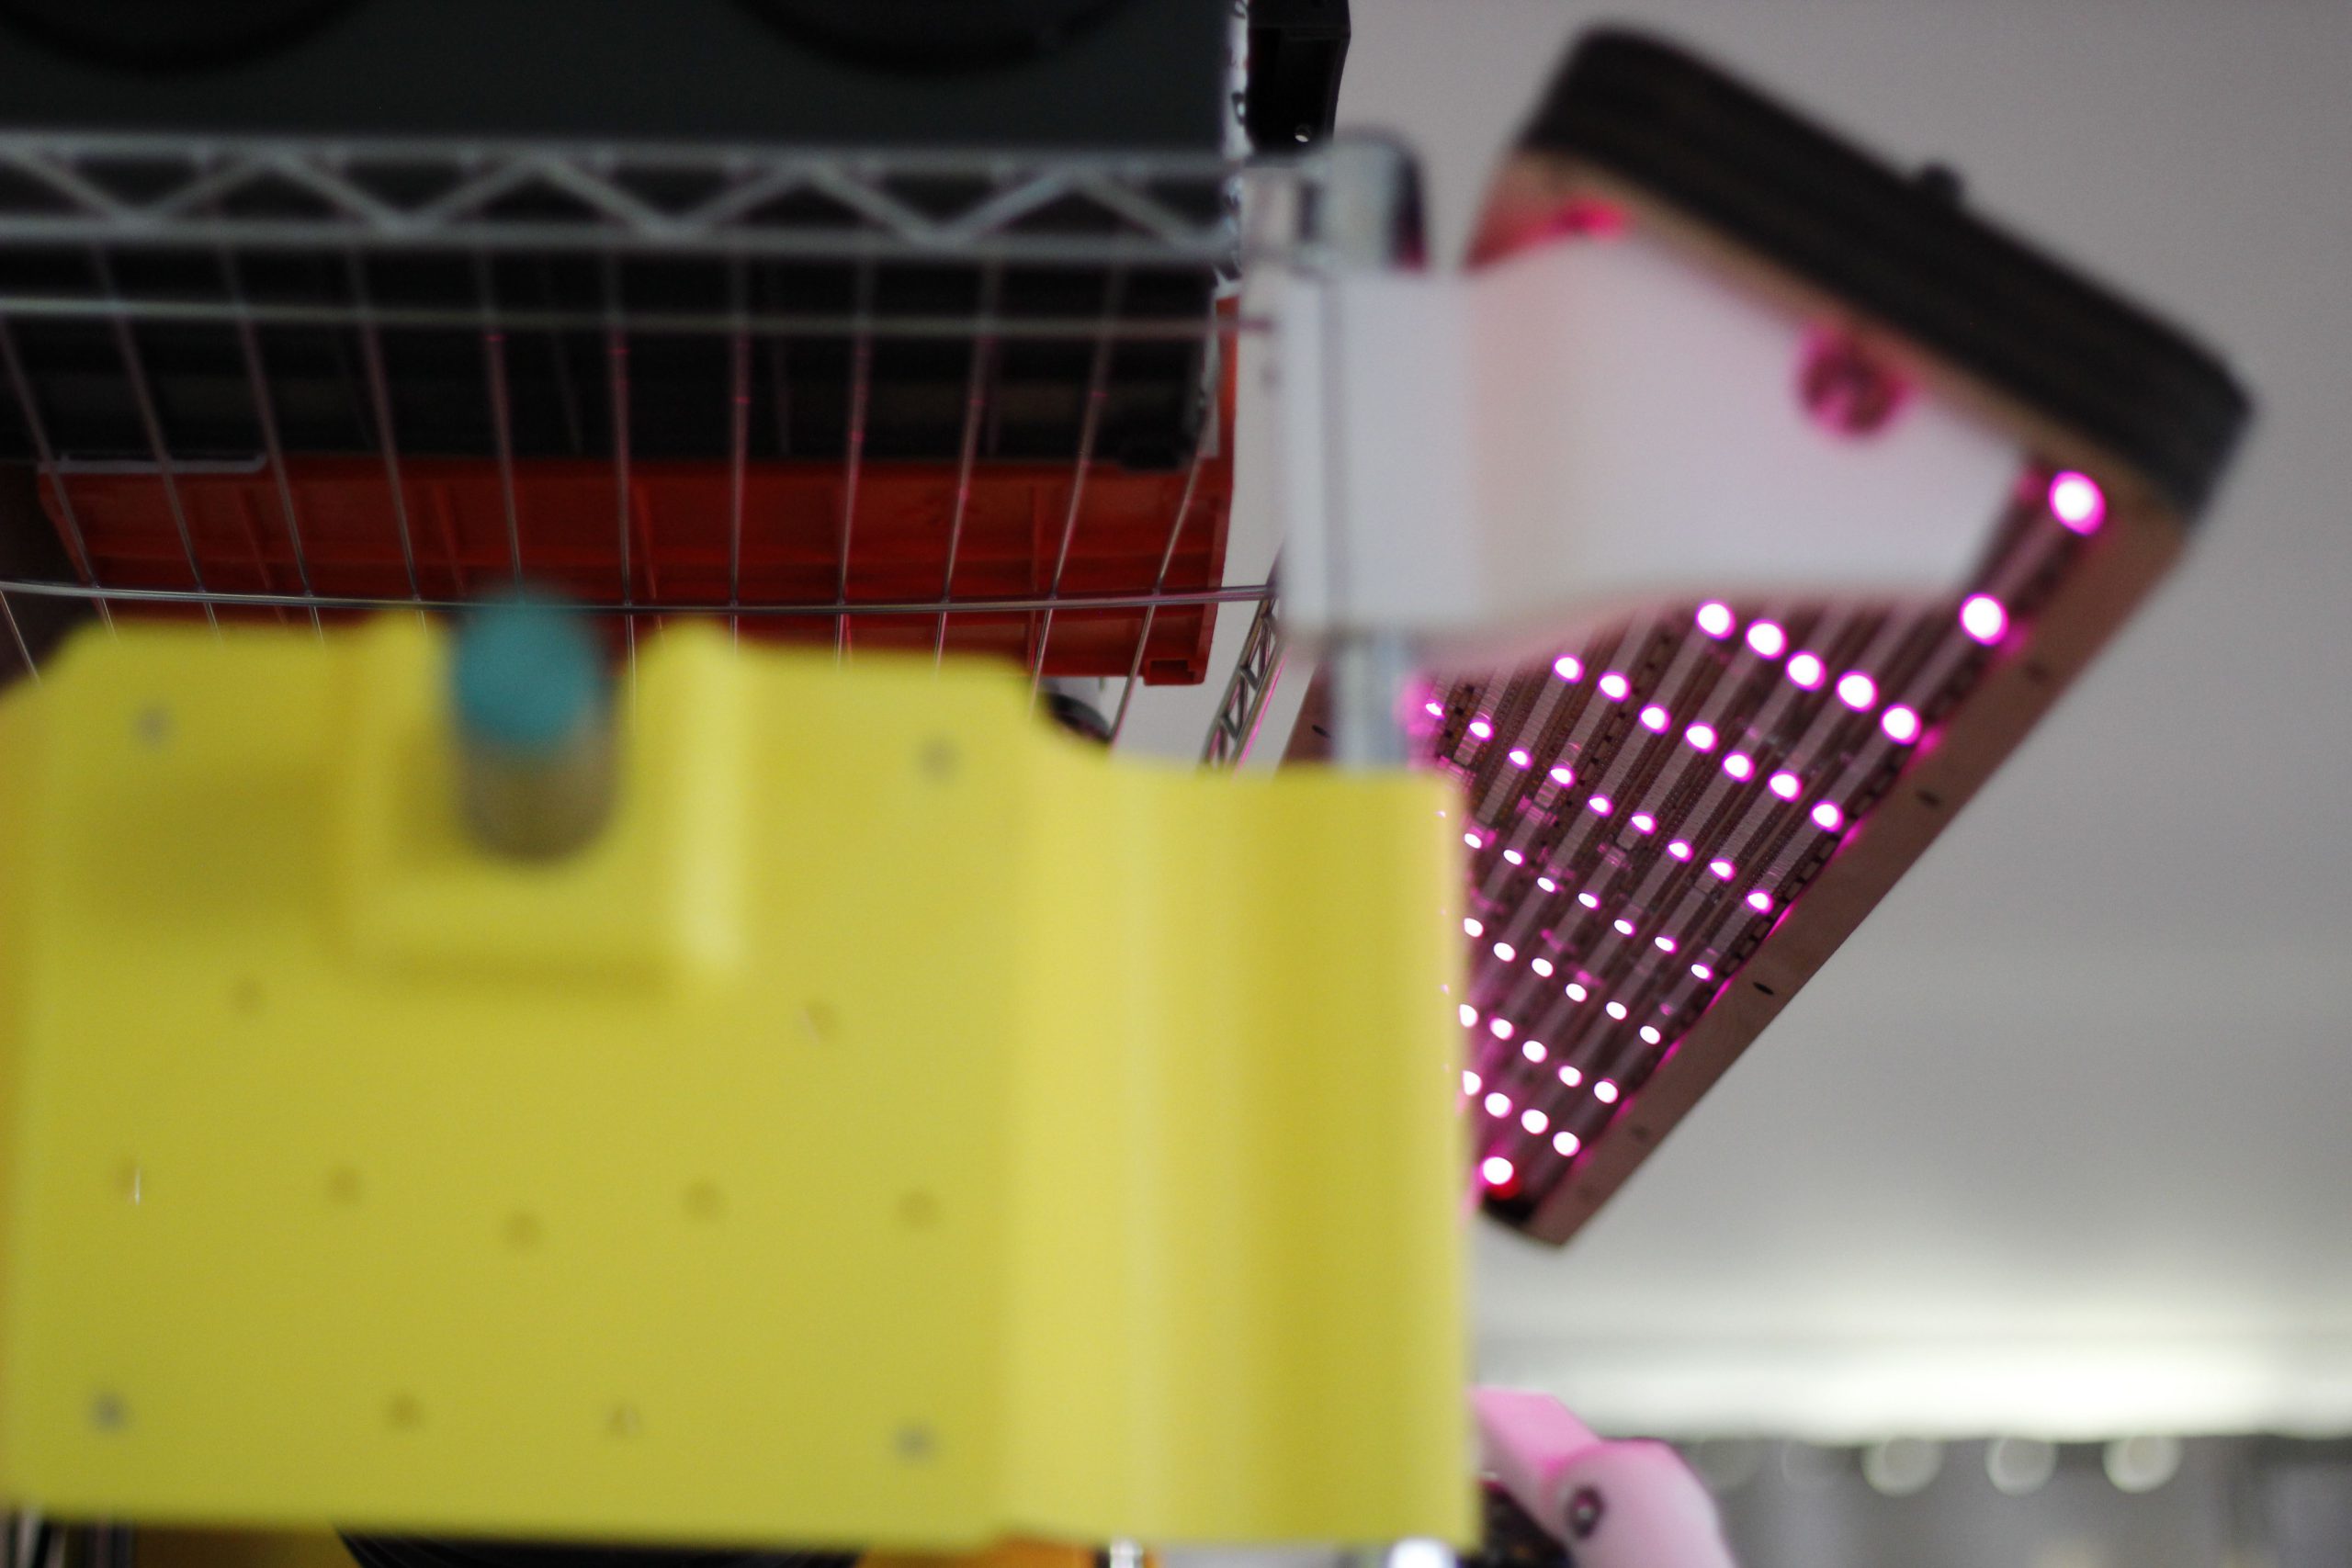
The vertical slot on the light piece was originally designed to simplify the leveling process of the installation.
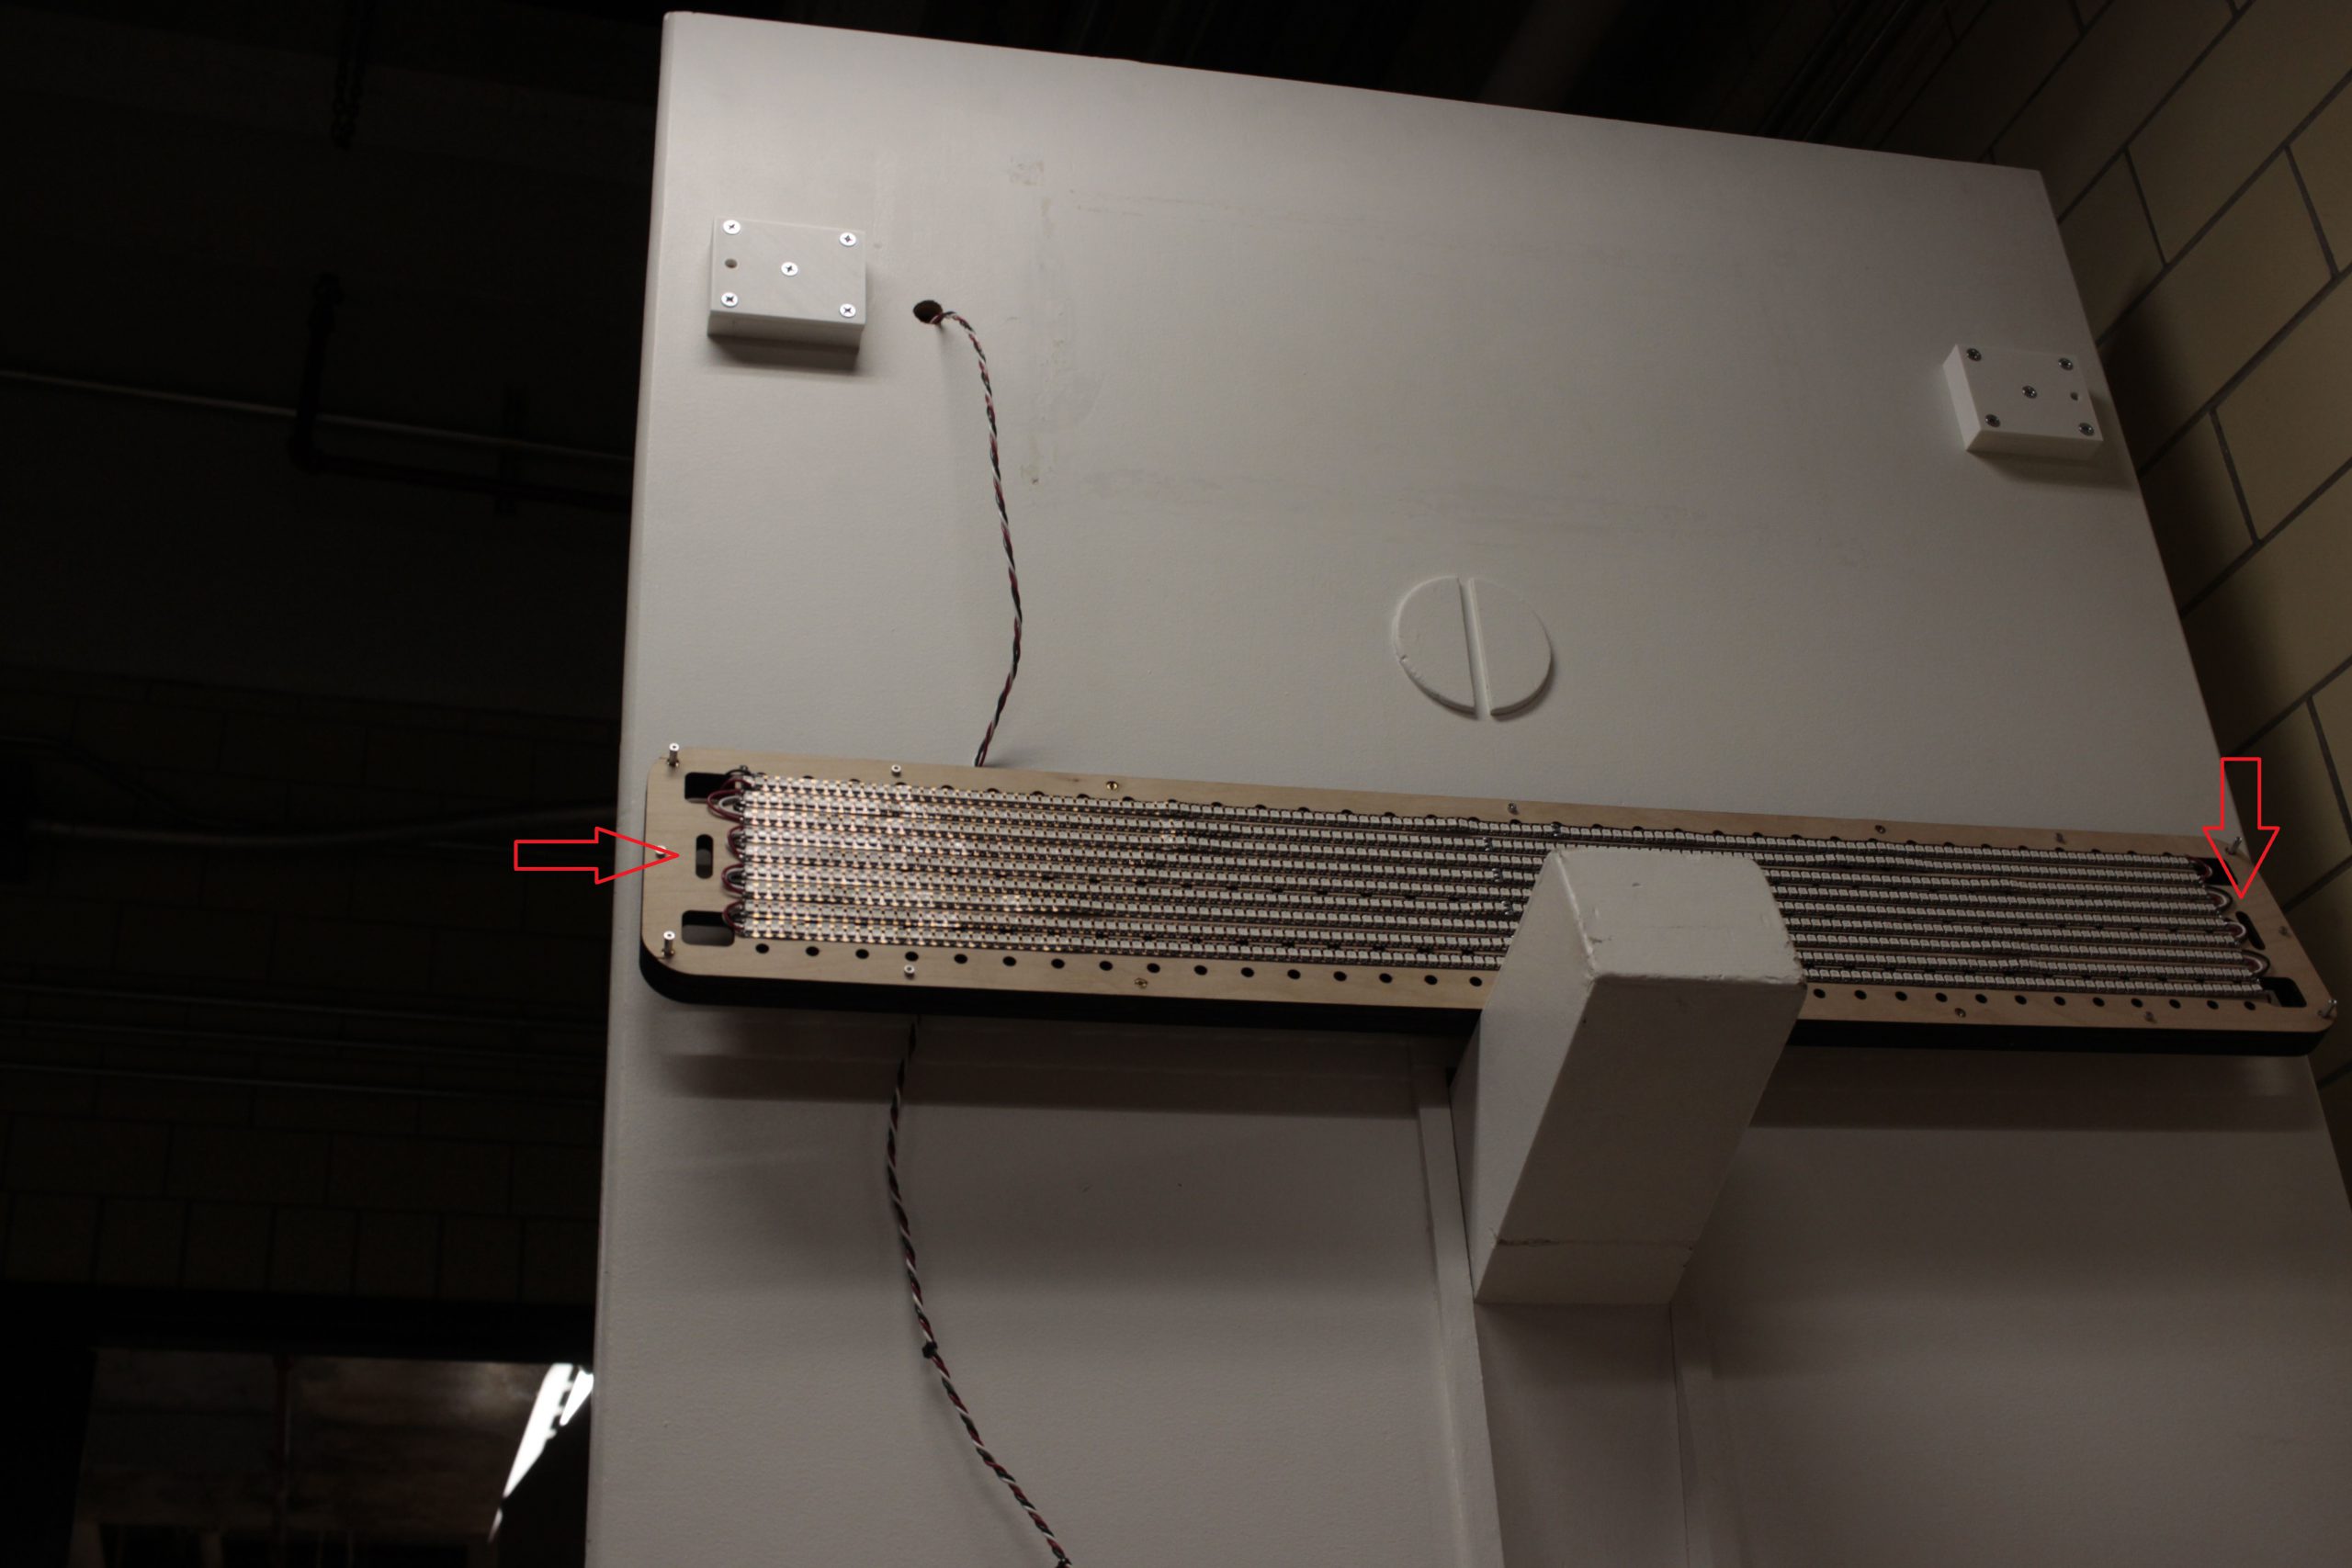
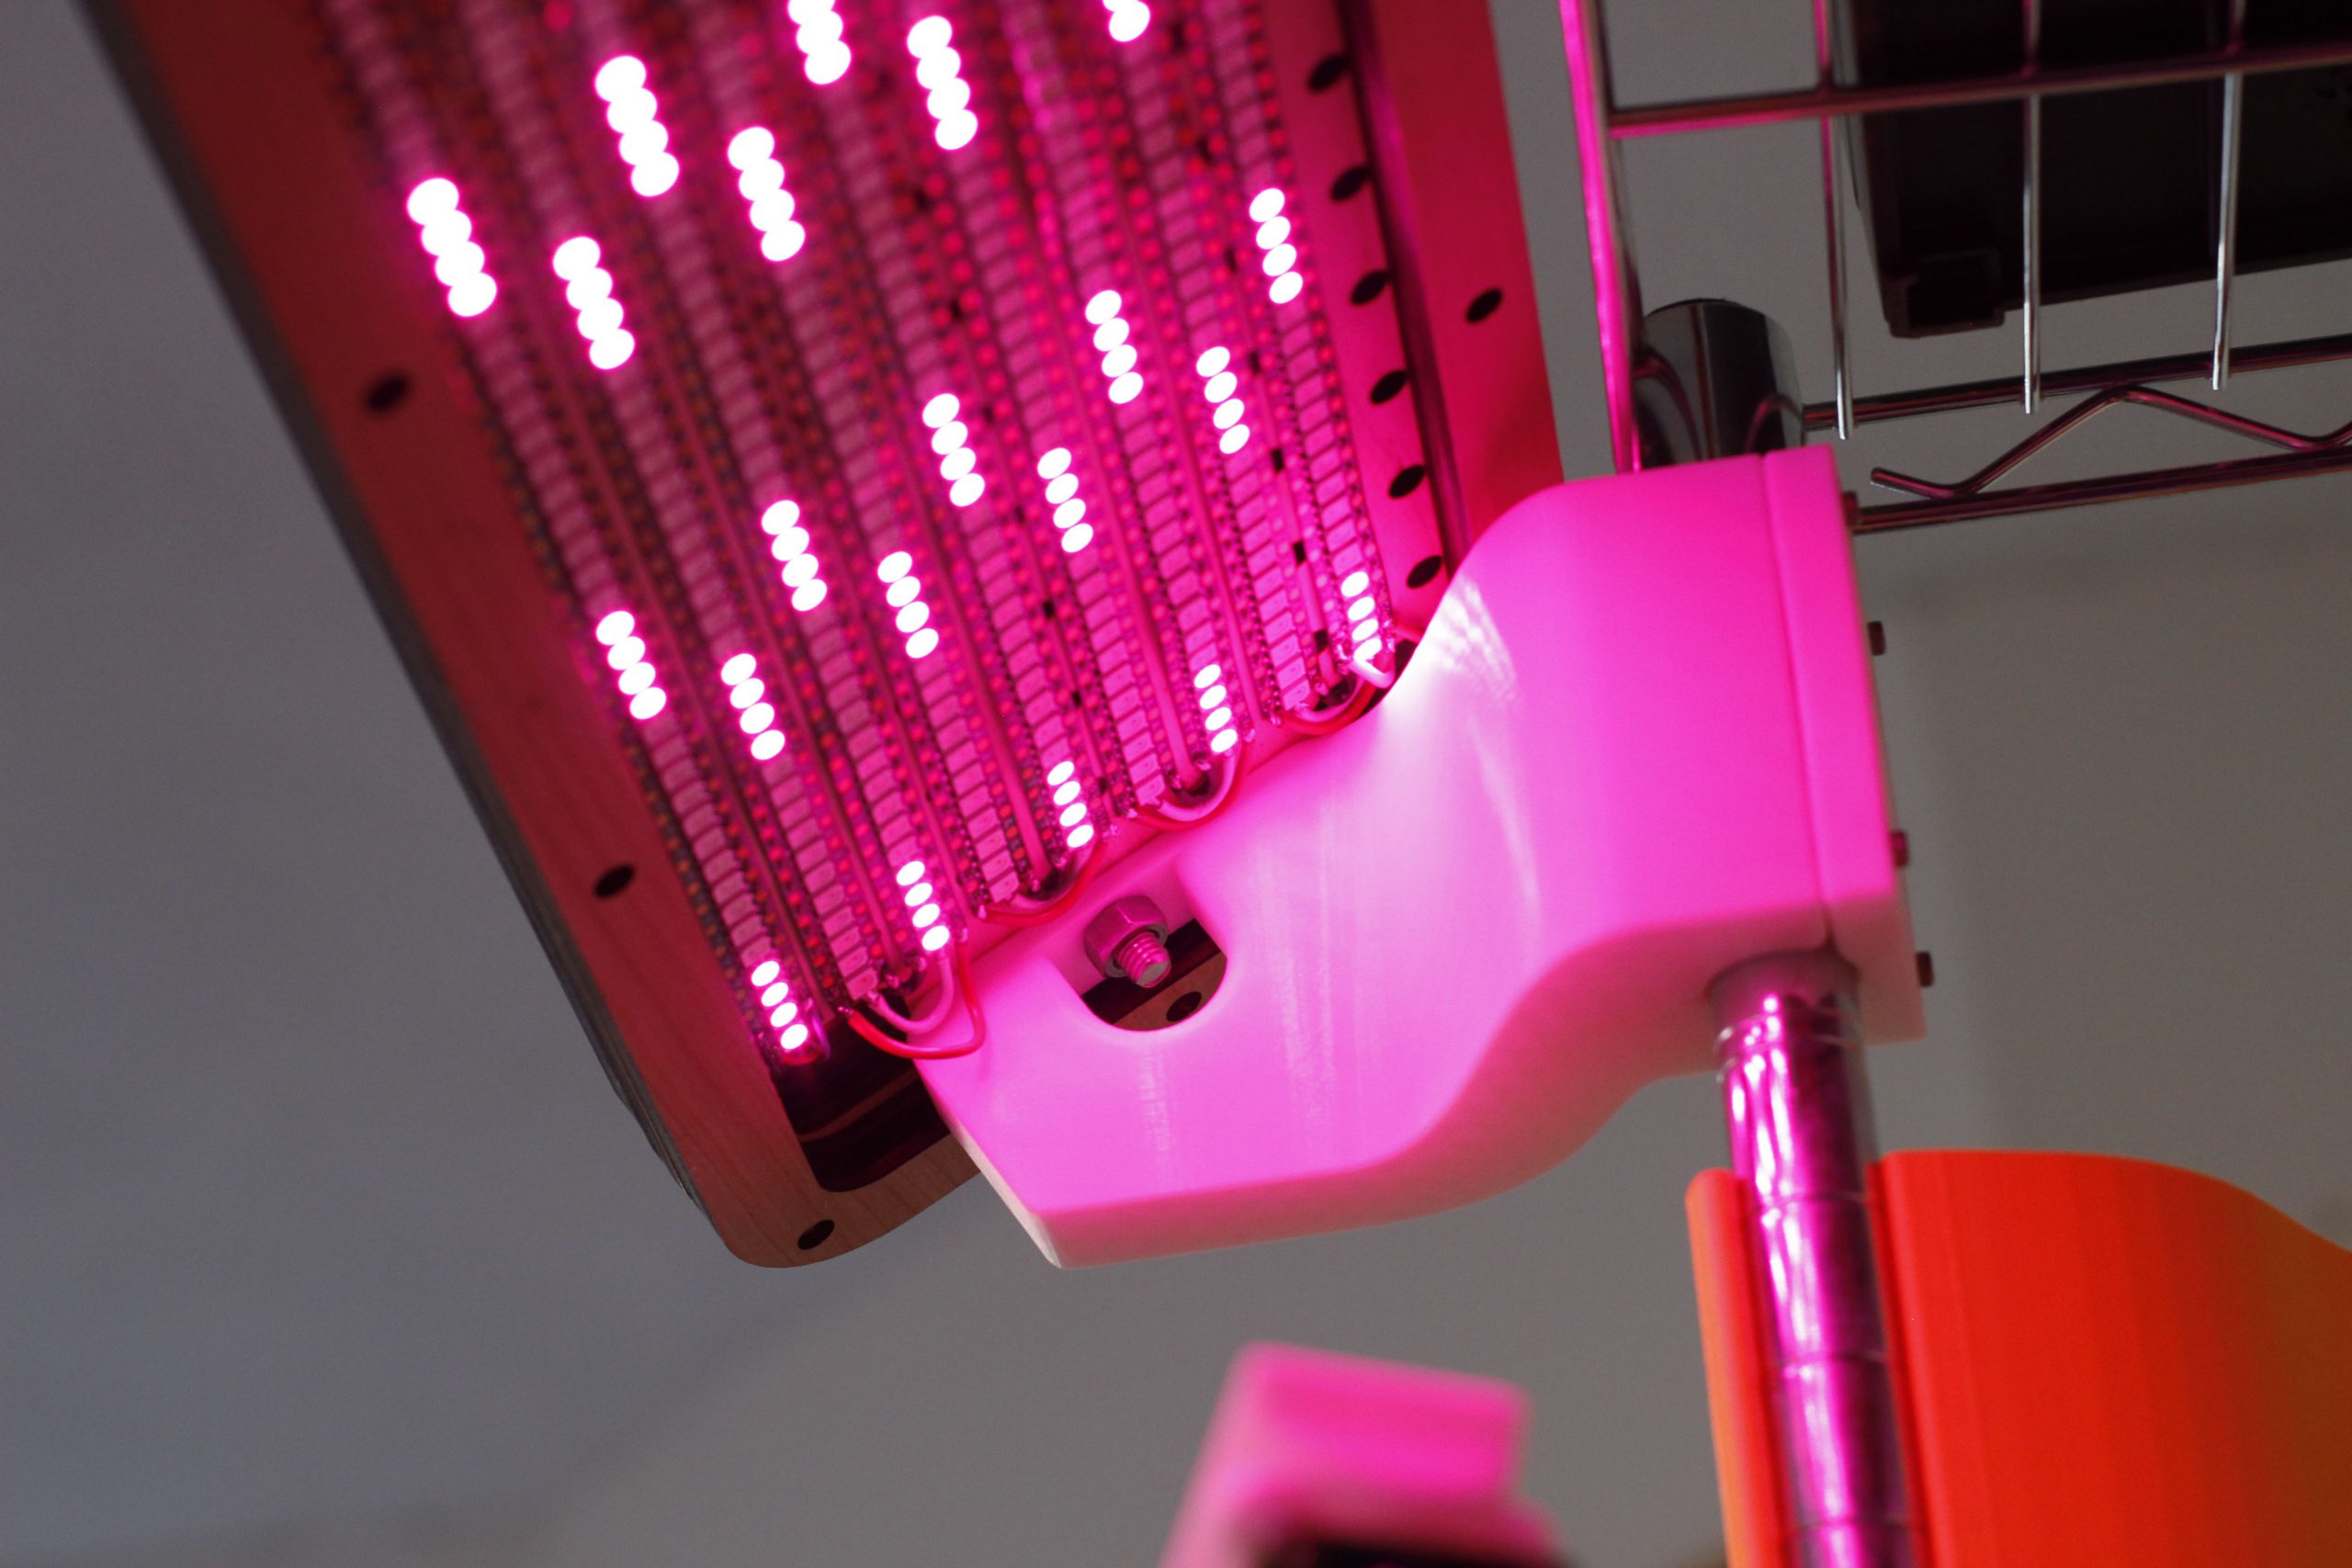
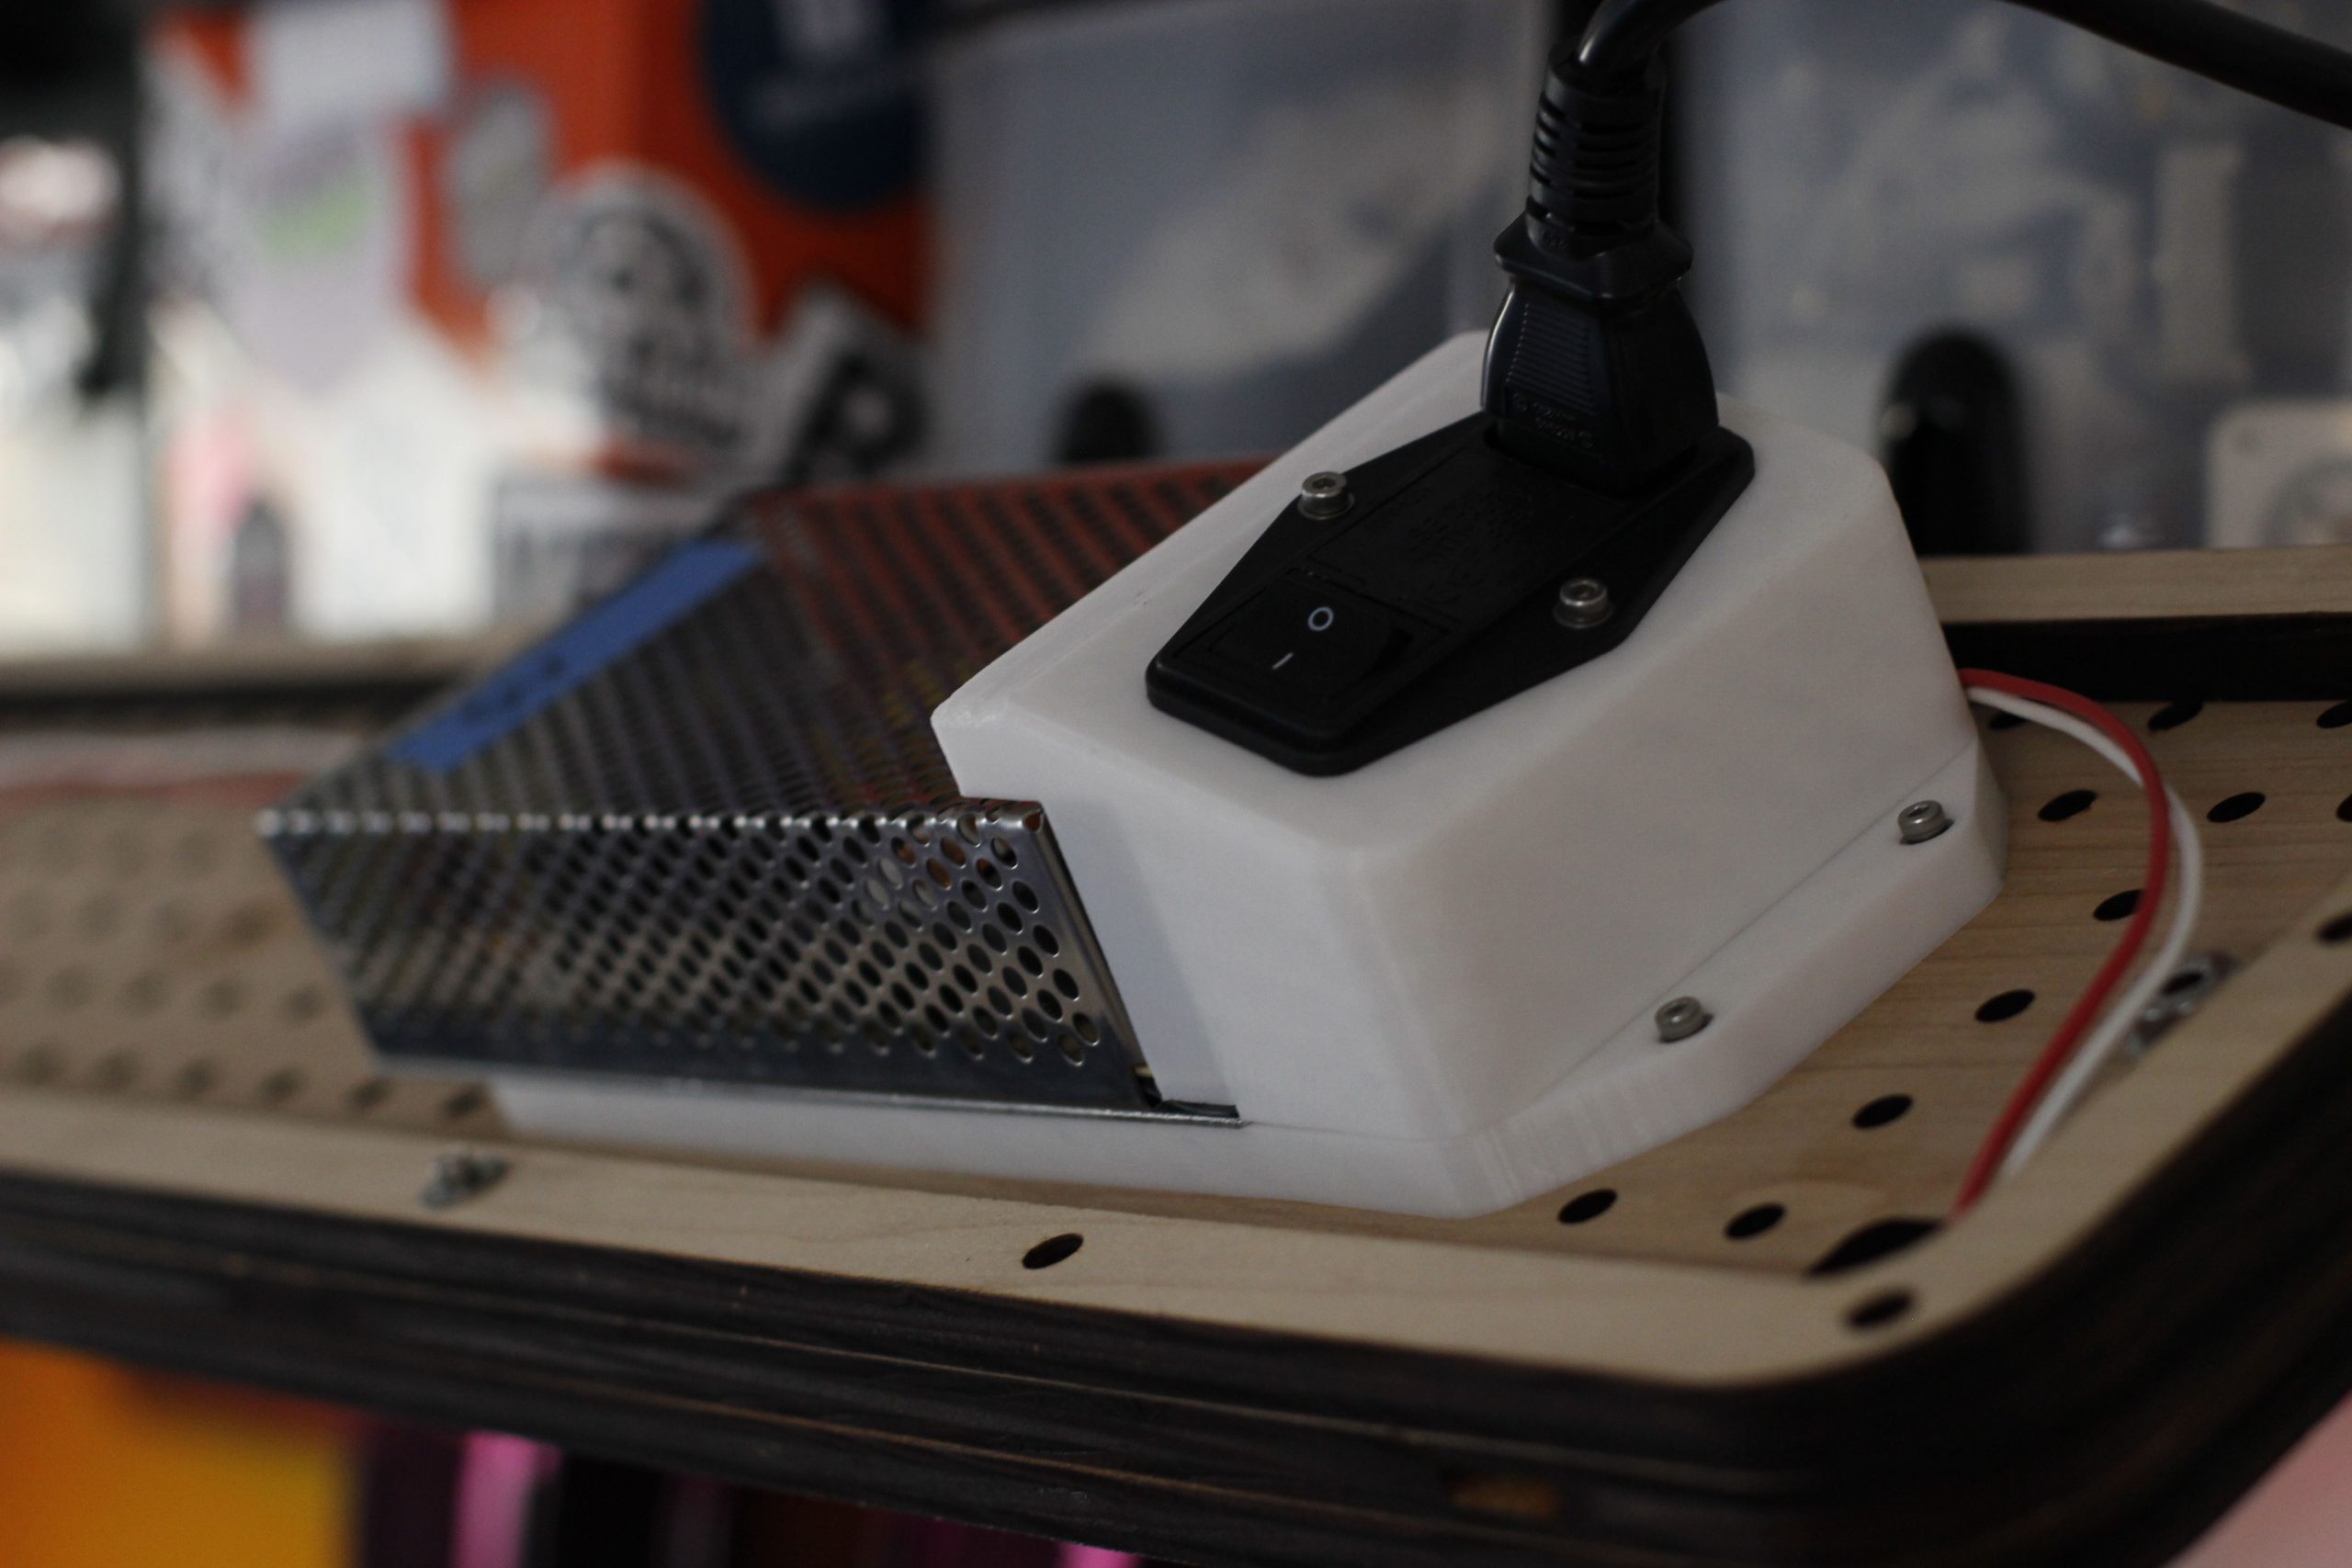
Other new parts for this revival were a mount for the power supply, and a control box. Both of these pieces mount to the laser cut wood grid pattern using brass tapping inserts.


Electronics
Electrically, things are incredibly simple here.

The big and beautiful 100W Triad Magnetics AWSP100 is the star of the show, converting mains voltage into 5VDC to power the LEDs and the microcontroller. This power supply is now on its third encore, first powering a portable installation, then the project described in the introduction to this post, and now powering the work light.
The illumination is provided by 1215 W2812B LEDs. In this quantity, even if the LEDs are powered off, they still draw a non-trivial amount of power, so it’s helpful to be able to cut power to the whole circuit using a rocker switch built into the mains inlet.
The strips are in the standard configuration, with the control signal cascading through the LEDs on the individual strips, and then the strips themselves wired in series to create one large LED strip. The power supply has two sets of output terminals, one is connected to either “end” of the LED strip to try and distribute power evenly throughout the strip.
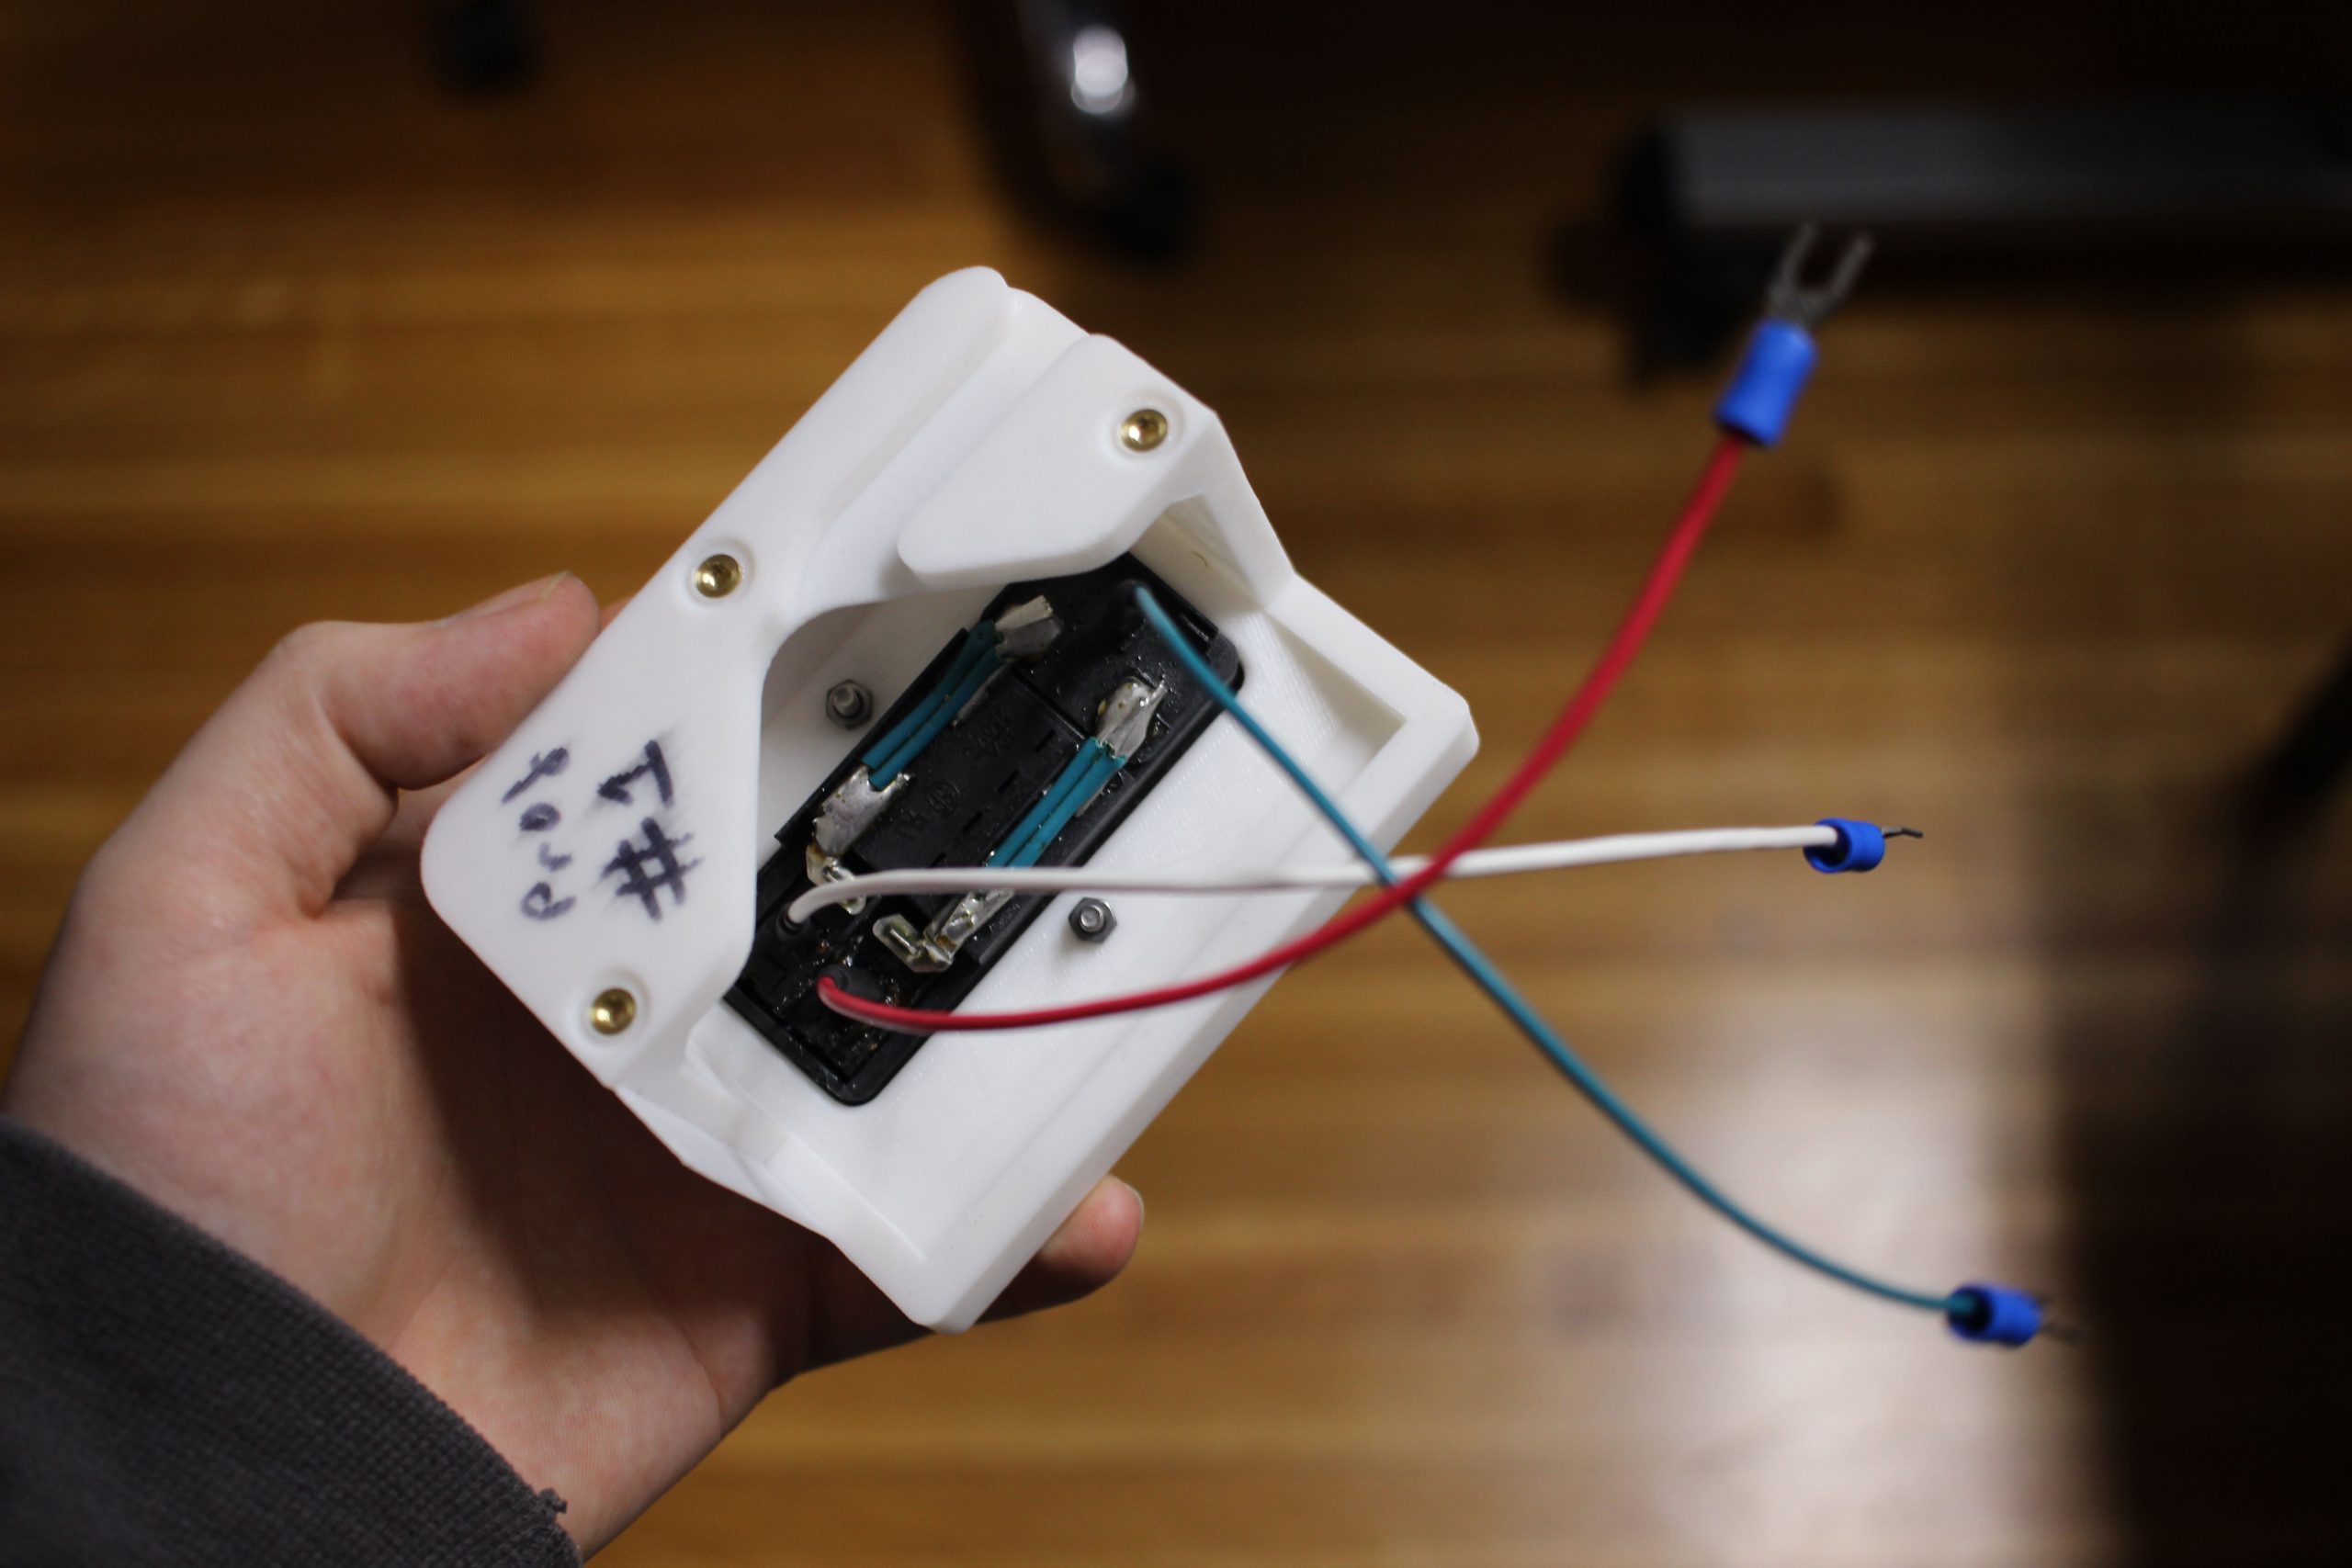
The potentiometers on the control box control the number of LEDs illuminated, the LED color, and the brightness of the illuminated LEDs. There’s a momentary switch which when depressed, turns the color to white, and maxes out the LED count and brightness. Good for quickly flooding the print surface with light to get a closer look.
There’s almost nothing to the control box itself. In the future, it would be easy to add another input surface, but for now this is all I wanted.

Software
Control signal for the LEDs is provided by a Teensy 3.2 via the FastLED library. All it takes to achieve that neat sub-strip effect is some modular division.
|
1 2 3 4 5 6 7 8 9 10 11 12 13 14 15 16 17 18 19 20 21 22 23 24 25 26 27 28 29 30 31 32 33 34 35 36 37 38 39 40 41 42 43 44 45 46 47 48 49 50 51 52 53 54 55 56 57 58 |
#include <FastLED.h> #define NUM_LEDS 1215 #define DATA_PIN 9 #define POT_1_PIN 14 #define POT_2_PIN 15 #define POT_3_PIN 16 #define BUTTON_PIN 4 #define SMOOTHING_FACTOR 1000 CRGB leds[NUM_LEDS]; void setup() { FastLED.addLeds<WS2812B, DATA_PIN>(leds, NUM_LEDS); pinMode(BUTTON_PIN, INPUT); } void loop() { CHSV color; if (digitalRead(BUTTON_PIN) == HIGH) { int illuminate_count = read_pot_remap(POT_1_PIN, 15); int hue = read_pot_remap(POT_2_PIN, 255); int value = read_pot_remap(POT_3_PIN, 255); int saturation = 0; if (hue != 0) { saturation = 255; } color = CHSV(hue, saturation, value); for (int i = 0; i < NUM_LEDS; i++) { if (illuminate_count >= i % 15) { leds[i] = color; } else { leds[i] = CRGB::Black; } } } else { for (int i = 0; i < NUM_LEDS; i++) { leds[i] = CRGB(160, 160, 160); } } FastLED.show(); delay(10); } int read_pot_remap(int pin, int new_max) { int sum = 0; for (int i = 0; i < SMOOTHING_FACTOR; i++) { sum = sum + analogRead(pin); } int value = sum / SMOOTHING_FACTOR; return map(value, 0, 1024, 0, new_max); } |
Projects like this, which require an evening or two of work but make my whole studio more ergonomic to work in, are always worth picking up. The bittersweetness of having the original build in the rear view mirror has been sweetened by getting some more utility out of an old favorite. I plan to continue this practice of building things that are easy to reuse, by me or by who knows.
