@heywpi | Adding new features, more Object-Oriented code

First here’s a video of me demonstrating a few of the new features:

So compared to the original version of this project, the following changes are as follows:

  • Added function that takes image from incoming tweet, finds most common color in the image and writes it to the LEDs.
  • Added fading between colors instead of just jumping between them.
  • Added routine to respond to users when an error occurs in their tweet, like it’s missing a color or something is spelled wrong.
  • Re-Wrote most of code into an objects and methods on that object to get rid of global variables.

A few notes on the new features:

The operation of the image ingestion feature is pretty simple. All you have to do is tweet an image at @heyWPI just like you would with text. It finds the most common color in the image and then writes it the the LEDs. Here’s an example:

Input:

Output:


It works pretty well. If you look at the code, you’ll see that I tried to make it as modular as I could so I can possibly improve the color detection algorithm moving forward without making major changes in the code. This required the system to have some kind of memory to keep track of the current values written to the LEDs. Originally, I was using global variables to solve this problem but it wasn’t all that clean so I made it all more object oriented.

As for the fading You can sort of see it in the video, but the fading between colors looks really nice, especially from and to opposite complex colors like purple to orange.

A big problem I had with different people using the project was that sometimes people would use an invalid color. I implemented a default message to send if a received tweet didn’t have a color in the text or didn’t have an image in the body.

Want to make one?

Hey! This post was written a long time ago, but I'm leaving it up on the off-chance it may help someone. Proceed with caution. It may not be a good idea to blindly integrate this code or work into your project, but instead use it as a starting point.

@heywpi | How To Build Version 0_1_X

1. Install the prerequisites for the python code with the following:

2. Download the main heyWPI.py file

3. Download the LEDFuns2.py file for driving the LEDs – Place it in the same directory as heyWPI.py

4. Download the Log.py file for getting feedback on the status of the system – Place it in the same directory as heyWPI.py

5. Run the following commands in the same directory as heyWPI.py, this allows the Pi to drive the LEDs. More info on this step here:

6. Now enter your twitter api information into the heyWPI.py file at the top of the heyWPI class. If you don’t have twitter API info click here to get that for free!

You should be ready to rock and roll on the software side, now let’s look at the hardware schematic.


I’ve tried to make this as simple as possible, but it probably isn’t the best way to drive these LEDs, moving forward I’d like to drive these strips with a constant current.

Here are the parts to build it:

If you end up building this let me know!

Hey! This post was written a long time ago, but I'm leaving it up on the off-chance it may help someone. Proceed with caution. It may not be a good idea to blindly integrate this code or work into your project, but instead use it as a starting point.

The Maker Stack (Self-Hosted Server Configuration)

There are many maker/hackers out there like me that operate little blogs just like this one and would like to expand but spend absolutely no cash. This post is for that kind of person.

This is what my network looks like now for the diagram oriented:

Basically, this configuration allows me to host two websites (they happen to both be wordpress installations) with different url’s out of the same server on the same local network, sharing the same global IP address as well as host email accounts across all of the domains I own.

The backbone of this whole system is virtualbox controlled by phpvirtualbox. This is a preference thing. You could install each of these components on the same server but virtual machines are an easy way to keep things conceptually simple. All of the traffic from the web is ingested through a reverse proxy on a server running ngnix. It identifies where the user would like to end up at (using the url) and directs them to the proper hardware on the network.


Installation

I have done detailed posts on each part of this installation, I’ll glue it all together here.

  • First thing’s first, everything runs out of Ubuntu, particularly Ubuntu 12.04.3 LTS. To do any of this you will need a computer capable of running Ubuntu, this is my hardware configuration. To install Ubuntu, the official installation guide is a good place to start, if you have any trouble with it leave a comment.
  • Once you have Ubuntu, install virtualbox to host the virtual machines, and phpvirtualbox to headlessly (no need for a monitor or mouse and keyboard) control them. Instructions here.
  • Next you need to install Ubuntu inside of virtualbox on a virtual machine. Navigate to your installation of phpvirtualbox and click new in the top left.

  • In order to get our new virtual machine on the internet, we must bridge the virtual adapter in the vm with the physical one. This is very easy to do. Click the vm on the left, and then go into settings then into network. Set “Attached to:” to Bridged Adapter.

  •  Once Ubuntu is installed on your new virtual machine inside of phpvirtualbox running on your Ubuntu server (mouthful!), to make the whole thing work, we must install and configure a nginx as a reverse proxy server. Say a project of yours deserves its own website, since your already hosting a website out of your residential connection, you would have to pay to host somewhere else as well right? Wrong. I have written this guide to do this. Once this installation is done. Make sure that you assign a static IP address to this server (as well as all other VM’s you create) and forward your router’s port 80 to the nginx server. The port forwarding is specific to the router, if you have no clue how to do it, google “port forward nameofrouter”.
  • You will then have to point the DNS server with your Domain Name Registrar to your router’s global IP address. Obtaining this IP address is easy.

And the foundation is set! Now that you know how to install a virtual machine and you have a nginx reverse proxy up and running, you should point the proxy to things!

In my configuration, I point it at two different  I use this routine to do wordpress installations all the time. On my server, I run two VM’s with two wordpress installs. One of them is for this blog, and the other for another website of mine, www.blockthewind.com.

To get a simple email server up and running, follow this guide which goes a little more in depth on phpvirtualbox but results in a citadel email server. I decided to go with citadel because of how easy the installation was and how configurable it was through the GUI. I use email accounts hosted with citadel for addresses that I would use either once or infrequently. It’s free to make these addresses, but citadel is older and probably not as secure as it could be for highly sensitive data.


That’s it! Do you have any suggestions as to what every small-scale tech blogger should have on their server?

Thanks for reading!

Hey! This post was written a long time ago, but I'm leaving it up on the off-chance it may help someone. Proceed with caution. It may not be a good idea to blindly integrate this code or work into your project, but instead use it as a starting point.

@heywpi | Twitter Interaction, Bringing it All Together

Here’s a video of the whole thing in use!

Using the python library, tweepy, getting the twitter interaction to work was actually very simple. The downside is that I can only retrieve mention data every 60 seconds due to Twitter’s API rate limiting.

The circuit is very simple, the RGB led strip I have is common anode, so I used N-Channel mosfets attached to pins 18 (Red), 23 (Green) and 24 (Blue). For the camera, I’m using a spare raspberry pi camera module I have.

For the names of the colors you can write to the lights, I went with the 140 X-11 colors. I figured it was a good spectrum of colors.

The source code for the whole project will keep getting updated, so check here for the most recent versions of each file.

I’d love to expand the scale of the project, if you’re a student at wpi and would like on of these in your window, please email me at the addressed listed in the about section of my website.

Thanks for reading!

Hey! This post was written a long time ago, but I'm leaving it up on the off-chance it may help someone. Proceed with caution. It may not be a good idea to blindly integrate this code or work into your project, but instead use it as a starting point.

@heywpi | Pi-Blaster Python “wrapper” With RGB value Inputs

PWM with a Raspberry Pi is tricky. There is an official meathod of doing this, but I’ve found that when driving multiple channels (like 3 for an RGB LED) it doesn’t work to well and is noticeably shaky when transitioning to new PWM cycles.

Looking for alternatives, I found pi-blaster. From their github:

This project enables PWM on the GPIO pins you request of a Raspberry Pi. The technique used is extremely efficient: does not use the CPU and gives very stable pulses.

It was pretty simple to create a utility to drive my RGB LEDs with. My code can be found here.

To install pi-blaster for use with this code, you’ll need to download and install like so.

Make sure you are in the same directory as LEDFuns.py

The pi-blaster directory should be within the same directory as the LEDFuns.py file.

Thanks for reading! More on this project soon.

Hey! This post was written a long time ago, but I'm leaving it up on the off-chance it may help someone. Proceed with caution. It may not be a good idea to blindly integrate this code or work into your project, but instead use it as a starting point.

Host Multiple Webservers Out Of One IP Address (reverse proxy) Using Ngnix

It’s easy enough to host a single website out of a residential internet connection. All you have to do is open up port 80 on your router and bind it to the local IP address of your server as follows:

But say you’re like me and have multiple domains and therefor want want to host content for mutliple domains on the same IP address like this:

Say you want to further complicate things further and have unique physical computers for hosting each site. The quickest and easiest way to do this (so I’ve found) is using a Ngnix Reverse Proxy.


The topology for accomplishing this looks a lot like this:

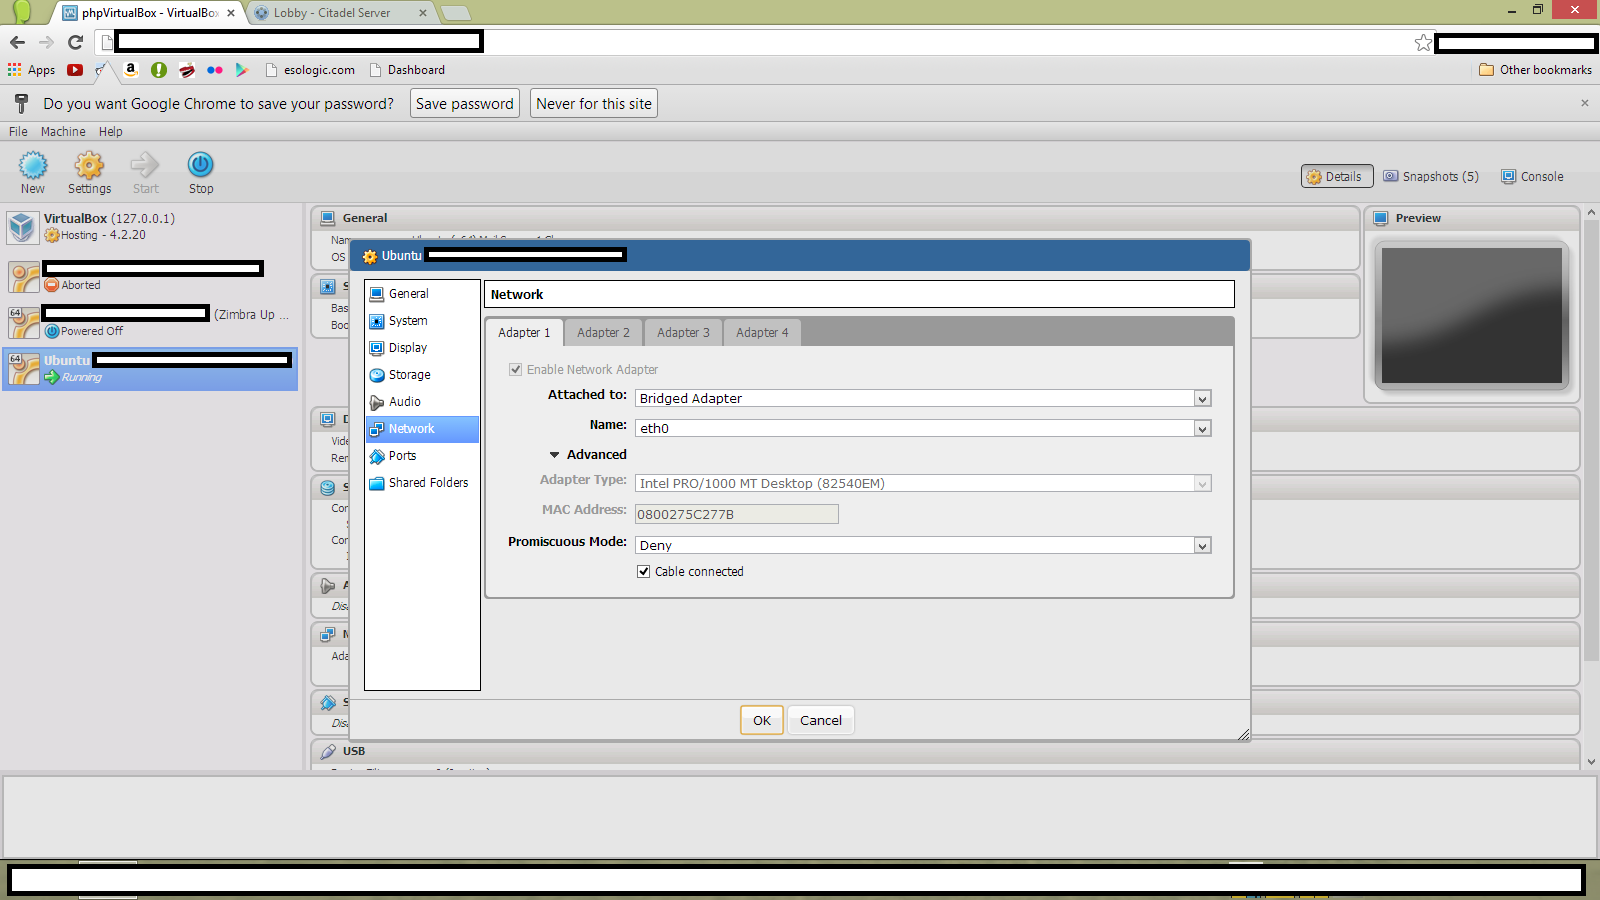
The ONLY things we need to deal with in this diagram is the Ngnix Server and the router. For my setup it is a virtual machine running Ubuntu 10.04 x64. Setting up the software is pretty simple as well. First we need to install Ngnix:

After that we need to add the configuration files for each server. The procedure for doing that is as follows. You need to do this for EACH server you add to the reverse proxy.

For this example I’ll be using example.com as the domain and xxx.xxx.x.xxx as the IP address on the local network of the machine I’d like to host example.com on.

Create the config with:

The create then fill it in:

Note the line

This limits the file size that can be transferred through the reverse proxy to the target server. If you are transferring larger files, you will need to increase this value, but 64M is more than enough for most applications.

From there, you need to “activate” the new redirect by symbolically linking it with a config in the enabled sites directory in Ngnix with:

Restart ngnix and we’re done!


Now to configure the router.
It’s pretty easy, all you need to do is forward port 80 on the router to the local IP address of the Ngnix server. On my router that looks like this

Where 192.168.1.217 is xxx.xxx.x.xxx in my example.

Thanks for reading and if you have any questions leave them in the comments.

Hey! This post was written a long time ago, but I'm leaving it up on the off-chance it may help someone. Proceed with caution. It may not be a good idea to blindly integrate this code or work into your project, but instead use it as a starting point.

PiPlanter 2 | Plant Update and Daughter Board Migration

First, a video:

I’ve worked very hard since my last update to move all of the hardware that interfaces the Raspberry Pi with the plants (GPIO, ADC etc) from on board the Raspberry Pi using the GIPO to a daughterboard based around an Arduino.

This has been a lot of work to accomplish, but as of about a week ago, the transition was completed in it’s entirety and everything is operating totally normally without using any GIPO on the Pi.

This provides a portability for the platform that I haven’t been able to achieve so far. As the name of the project suggests, I’ve only used a Raspberry Pi to drive all of the hardware so far as well as do everything with the software. This transition opens up the possibility of using any computer running linux to be able to drive a PiPlanter if they have the board.

I’ve outlined the “PiPlanter Hardware Specification” in the current block diagram for the project. So if you have these parts, you can make a PiPlanter. The protocol for communicating between host computer and the Arduino is outlined here. I’ve decided to go with plain text serial using a rudimentary handshake to handle the communication. Pretty much all computers have a serial port, and the Arduino is very good at dealing with it as well.

One of the next steps that I take in this project would to be to design and fabricate PCB’s for specifically for this. This is certainly going to be a challenge for me, but it’s nothing I can’t handle. This also gives me the opportunity to maybe start selling PiPlanters which is exciting. I might need to change the name for obvious reasons…

Here are some nice photos of the updated setup:


All of the code and documentation for this version of the PiPlanter can be found here.

I am going on break from school from today, December 18th 2014 to on or around January 14th 2015. Now that the PiPlanter isn’t at my house, I can’t access the network remotely and make changes to the code. The next month will be a good stress test of the new daughterboard infrastructure. Hopefully it all goes well.

Thanks for reading!

Hey! This post was written a long time ago, but I'm leaving it up on the off-chance it may help someone. Proceed with caution. It may not be a good idea to blindly integrate this code or work into your project, but instead use it as a starting point.

Site has been down

You’re currently reading this via a virtual server running on top of this server, which is hosted out of my residence in southern Maine. For the most part, I generally enjoy the challenges and obstacles that come with self-hosting this website but it becomes very very annoying in cases where there is physically nothing I can do. Take these past two days for example.

Storm!

Sometimes it snows a foot in an hour and the power goes out for a few days. Not much I can do about it, sorry for the inconvenience. If it’s any consultation, Twitter isn’t hosted out of their parent’s house and you can follow me there where I typically post if my site is up or down.

Thanks for reading!

Hey! This post was written a long time ago, but I'm leaving it up on the off-chance it may help someone. Proceed with caution. It may not be a good idea to blindly integrate this code or work into your project, but instead use it as a starting point.

PiPlanter 2 | Python Modules & Text Overlays

So in my last posting of the PiPlanter source code, the python script alone was 500 lines long. The intent with was to make things more modular and generic compared to the original version of the code that ran two years ago. Since the project has expanded a considerable amount since two summers ago, my goal of keeping everything short and concise isn’t really valid anymore so I’ve decided to split the code up into modules.

This improves a number of things, but it makes it kind of inconvenient to simply paste the full version of the source into a blog post. To remedy this, I’ll be utilizing www.esologic.com/source, something I made years ago to host things like fritzing schematics.

The newest publicly available source version can be found here: http://192.168.1.37/source/PiPlanter_2/ along with some documentation and schematics for each version to make sure everything can get set up properly. What do you think of this change? Will you miss the code updates in the body text of a blog post?

With all that out of the way, let’s talk about the actual changes I’ve made since the last post.

The first and foremost is that using Pillow, I’ve added a way to overlay text onto the timelapse frames like so:

Before

After


This was prompted by some strange behavior by the plants I noticed recently seen here:

I thought it was strange how the chive seemed to wilt and then stand back up and then wilt again, it would have been nice to be able to see the conditions in the room to try and determine what caused this. Hopefully I can catch some more behavior like this in the future.

Here is the new Image function with the text overly part included if you’re curious:

Now that I’ve got the PIL as part of this project, I’ll most likely start doing other manipulations / evaluations to the images in the future.

Okay! Thanks for reading.

Hey! This post was written a long time ago, but I'm leaving it up on the off-chance it may help someone. Proceed with caution. It may not be a good idea to blindly integrate this code or work into your project, but instead use it as a starting point.

PiPlanter 2 | Installing a 3rd Instance of the PiPlanter

Ten days ago I finished installing the third ever instance of the PiPlanter in a lab in the physics department at my college! I went with the the rack mounted design as I did this past summer, and am going to be growing Basil, Cilantro and Parsley as opposed to tomatoes. Here are some photos of the new setup:


There are a few major changes that come with this new instance. The first and foremost being the addition of LED grow lights. I’ll post a new version of the code with LED routines included when I think it’s polished enough. The second difference is that a tray of soil is being used as the growth medium for the plants as opposed to pots of soil. This will more than likely be the configuration I use moving forward. The final difference is the actual type of plants being grown. I’m moving away from tomatoes because there will be nothing to pollinate the flowers in the winter as well as the fact that I cook a lot and it will be neat to have spices that I can use on a day to day basis.

The first 10 days of growth has gone well. Here’s a video of them growing so far:

Thanks for reading!

Hey! This post was written a long time ago, but I'm leaving it up on the off-chance it may help someone. Proceed with caution. It may not be a good idea to blindly integrate this code or work into your project, but instead use it as a starting point.