There are many maker/hackers out there like me that operate little blogs just like this one and would like to expand but spend absolutely no cash. This post is for that kind of person.
This is what my network looks like now for the diagram oriented:

Basically, this configuration allows me to host two websites (they happen to both be wordpress installations) with different url’s out of the same server on the same local network, sharing the same global IP address as well as host email accounts across all of the domains I own.
The backbone of this whole system is virtualbox controlled by phpvirtualbox. This is a preference thing. You could install each of these components on the same server but virtual machines are an easy way to keep things conceptually simple. All of the traffic from the web is ingested through a reverse proxy on a server running ngnix. It identifies where the user would like to end up at (using the url) and directs them to the proper hardware on the network.
Installation
I have done detailed posts on each part of this installation, I’ll glue it all together here.
- First thing’s first, everything runs out of Ubuntu, particularly Ubuntu 12.04.3 LTS. To do any of this you will need a computer capable of running Ubuntu, this is my hardware configuration. To install Ubuntu, the official installation guide is a good place to start, if you have any trouble with it leave a comment.
- Once you have Ubuntu, install virtualbox to host the virtual machines, and phpvirtualbox to headlessly (no need for a monitor or mouse and keyboard) control them. Instructions here.
- Next you need to install Ubuntu inside of virtualbox on a virtual machine. Navigate to your installation of phpvirtualbox and click new in the top left.

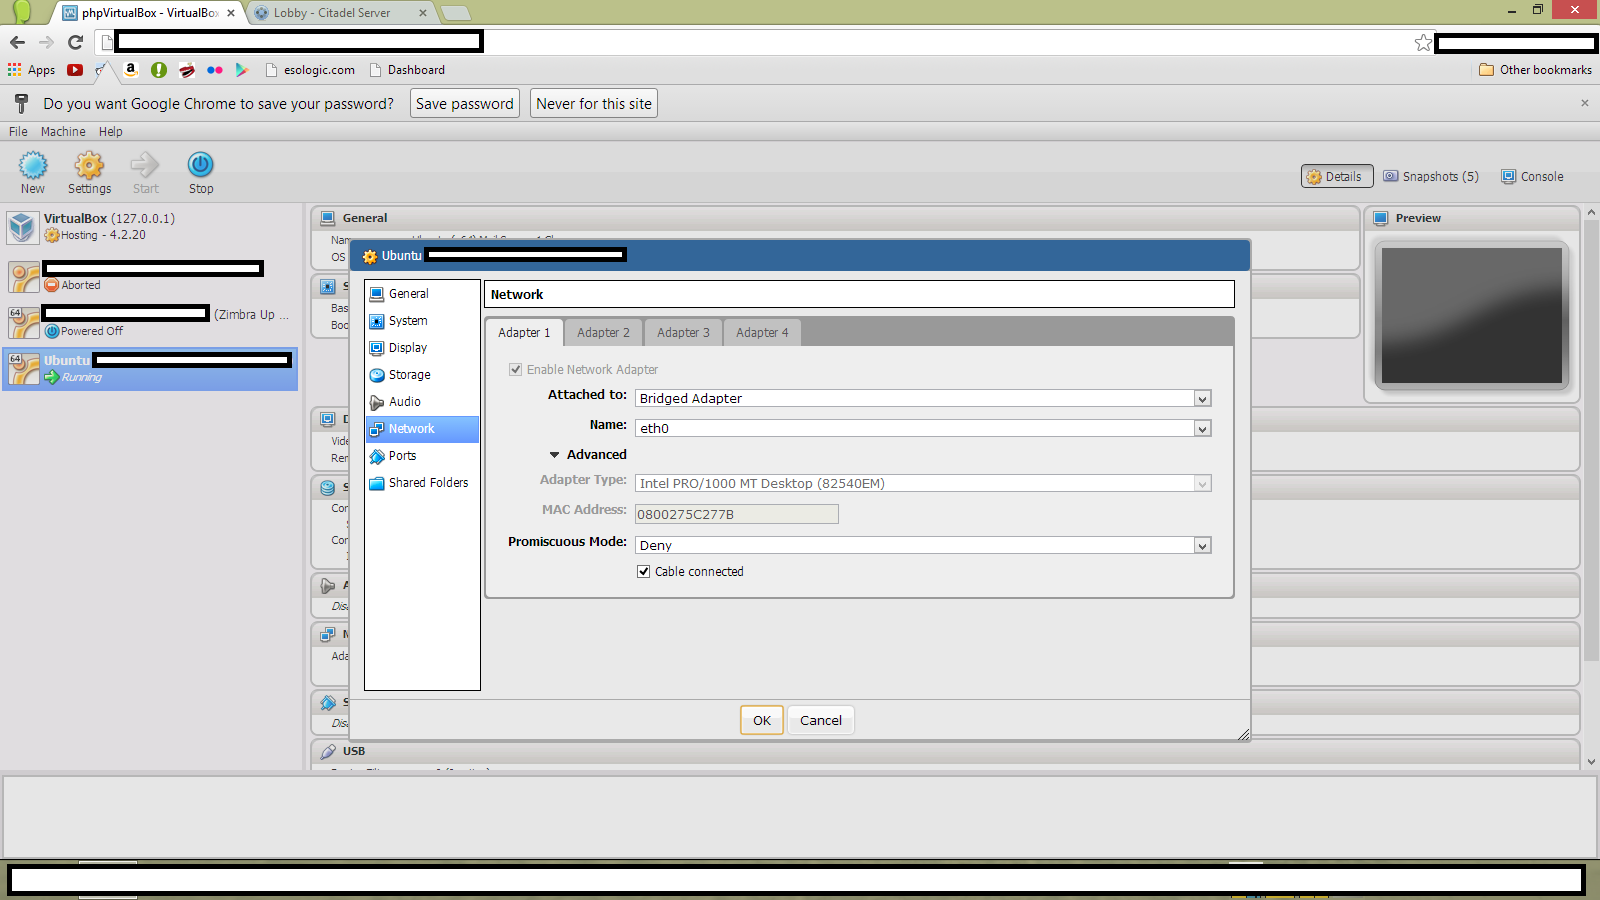
- In order to get our new virtual machine on the internet, we must bridge the virtual adapter in the vm with the physical one. This is very easy to do. Click the vm on the left, and then go into settings then into network. Set “Attached to:” to Bridged Adapter.
- Once Ubuntu is installed on your new virtual machine inside of phpvirtualbox running on your Ubuntu server (mouthful!), to make the whole thing work, we must install and configure a nginx as a reverse proxy server. Say a project of yours deserves its own website, since your already hosting a website out of your residential connection, you would have to pay to host somewhere else as well right? Wrong. I have written this guide to do this. Once this installation is done. Make sure that you assign a static IP address to this server (as well as all other VM’s you create) and forward your router’s port 80 to the nginx server. The port forwarding is specific to the router, if you have no clue how to do it, google “port forward nameofrouter”.
- You will then have to point the DNS server with your Domain Name Registrar to your router’s global IP address. Obtaining this IP address is easy.
And the foundation is set! Now that you know how to install a virtual machine and you have a nginx reverse proxy up and running, you should point the proxy to things!
In my configuration, I point it at two different I use this routine to do wordpress installations all the time. On my server, I run two VM’s with two wordpress installs. One of them is for this blog, and the other for another website of mine, www.blockthewind.com.
To get a simple email server up and running, follow this guide which goes a little more in depth on phpvirtualbox but results in a citadel email server. I decided to go with citadel because of how easy the installation was and how configurable it was through the GUI. I use email accounts hosted with citadel for addresses that I would use either once or infrequently. It’s free to make these addresses, but citadel is older and probably not as secure as it could be for highly sensitive data.
That’s it! Do you have any suggestions as to what every small-scale tech blogger should have on their server?
Thanks for reading!
Hi Devon,
I like your little setup, and I have also been using virtualbox and phpvirtualbox for several years.
I have since swapped it out and is now using vmware hosts (3 x MacMini).
The reason for this, was the performance over the virtual network in the guests, which is way under par in virtualbox (sadly). So if you plan to use the virtual nics for anything else than moderate web traffic, I think you are better off finding another platform… KVM, Hyper-V, Xen, vmware etc.. I have tested them all, and they perform a lot better than virtualbox…
Heino! Good to hear from you! I will head your advice moving forward. Do you know of any headless way to control VM ware? The problem is I host everything at my house while I’m studying at school, and phpvirtualbox gives me an easy way to control it all remotely.
What do you suggest?