Smart Speaker | Amp Teardown and Potentiometer Problem

Here are images of the teardown:

A couple of things to note: I over heated the pads when removing the gain pot and lifted a trace by accident. Instead of soldering directly into the lug hole, I just tied directly to the resistor that is in series with the pot signal.

I also am also not going to be able to use the digital pot I have been working with so far. Note the image that shows the pot with a resistance of 50k, and the one I’ve been working with is 10k.

I’m going to order a pair of these, and many of these to try and solve the bluetooth static problem.

Hey! This post was written a long time ago, but I'm leaving it up on the off-chance it may help someone. Proceed with caution. It may not be a good idea to blindly integrate this code or work into your project, but instead use it as a starting point.

PiPlanter 2 | Little Plants 1 / Germination Setup

The plants are coming along quite nicely, here is an album of images:

As for my grow setup in this stage, it’s pretty simple. Basically I keep the two desk lamps I have from that area on 24/7 and on the plants. Every morning I put about a half gallon into each of the trays. I also spray about 8oz onto the surface of the plants. Working pretty well so far, all of this growth is only after a week and two days.

Hey! This post was written a long time ago, but I'm leaving it up on the off-chance it may help someone. Proceed with caution. It may not be a good idea to blindly integrate this code or work into your project, but instead use it as a starting point.

PiPlanter 2 | Strange Fuzz

I have no idea what this could be!

Hey! This post was written a long time ago, but I'm leaving it up on the off-chance it may help someone. Proceed with caution. It may not be a good idea to blindly integrate this code or work into your project, but instead use it as a starting point.

PiPlanter 2 | Update / Dirt / Germs

Hi! In order to do PiPlanter 2 at the scale I want, as always, I need money. I’m applying to this grant to hopefully take this project to unreal new heights. In order to apply, one of the component is assembling a budget. In order to do that though, I need to “complete” the whole project… in my head. I have to be able to think of exactly how I want to do the project. From PCB design to pump system, I have to plan it all in order to assemble a realistic budget. There is a lot of good work that comes with this, like schematics and the budget itself. I’ll for sure upload all of the documentation.

On a more stimulating note: I’ve planted the tomato plants in the same manor that I did last summer and here are some pictures of the growth so far.

Here is the dirt and planted seeds:

Here are some very small sprouts that have developed in the last two days.

Hey! This post was written a long time ago, but I'm leaving it up on the off-chance it may help someone. Proceed with caution. It may not be a good idea to blindly integrate this code or work into your project, but instead use it as a starting point.

PiPlanter 2 | Getting Started Again

So I have decided to re write the PiPlanter from the ground up. In essence, it will accomplish the same exact thing but I’d like it to be a lot more of a stable platform to expand upon in the future. I’d also like PiPlanter to be professional enough to bring to market. First off there are a few things you’d need install & a few modifications you’d need to make to Raspian. First thing’s first, you’ll need to enable SPI in the kernel so:

Comment out the spi-bcm2708 line so it looks like this:

Then run this to make it more permanent.

Now for the real meat of it. You’ll need these packages for SPI and the WiringPi library makes things a whole lot easier for us. This program also relies very heavily

Revised python code next post.

Hey! This post was written a long time ago, but I'm leaving it up on the off-chance it may help someone. Proceed with caution. It may not be a good idea to blindly integrate this code or work into your project, but instead use it as a starting point.

Raspberry Pi as a dedicated “Twitch Plays Pokemon” Viewer

Update: 12 October 2016

Thanks to commenter Fishscene for pointing out the following:

livestreamer for twitch is broken. Twitch made a change to require an OAUTH token and disallow annonymous viewing. livestreamer hasn’t been updated in over a year. Project was forked to streamlink and includes twitch fix:

https://github.com/streamlink/streamlink

I’ll leave this for prosperity, it has been linked to several time.

I’m not too proud of this but my laptop couldn’t handle streaming ‘Twitch Plays Pokemon’ and me doing day to day tasks and I can’t stop watching now. I’ve decided to use a spare Raspberry Pi have to keep the stream open 24/7 on a spare monitor I have.

Here’s a video:

Thanks to Livestreamer it is unbelievably easy to view this stream.

The following command will install Livestreamer:

To make things even simpler, I have also written the following python program that will open the stream to HDMI. You can set the line that runs this program as a cron job to run at boot if you wish.

Which you can get on your pi with:

Once it is downloaded you can run it with:

And it will open on your HDMI monitor.

Hey! This post was written a long time ago, but I'm leaving it up on the off-chance it may help someone. Proceed with caution. It may not be a good idea to blindly integrate this code or work into your project, but instead use it as a starting point.

My Research at WPI

Hi! I am now a researcher for Sabyasachi Sarkar at WPI, the college I go to. You can check out some of the work I’ve done here!


I got this gig because of my work on this website so thanks guys.

Hey! This post was written a long time ago, but I'm leaving it up on the off-chance it may help someone. Proceed with caution. It may not be a good idea to blindly integrate this code or work into your project, but instead use it as a starting point.

Server Upgrade | Citadel Install Inside of a Virtual Machine

Okay! So for now, I’ve landed on Citadel for the email server software that I’m going to use. I’ve bounced around between four different clients (iredmail, Citadel, Ubuntu’s Suite, and Zimbra) and have landed on Citadel because I can install it (lol) and because it suites my needs better. The other software suites are basically wrappers of a bunch of smaller discrete softwares that build up the Ubuntu Suite. This is fine for dedicated servers, but since I’m going to be running this inside of a Virtual Machine, it is more convenient for me to use Citadel.

The install is pretty simple once you get the prerequisites installed and prep the VM itself.

Since it’s a server, a static IP address on the network will be very useful. Setting the IP address of a Virtual Machine is surprisingly simple, or at least it is in my case.

You set the IP you want manually as done here, and to configure the VM you set the network to be attached to a bridged adapter as seen here:

To install citadel, run the following commands per the citadel install guide.

And the install should go off without a hitch. You can then navigate to yourserverip/mail to access citadel.

Hey! This post was written a long time ago, but I'm leaving it up on the off-chance it may help someone. Proceed with caution. It may not be a good idea to blindly integrate this code or work into your project, but instead use it as a starting point.

Server Upgrade | Understanding and Accessing VM’s

Eventually, I’d like to migrate this website to the new server that I’m working on now, and to be able to do that I’m probably going to need to be able to use SSH to access the server, access files from it using S/FTP, use some sort of apache webserver etc etc.

Turns out, it is comically easy change the ports on a virtual machine using phpvirtualbox, and I was expecting to have to write a much longer post than this.


Hey! This post was written a long time ago, but I'm leaving it up on the off-chance it may help someone. Proceed with caution. It may not be a good idea to blindly integrate this code or work into your project, but instead use it as a starting point.

Server Upgrade | Getting a VM running

Alright! Time to get VM’s rolling.

I’m going to be running phpvirtualbox on Ubuntu Server 12.04.3. The phpvirtualbox software will work really well because it’s web based and the server is headless.

Basically I’m following these guides:

http://www.howtoforge.com/vboxheadless-running-virtual-machines-with-virtualbox-4.1-on-a-headless-ubuntu-12.04-server

http://www.howtoforge.com/managing-a-headless-virtualbox-installation-with-phpvirtualbox-ubuntu-12.04

https://gist.github.com/dominicsayers/3012172

And doing the following:

Install VirtualBox – note you will most likely need to upgrade

Add the line

To that file then exit by hitting ^X. Continuing:

Then install phpvirtualbox

Edit this file to set $username and $password match the user you created earlier
Also add the following disable phpVirtualbox’s authentication:

Then ^X to exit. Continue with the installation:

Add the line:

Then ^X to exit. Start virtualbox with:

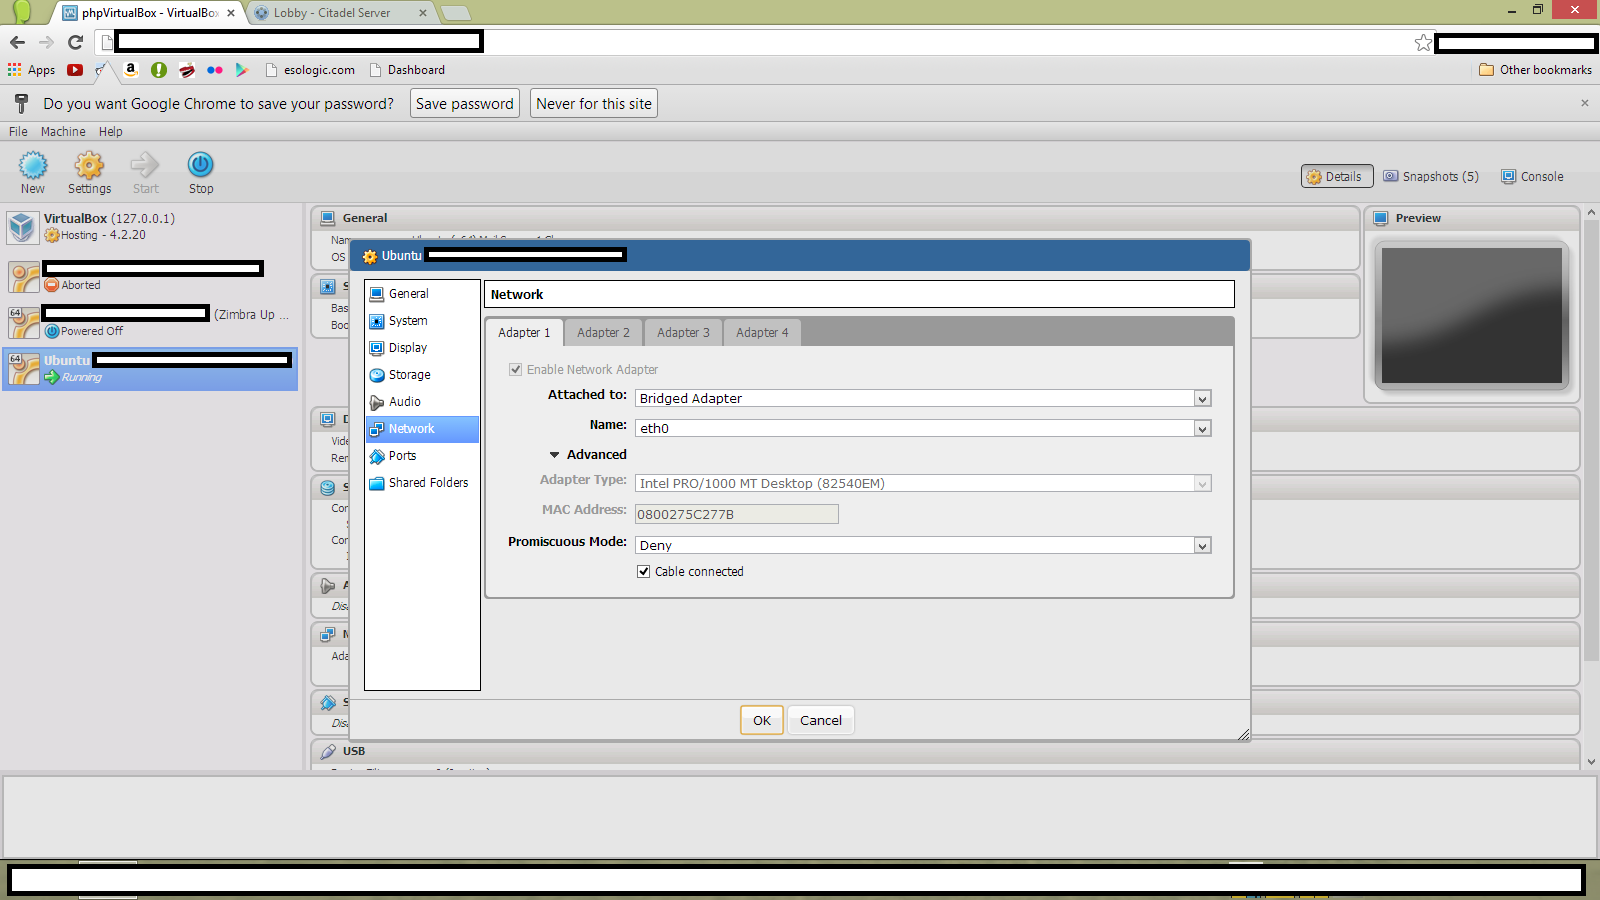
And then navigate to yourserversip/phpvirtualbox

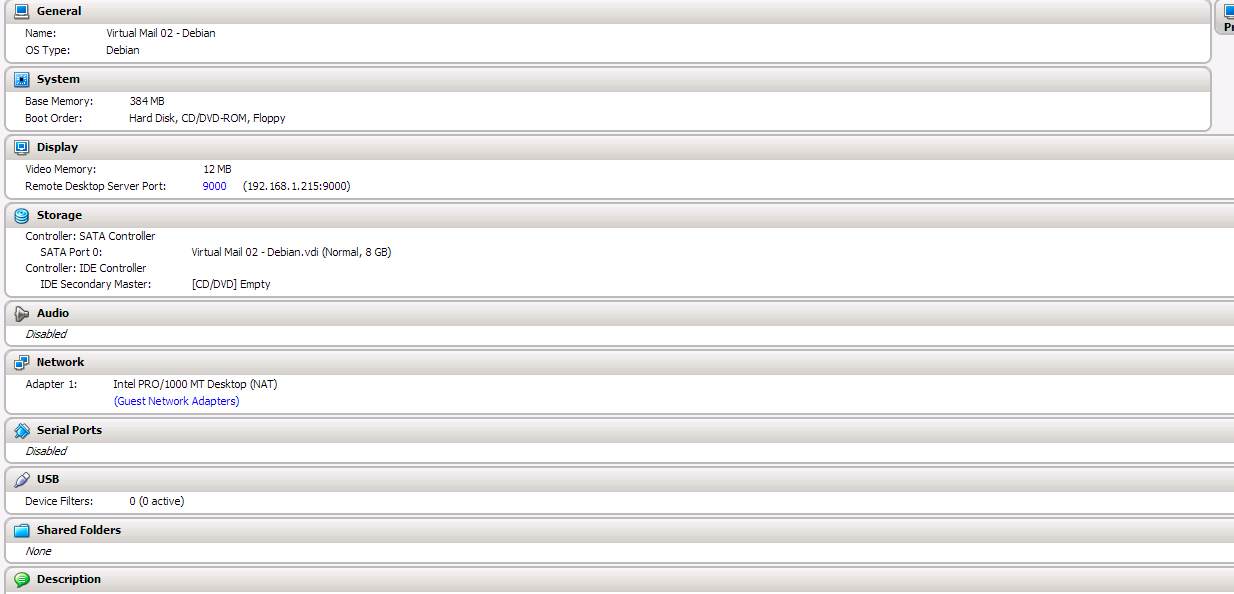
Then getting a virtalbox VM running inside of that is easy!

Hey! This post was written a long time ago, but I'm leaving it up on the off-chance it may help someone. Proceed with caution. It may not be a good idea to blindly integrate this code or work into your project, but instead use it as a starting point.