Play multiple sound files on multiple output devices with Python and sounddevice

Ever wanted to have multiple different sound files playing on different output devices attached to a host computer? Say you’re writing a DJing application where you want one mix for headphones and one for the speakers. Or you’re doing some sort of kiosk or art installation where you have many sets of speakers that need to all be playing their own sound file but the whole thing needs to be synchronized. This would even be cool for something like an escape room.

The ladder example is where I needed this bit of code. I’ve been working with interdisciplinary artist Sara Dittrich on a few projects recently and she asked if I could come up with a way to play 8 different mono sound files on 8 different loudspeakers. Here’s a video of the whole setup in action, and an explanation of the project:

I’ve wrapped up all of the code for the art installation project, and that can be found in a github repo here. It includes the startup functionality etc. If you’re interested in recreating the video above, that repo would be a good starting place. The following is a list of the parts used to make that build happen:

Multi-Audio Example

It is worth it to give a simple example of how to play multiple files on multiple audio devices using python. I couldn’t find an examples on how to do this online and had to spend some time experimenting to make it all come together. Hopefully this saves you the trouble.

To install sounddevice on my Raspberry Pi, I had to run the following commands:

For this example, let’s say there are 4 audio files in the same directory as multi.py , so the directory looks like this:

The code is based on the sounddevice library for python, whose documentation is pretty sparse. This script will find the audio files, and then play them on as many devices as there are attached. For example, if you have 3 sound devices it will play 1.wav, 2.wav and 3.wav on devices 1-3. If you have any questions, feel free to ask:

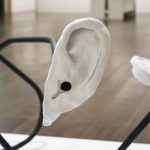
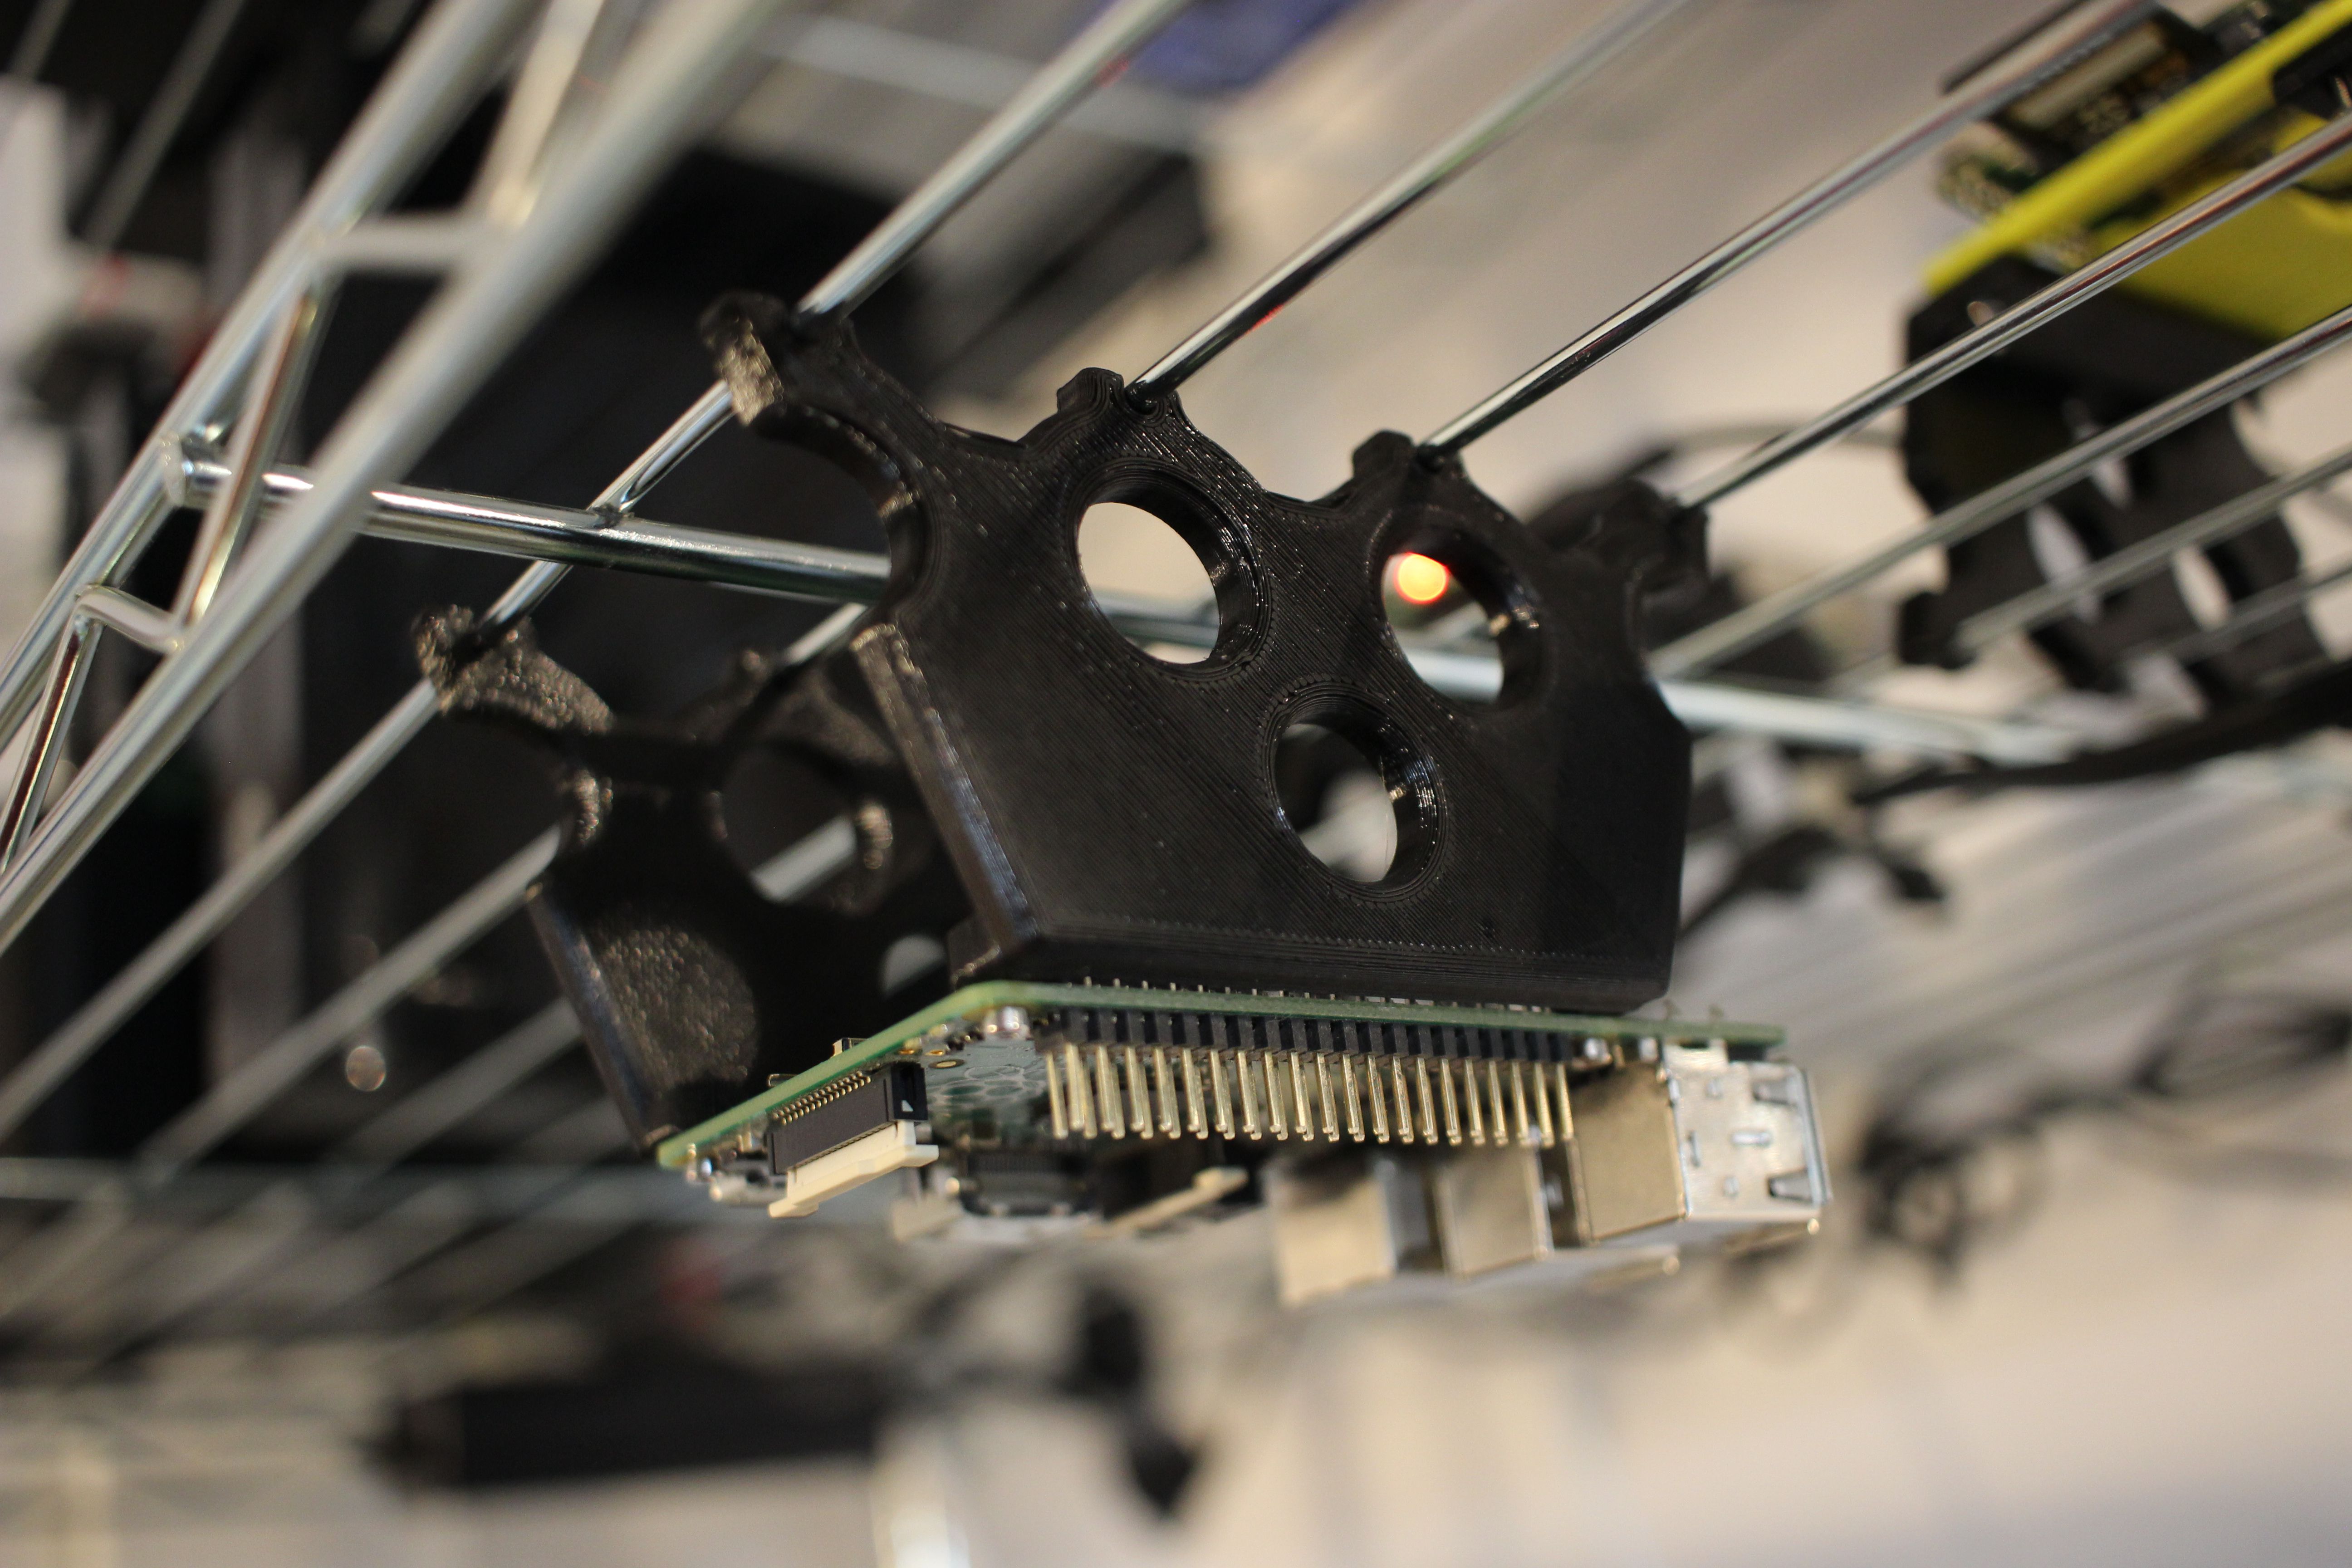
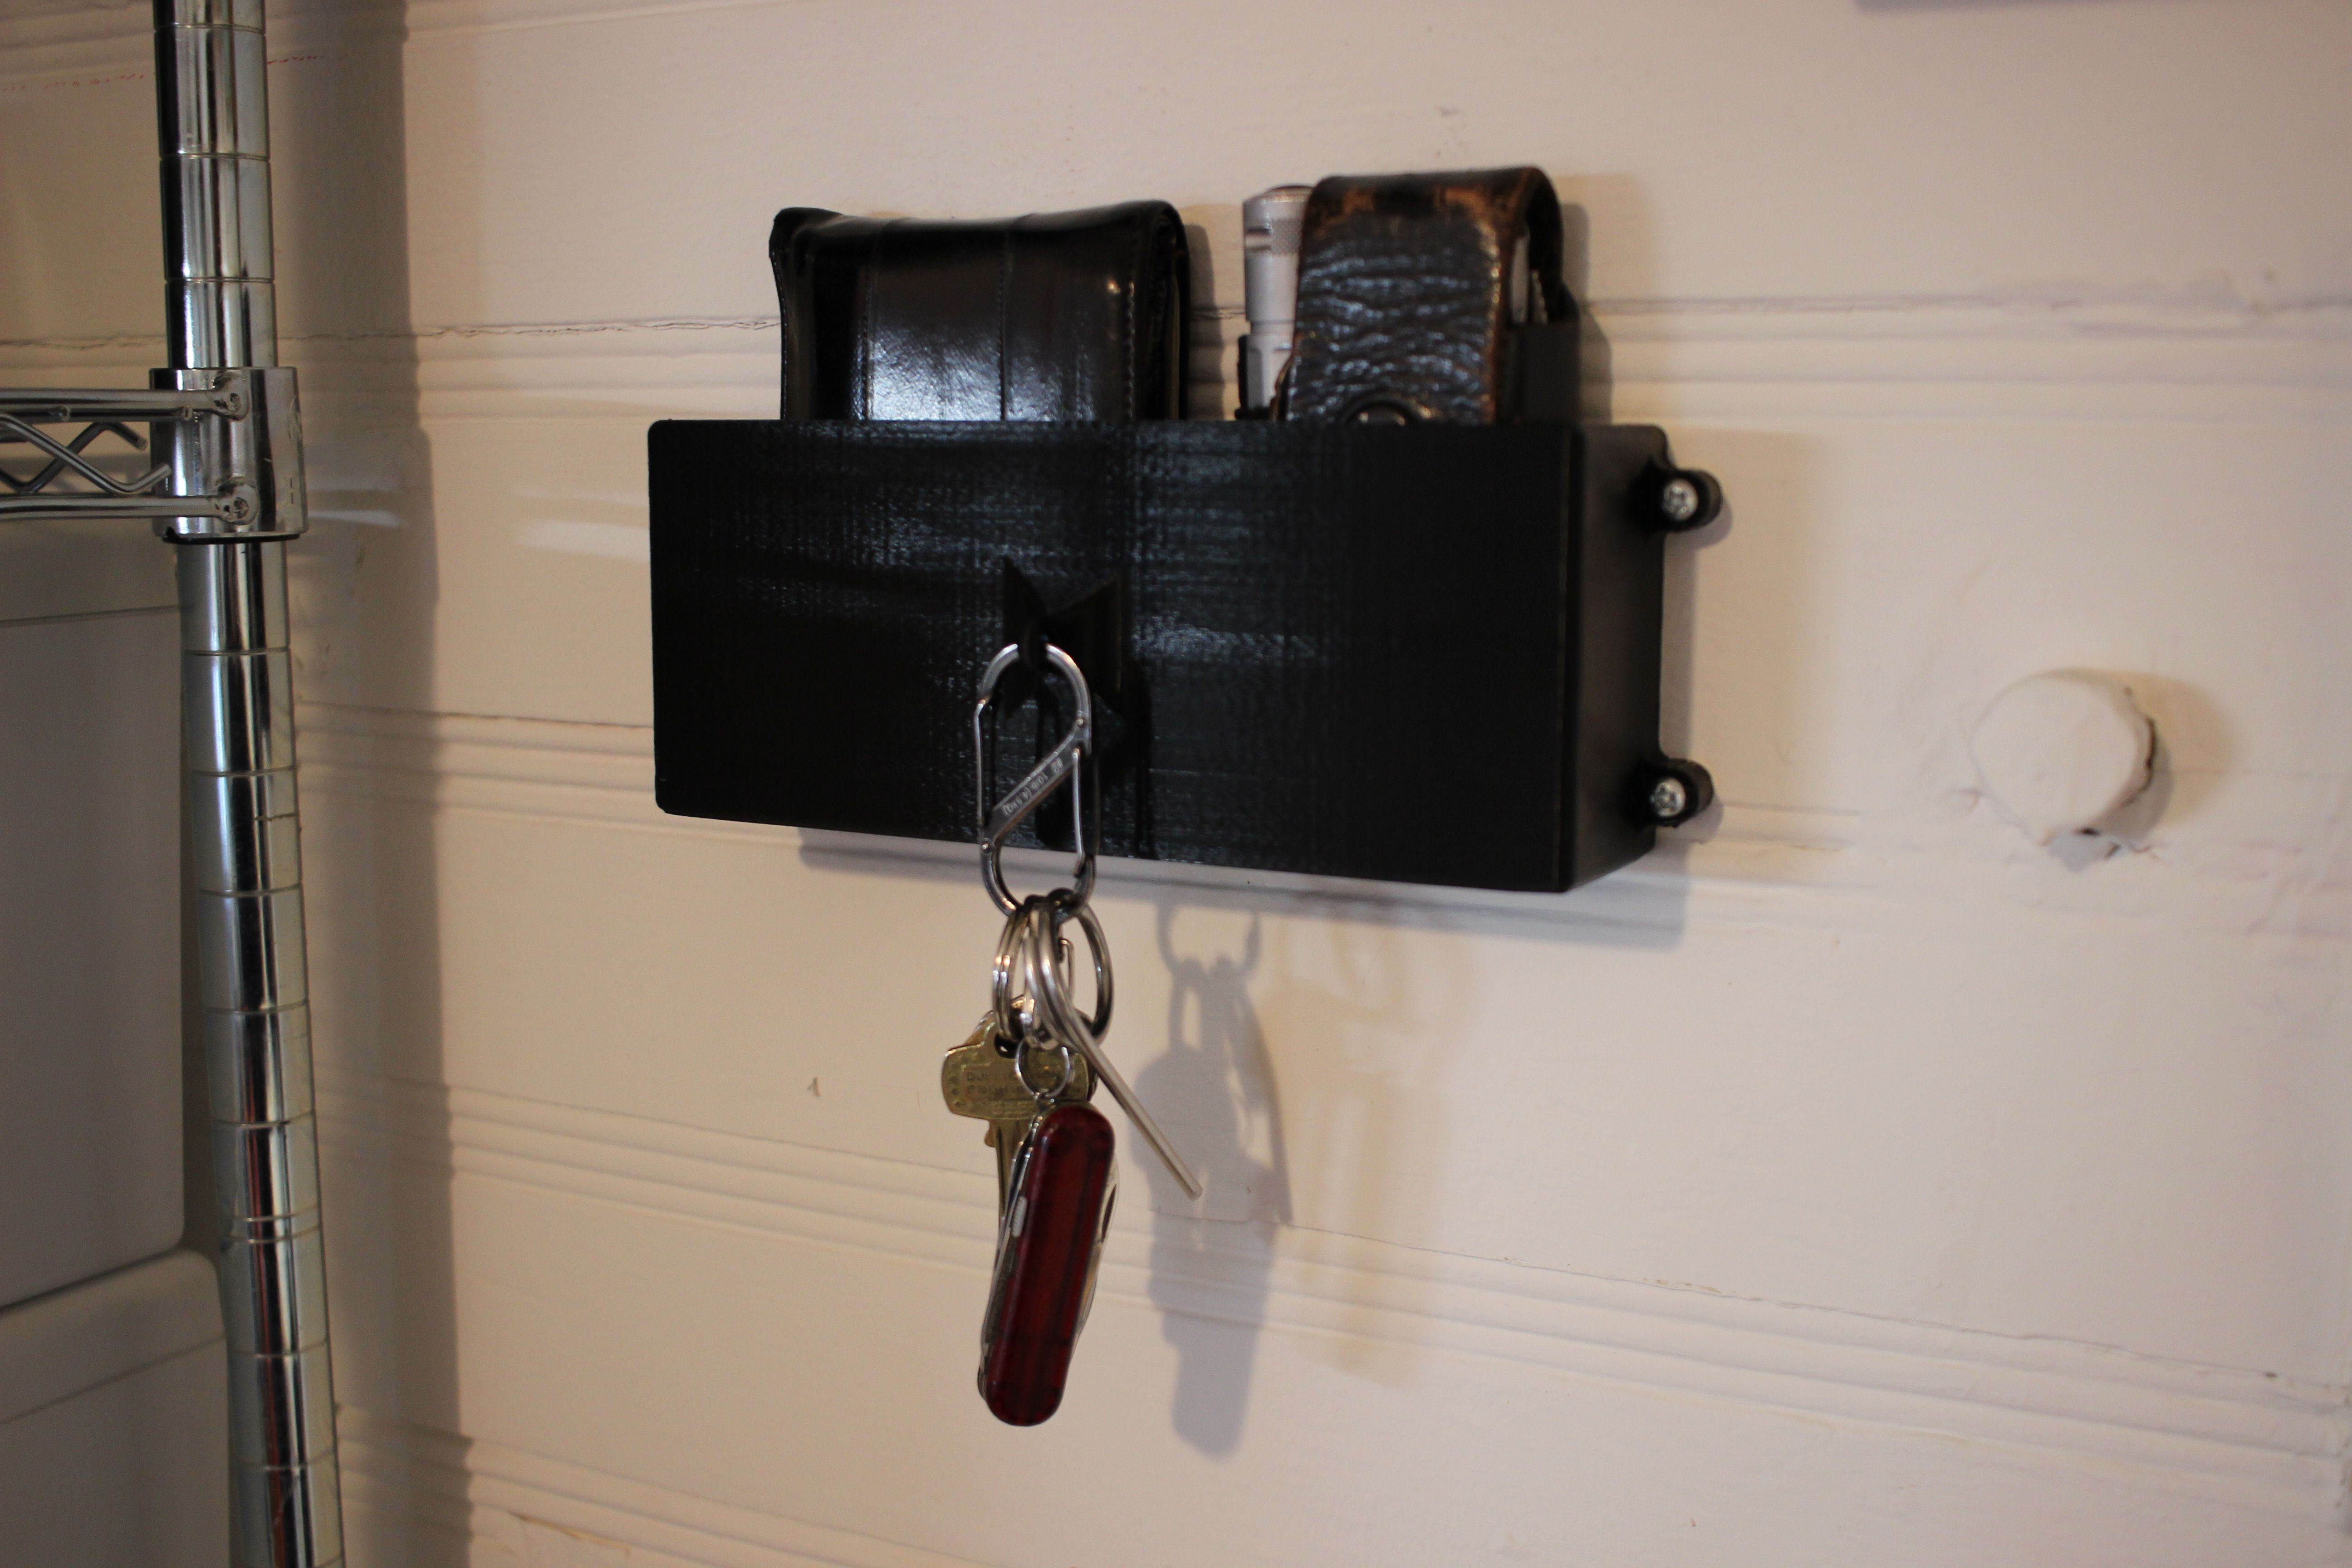
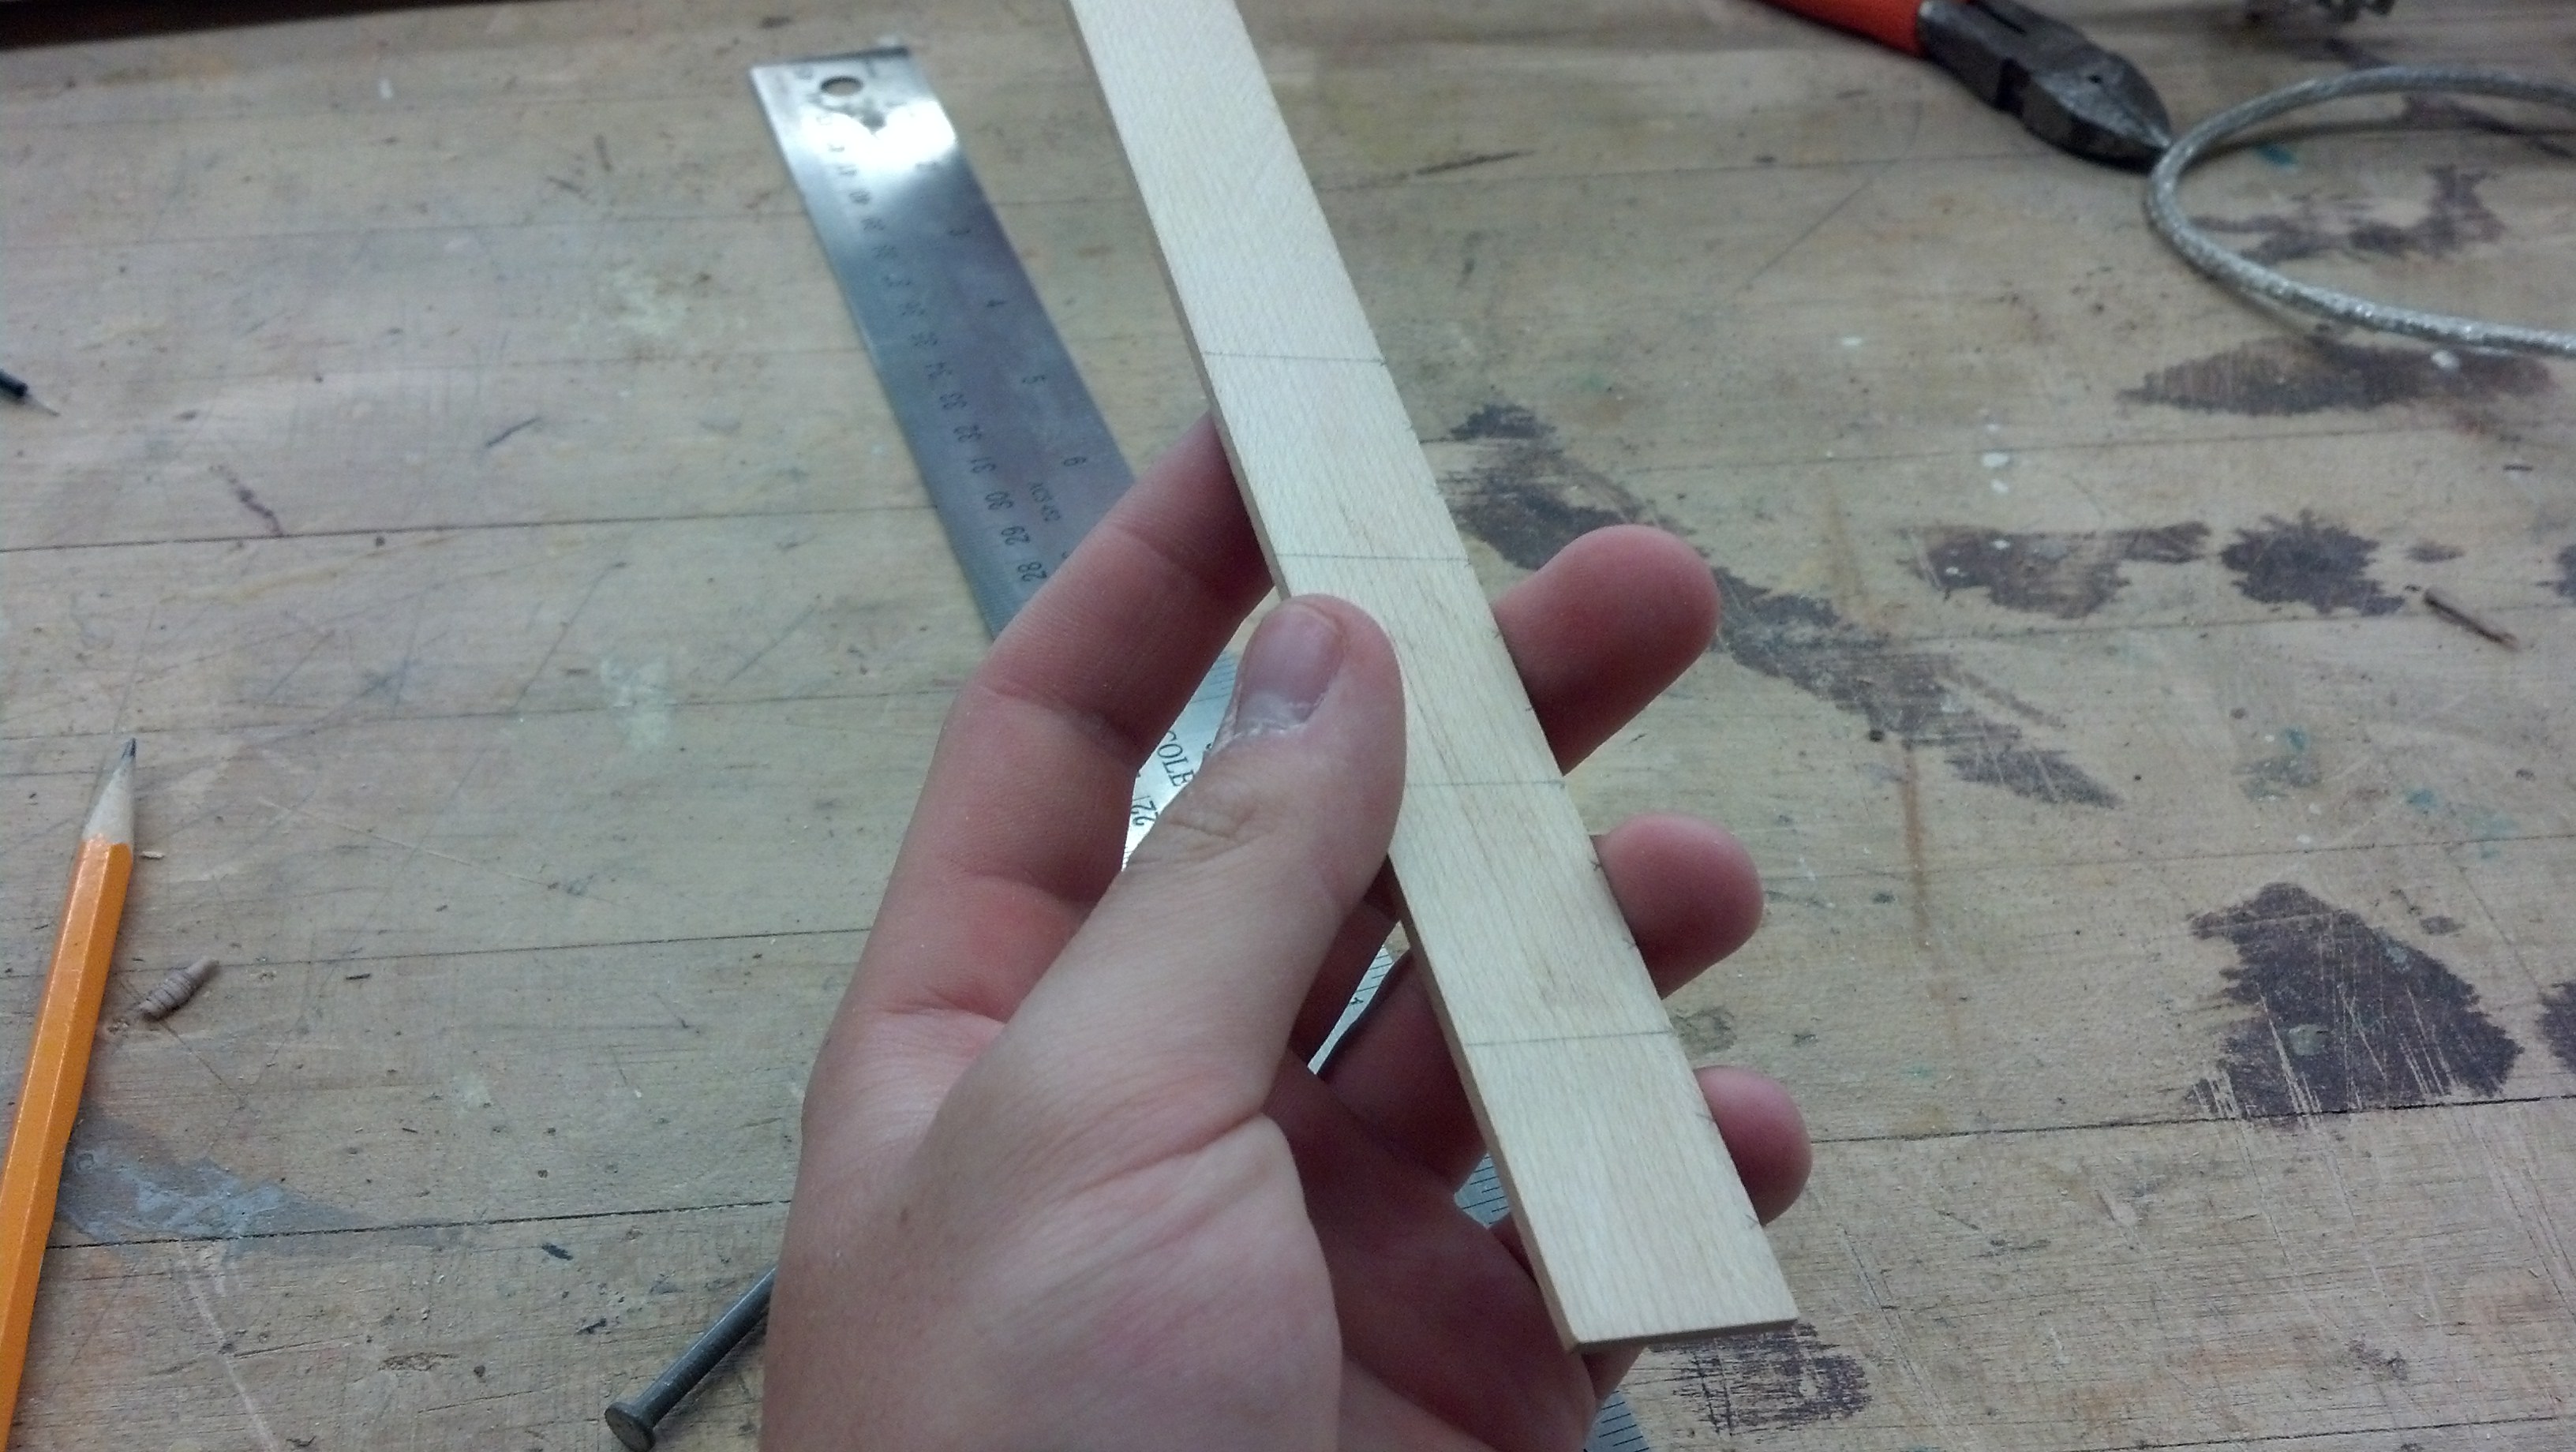
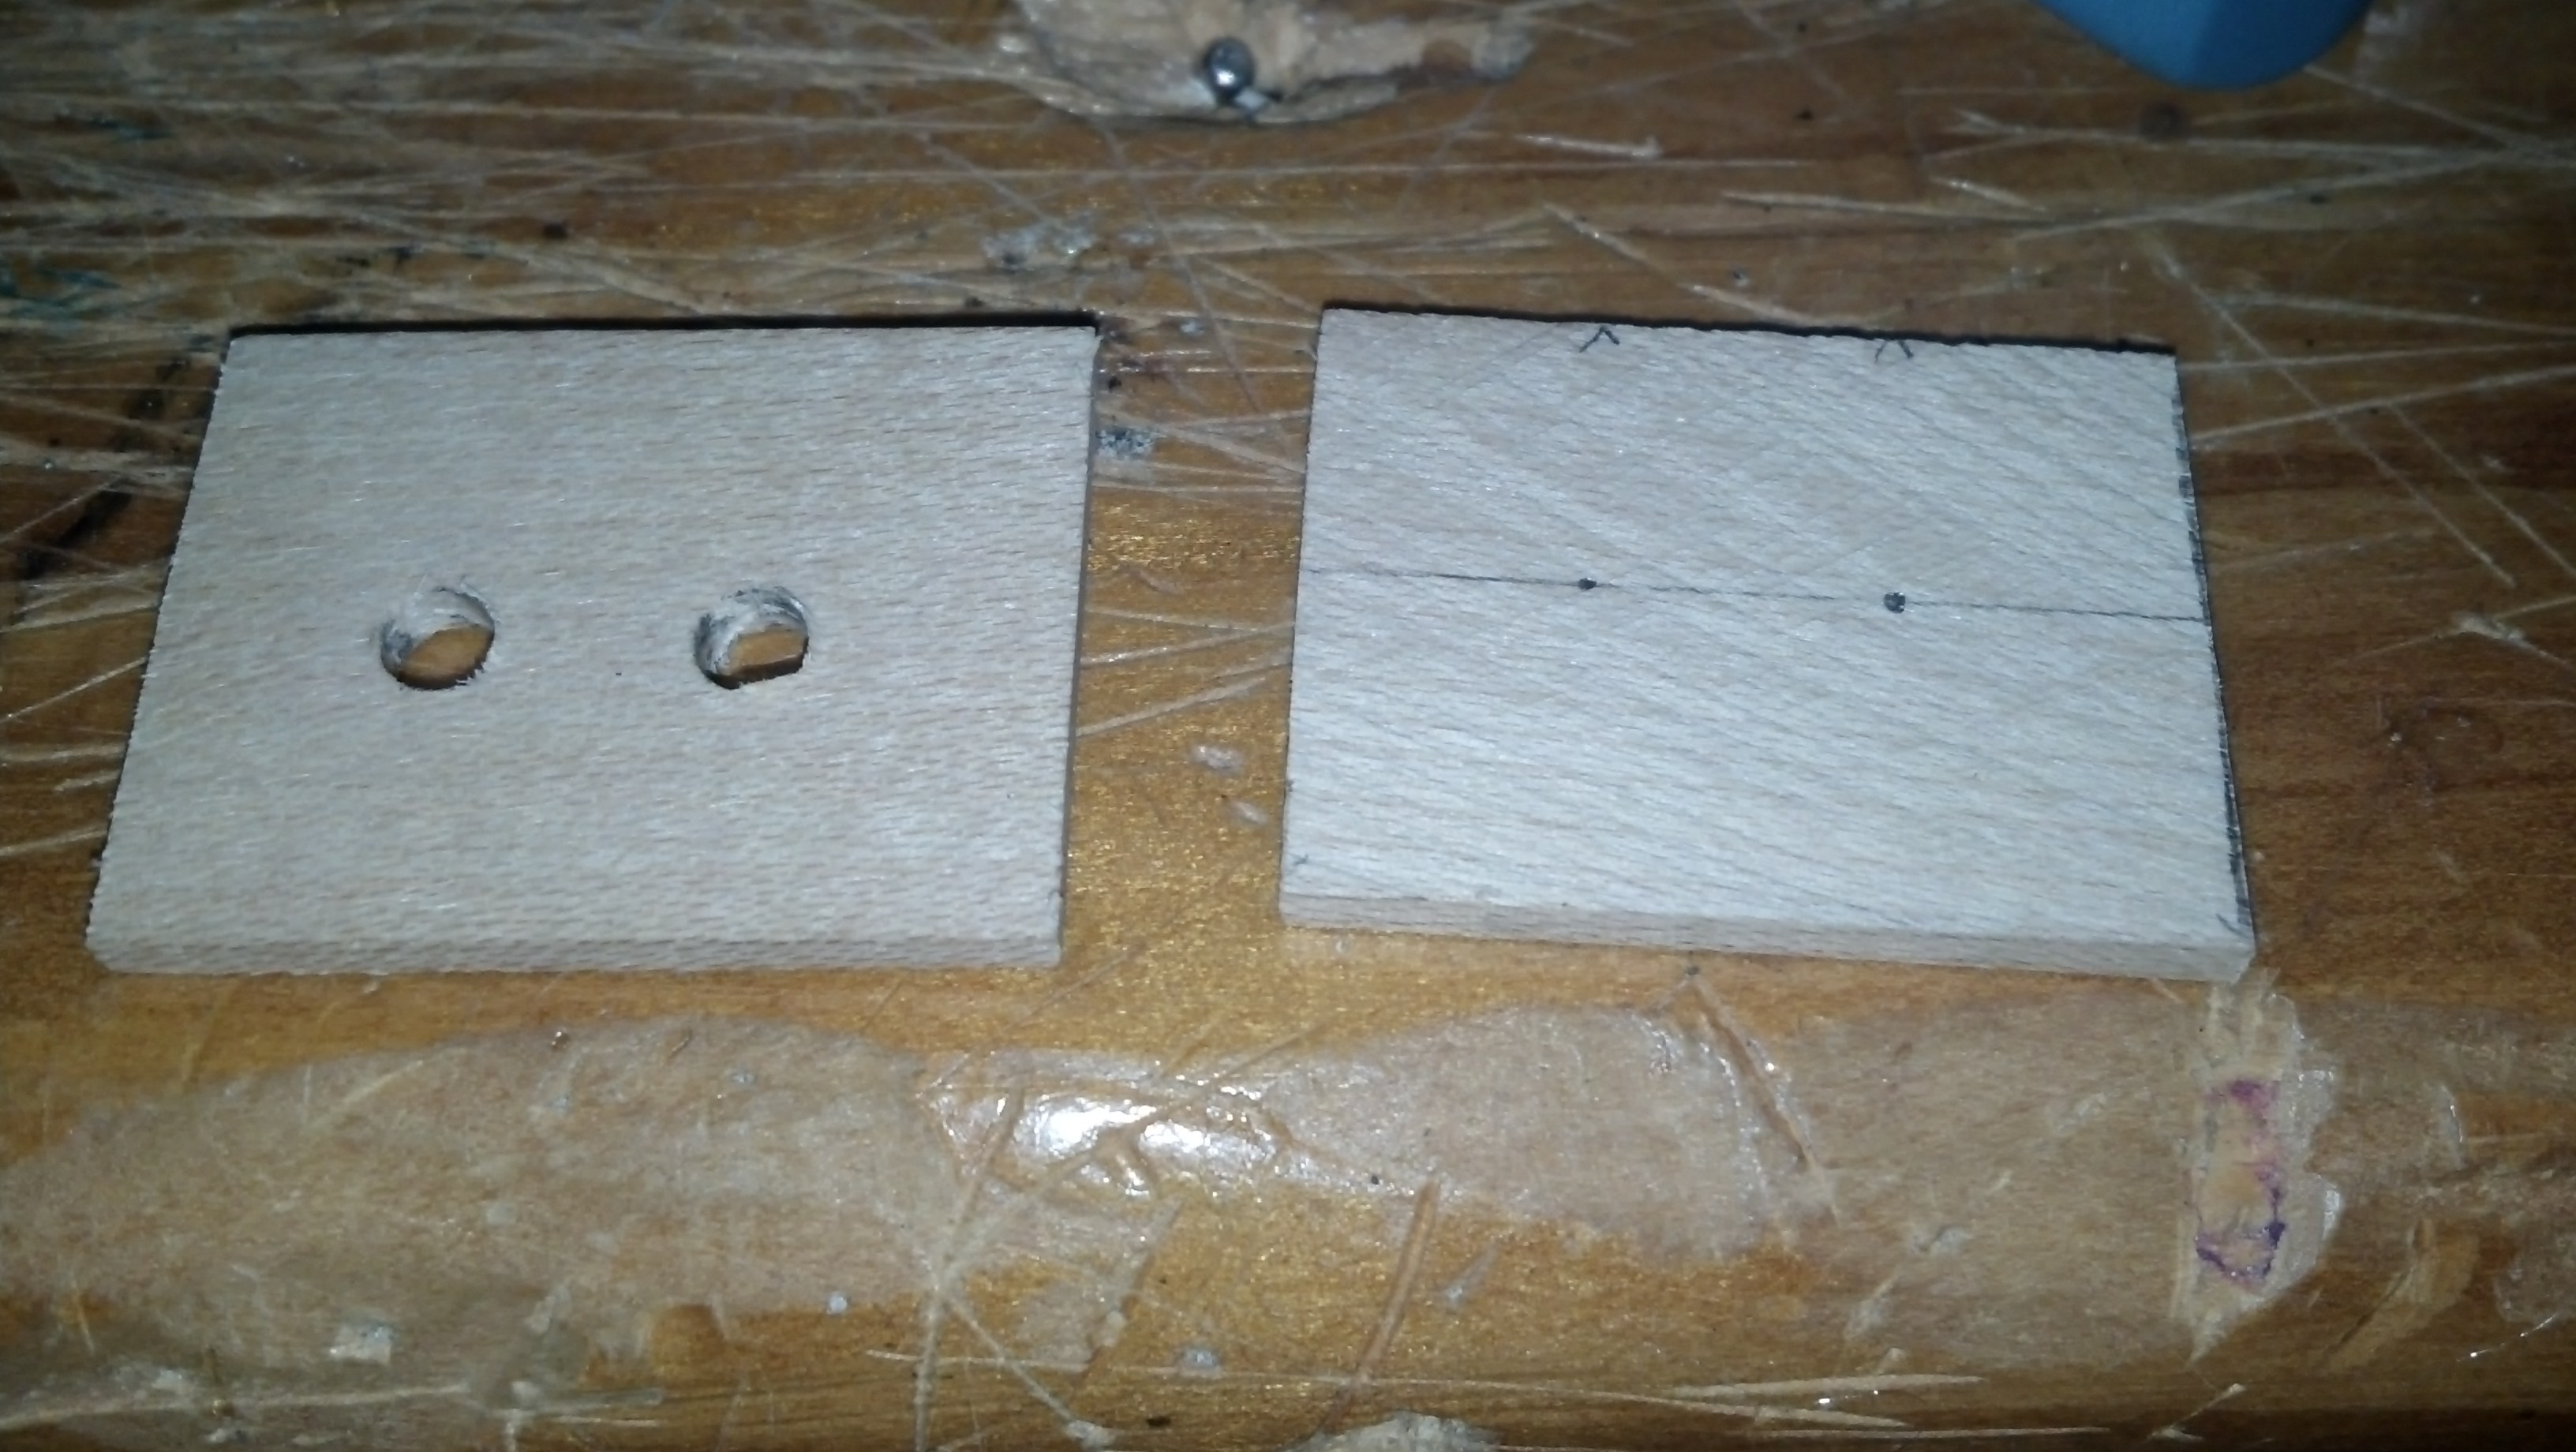
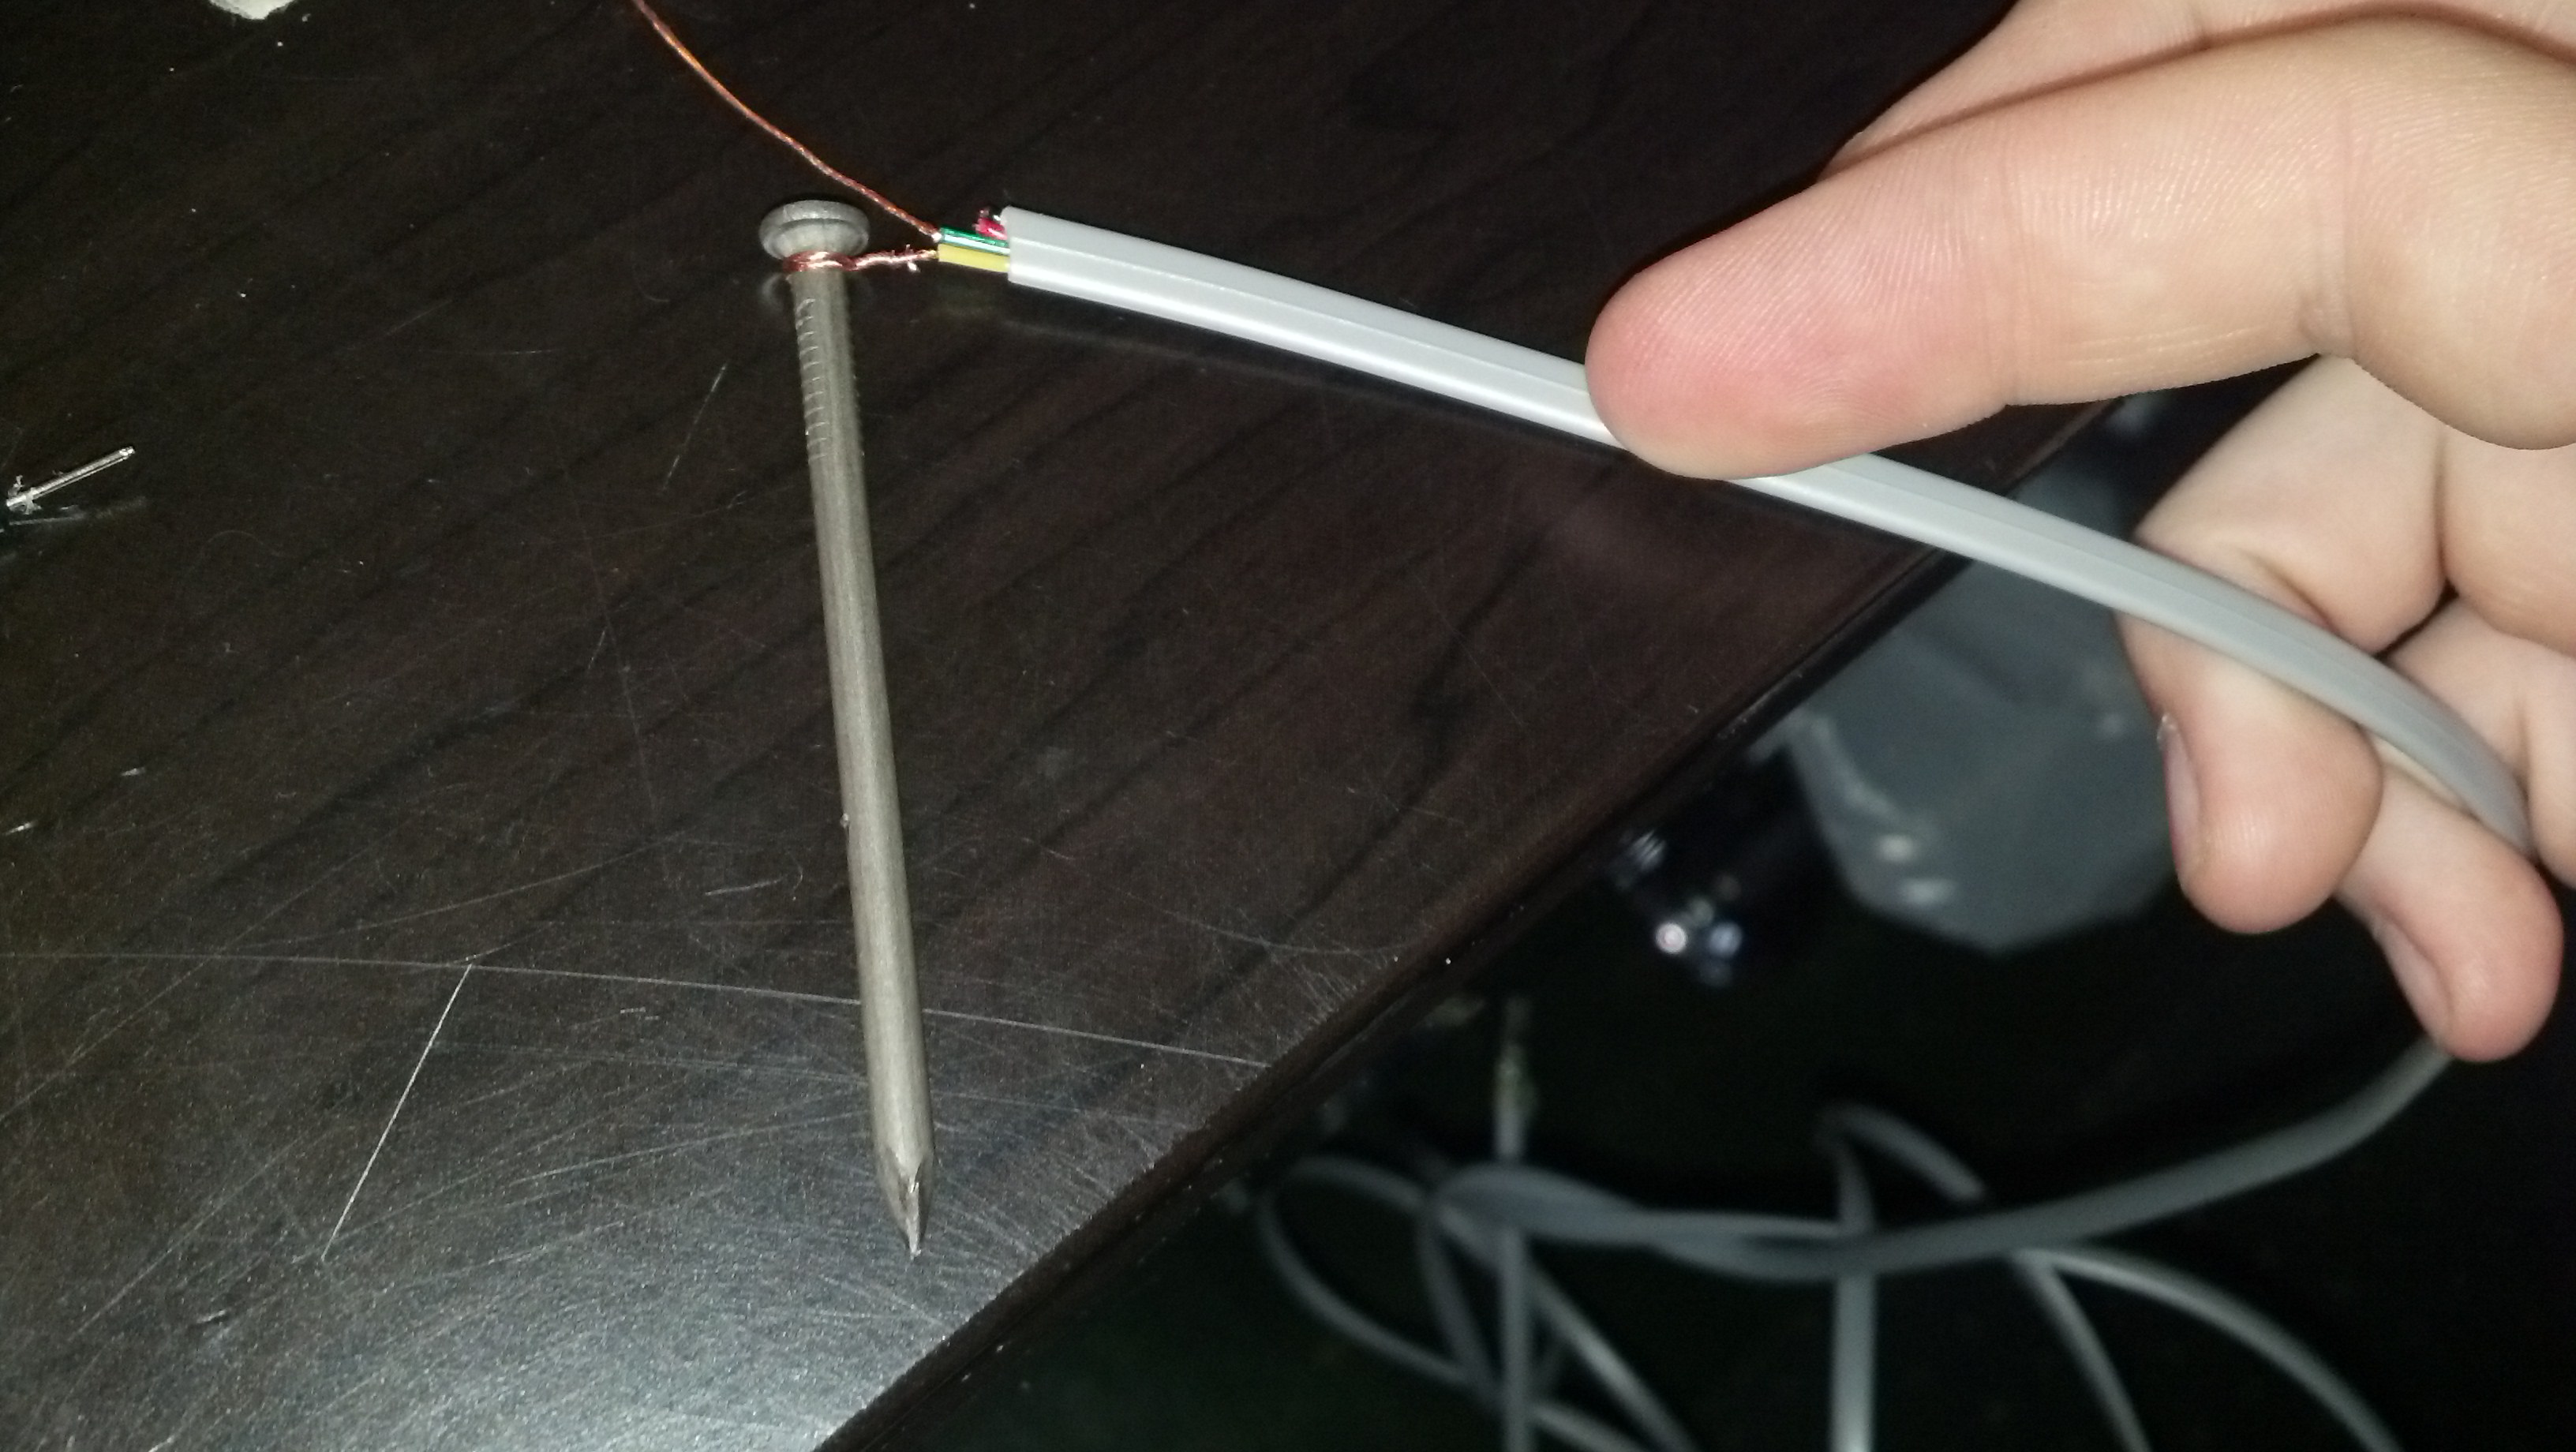
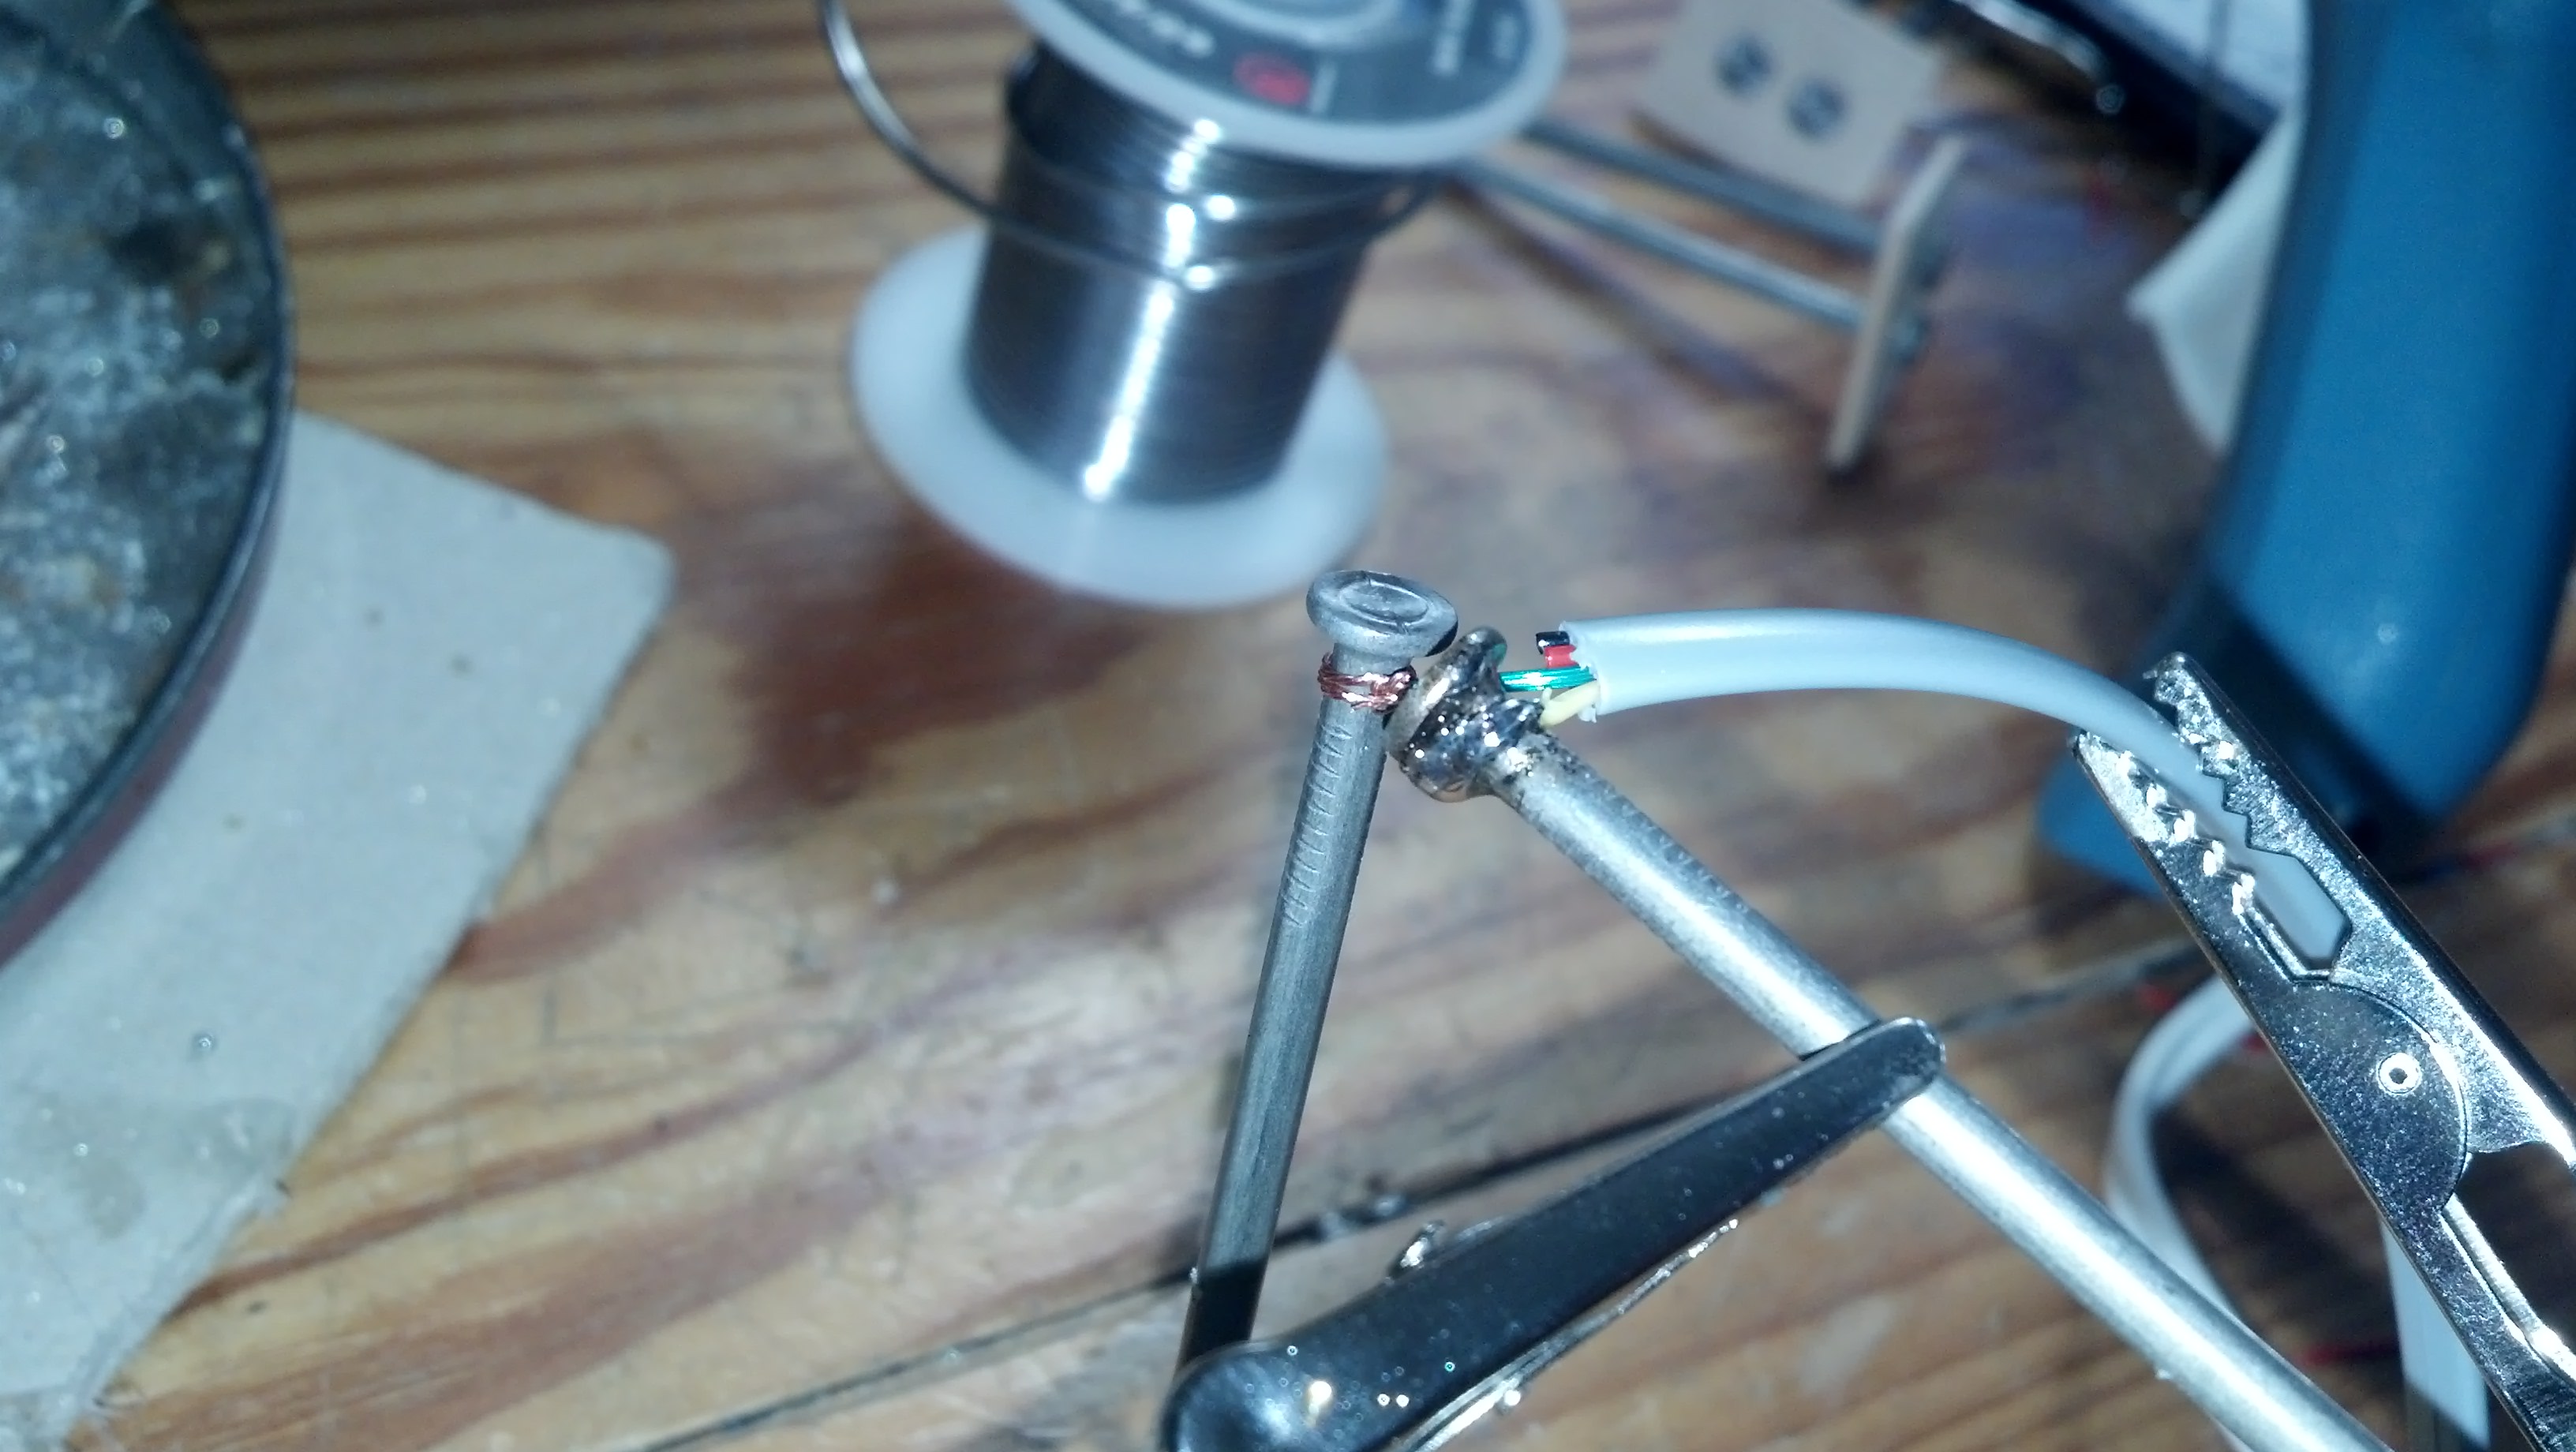
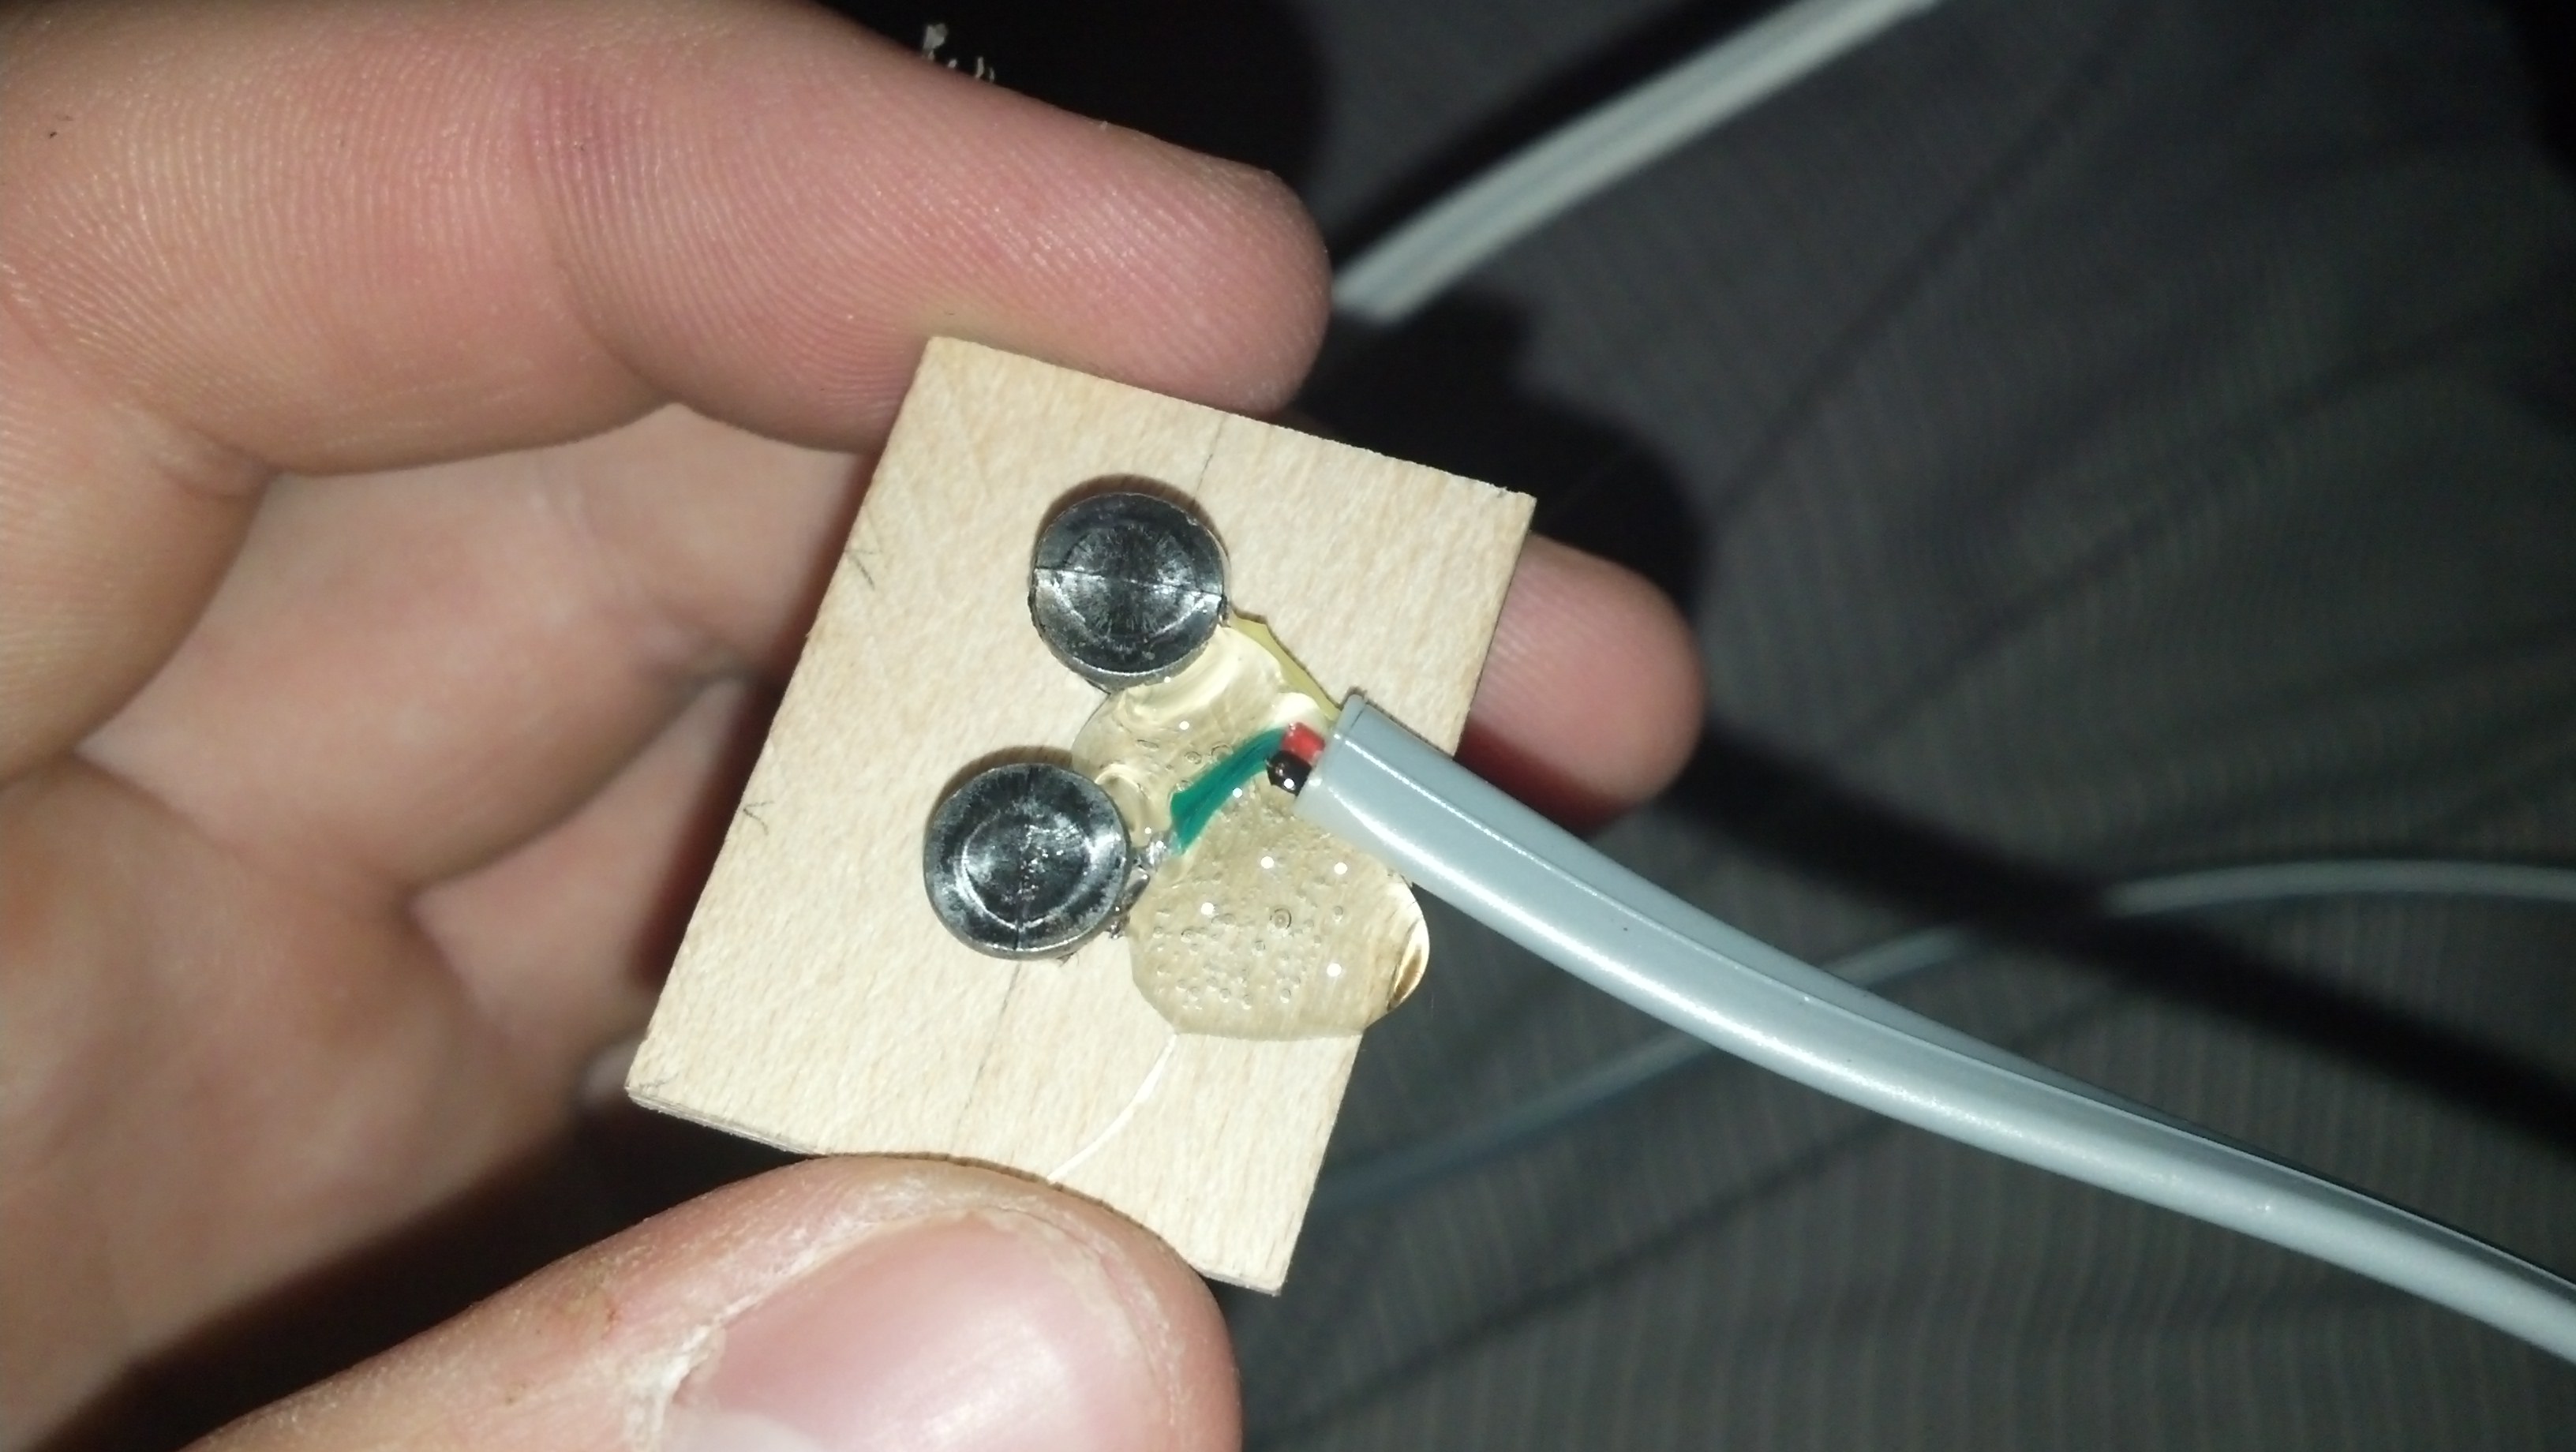
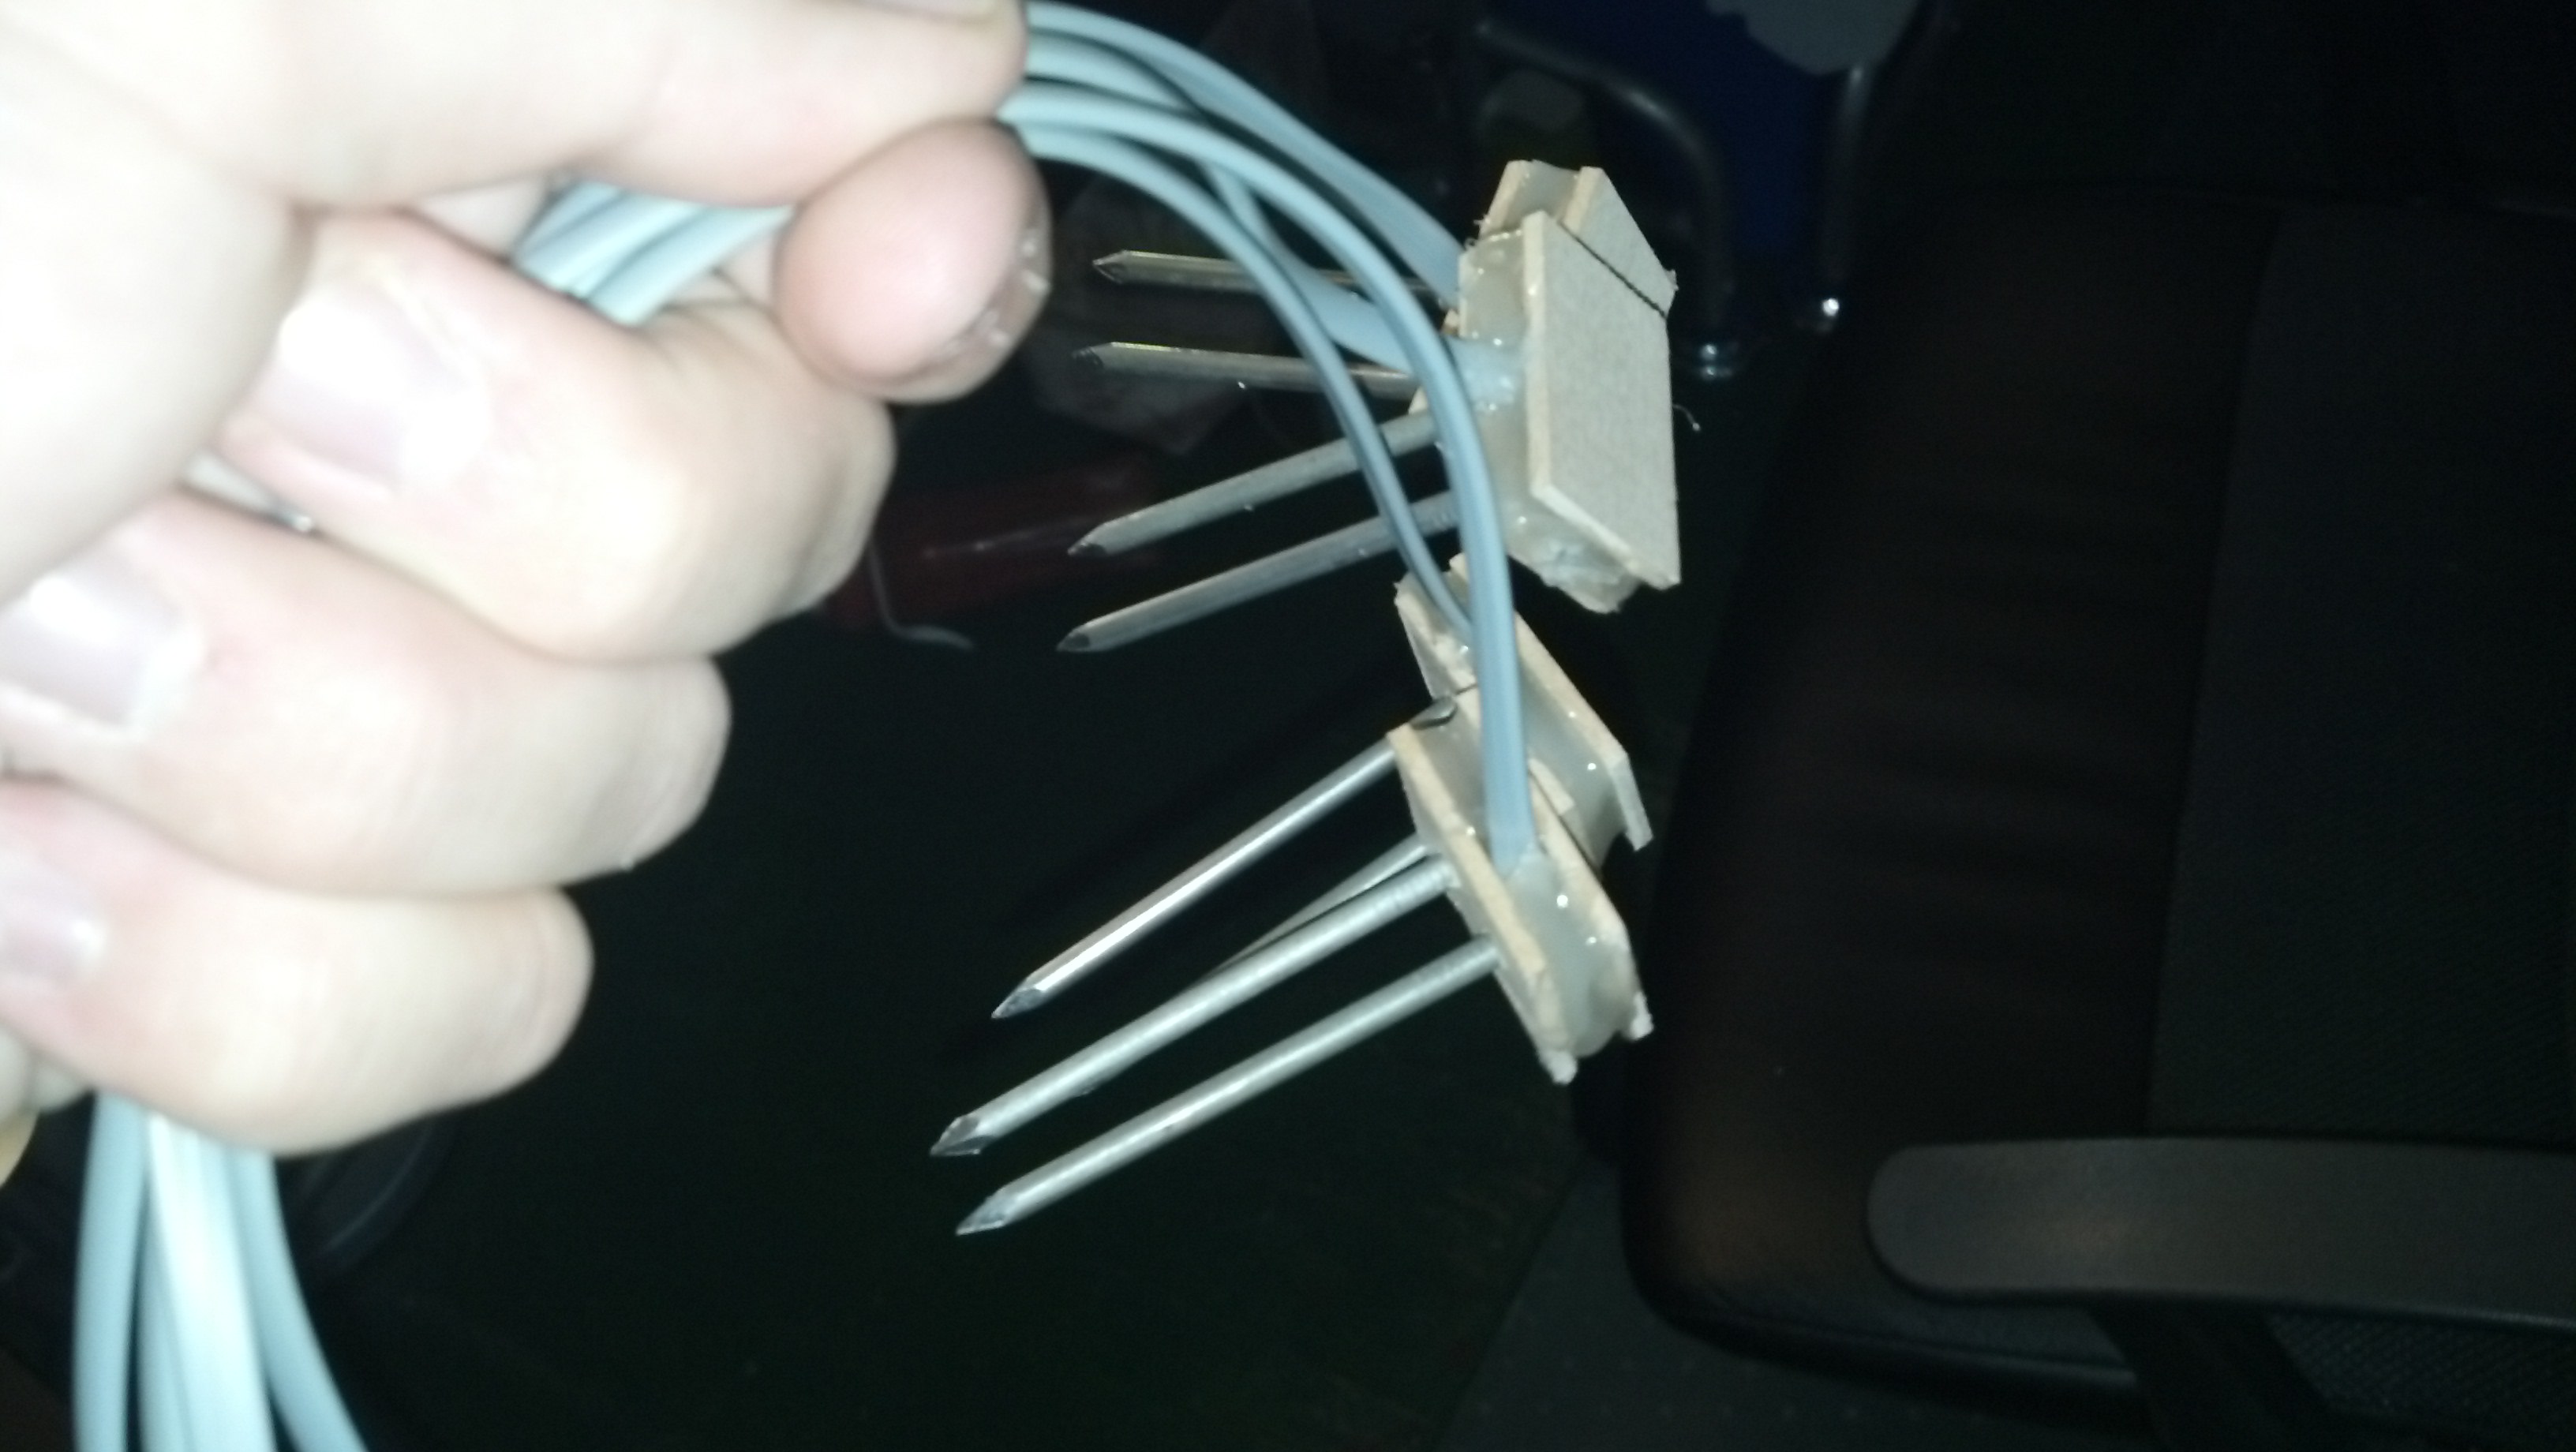
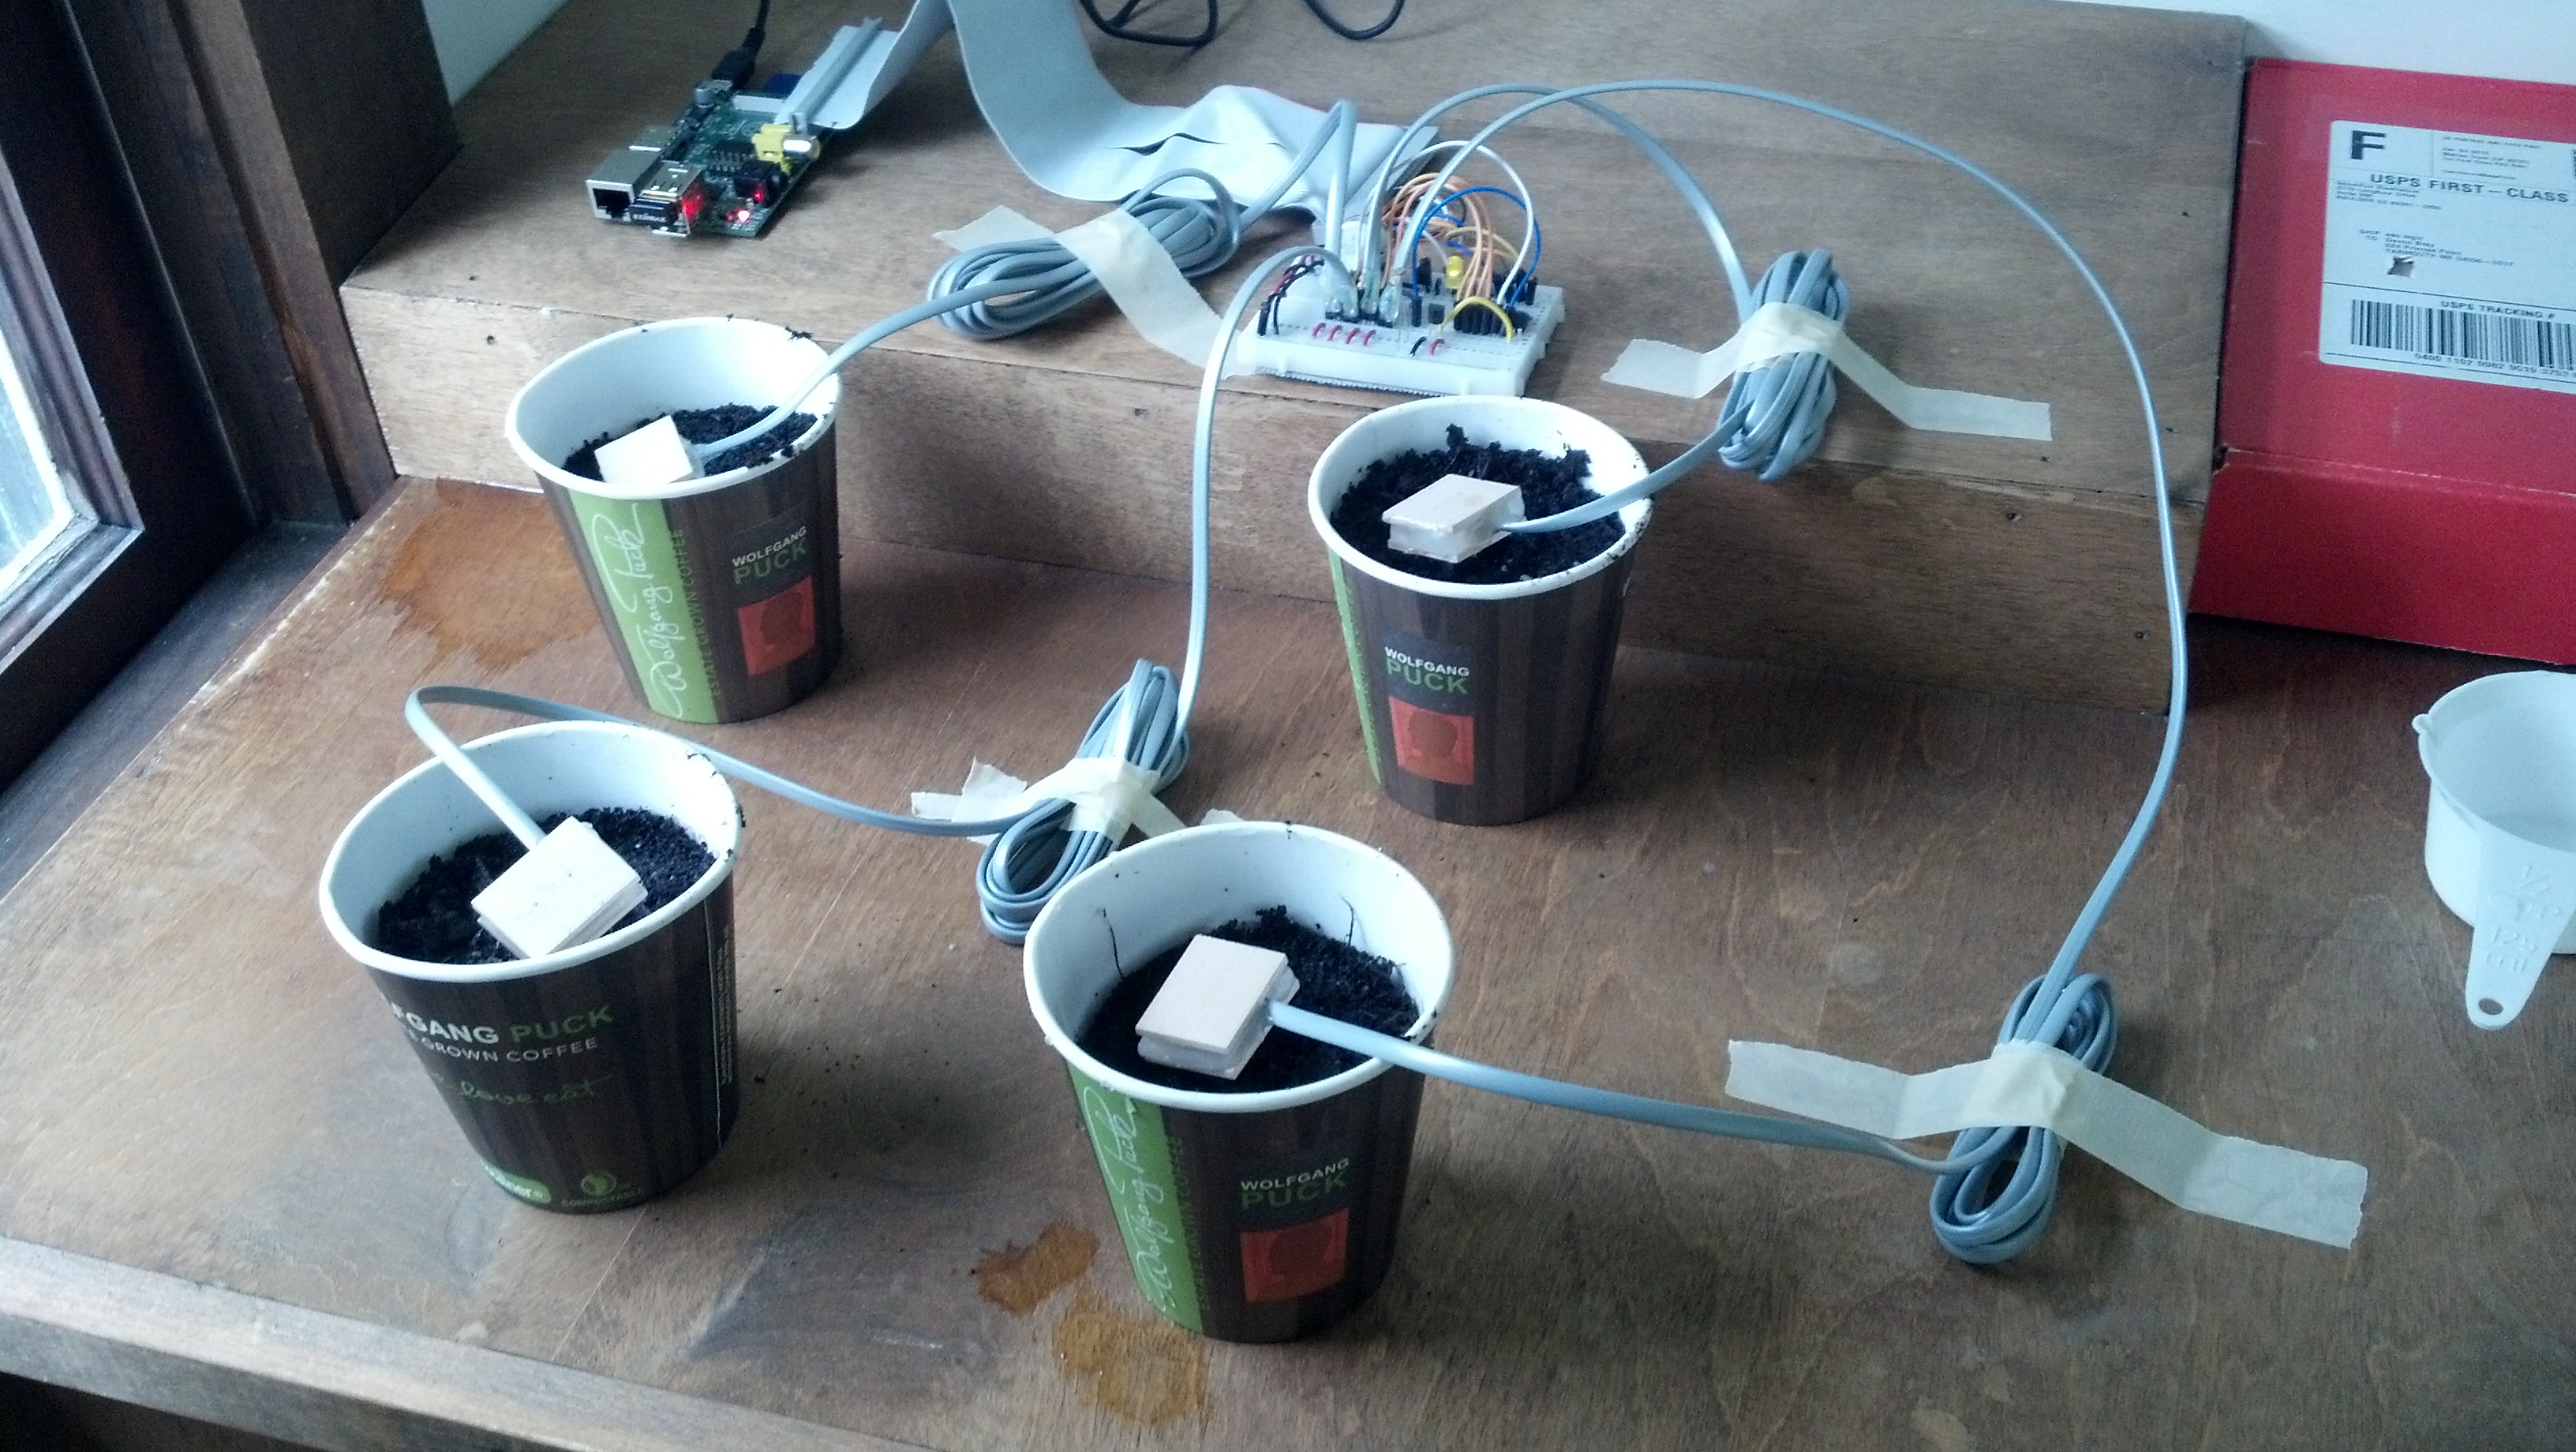
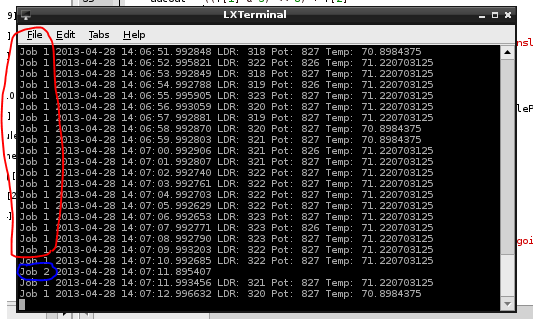
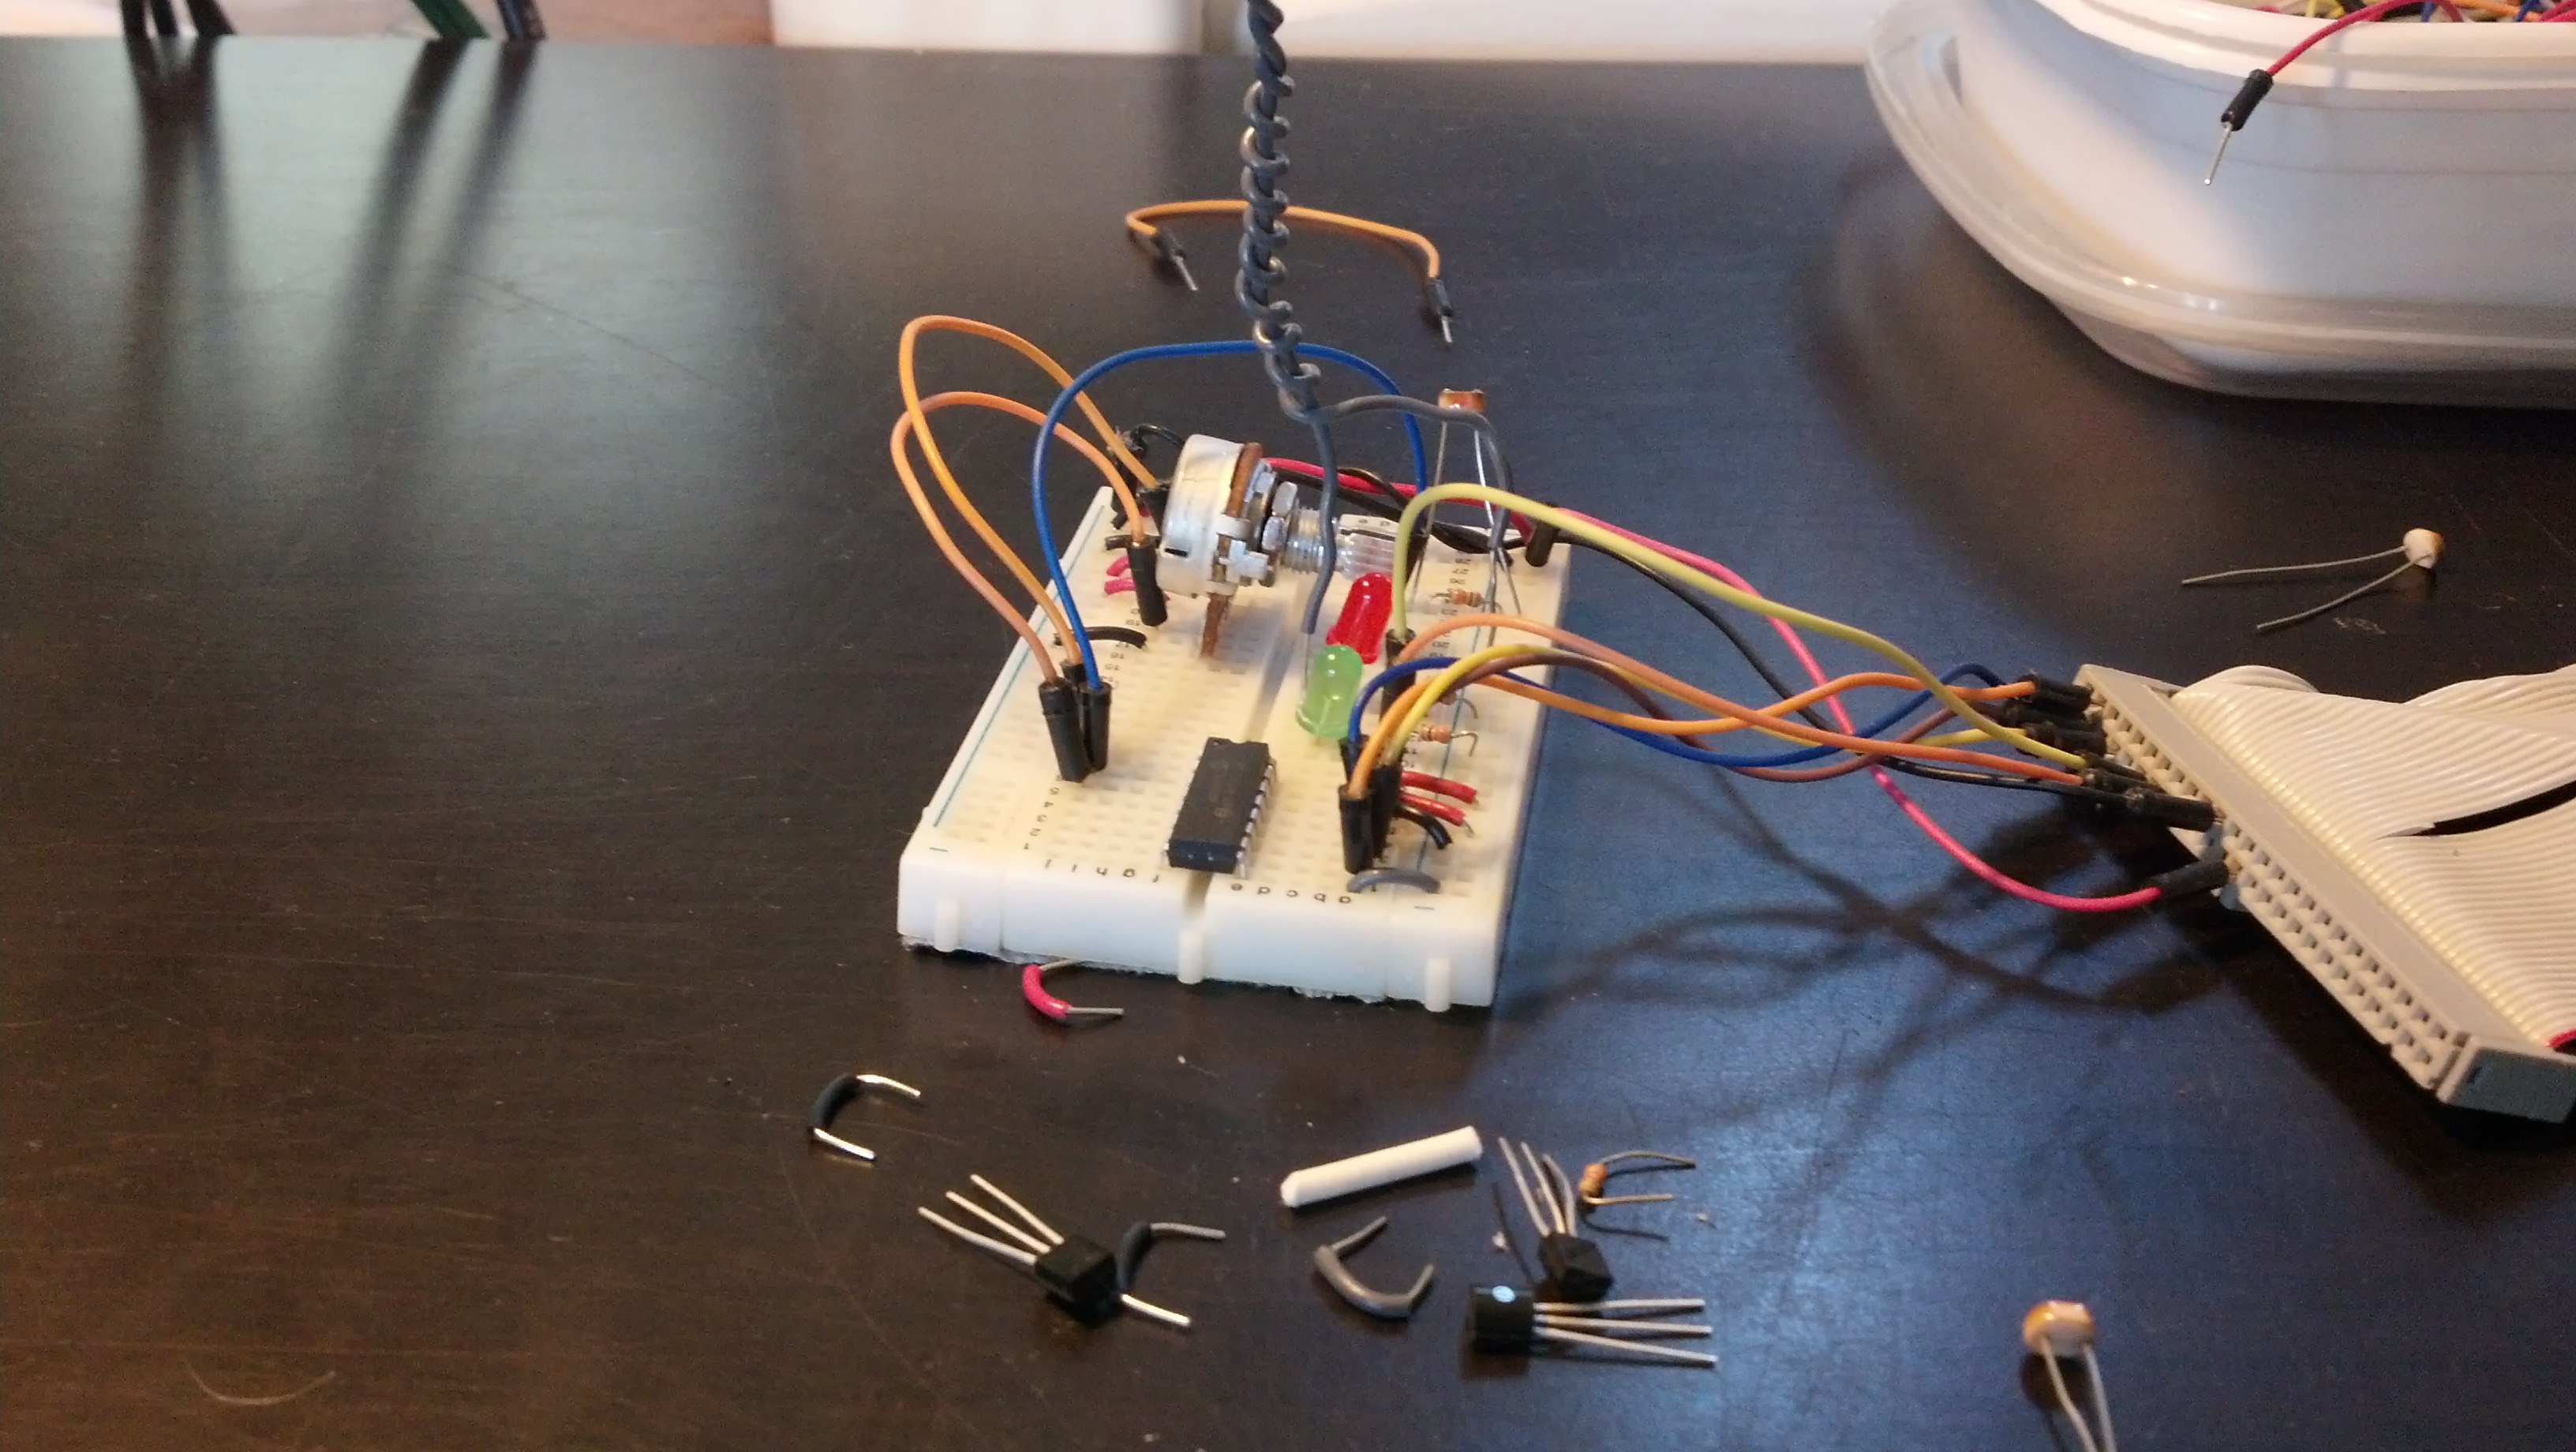
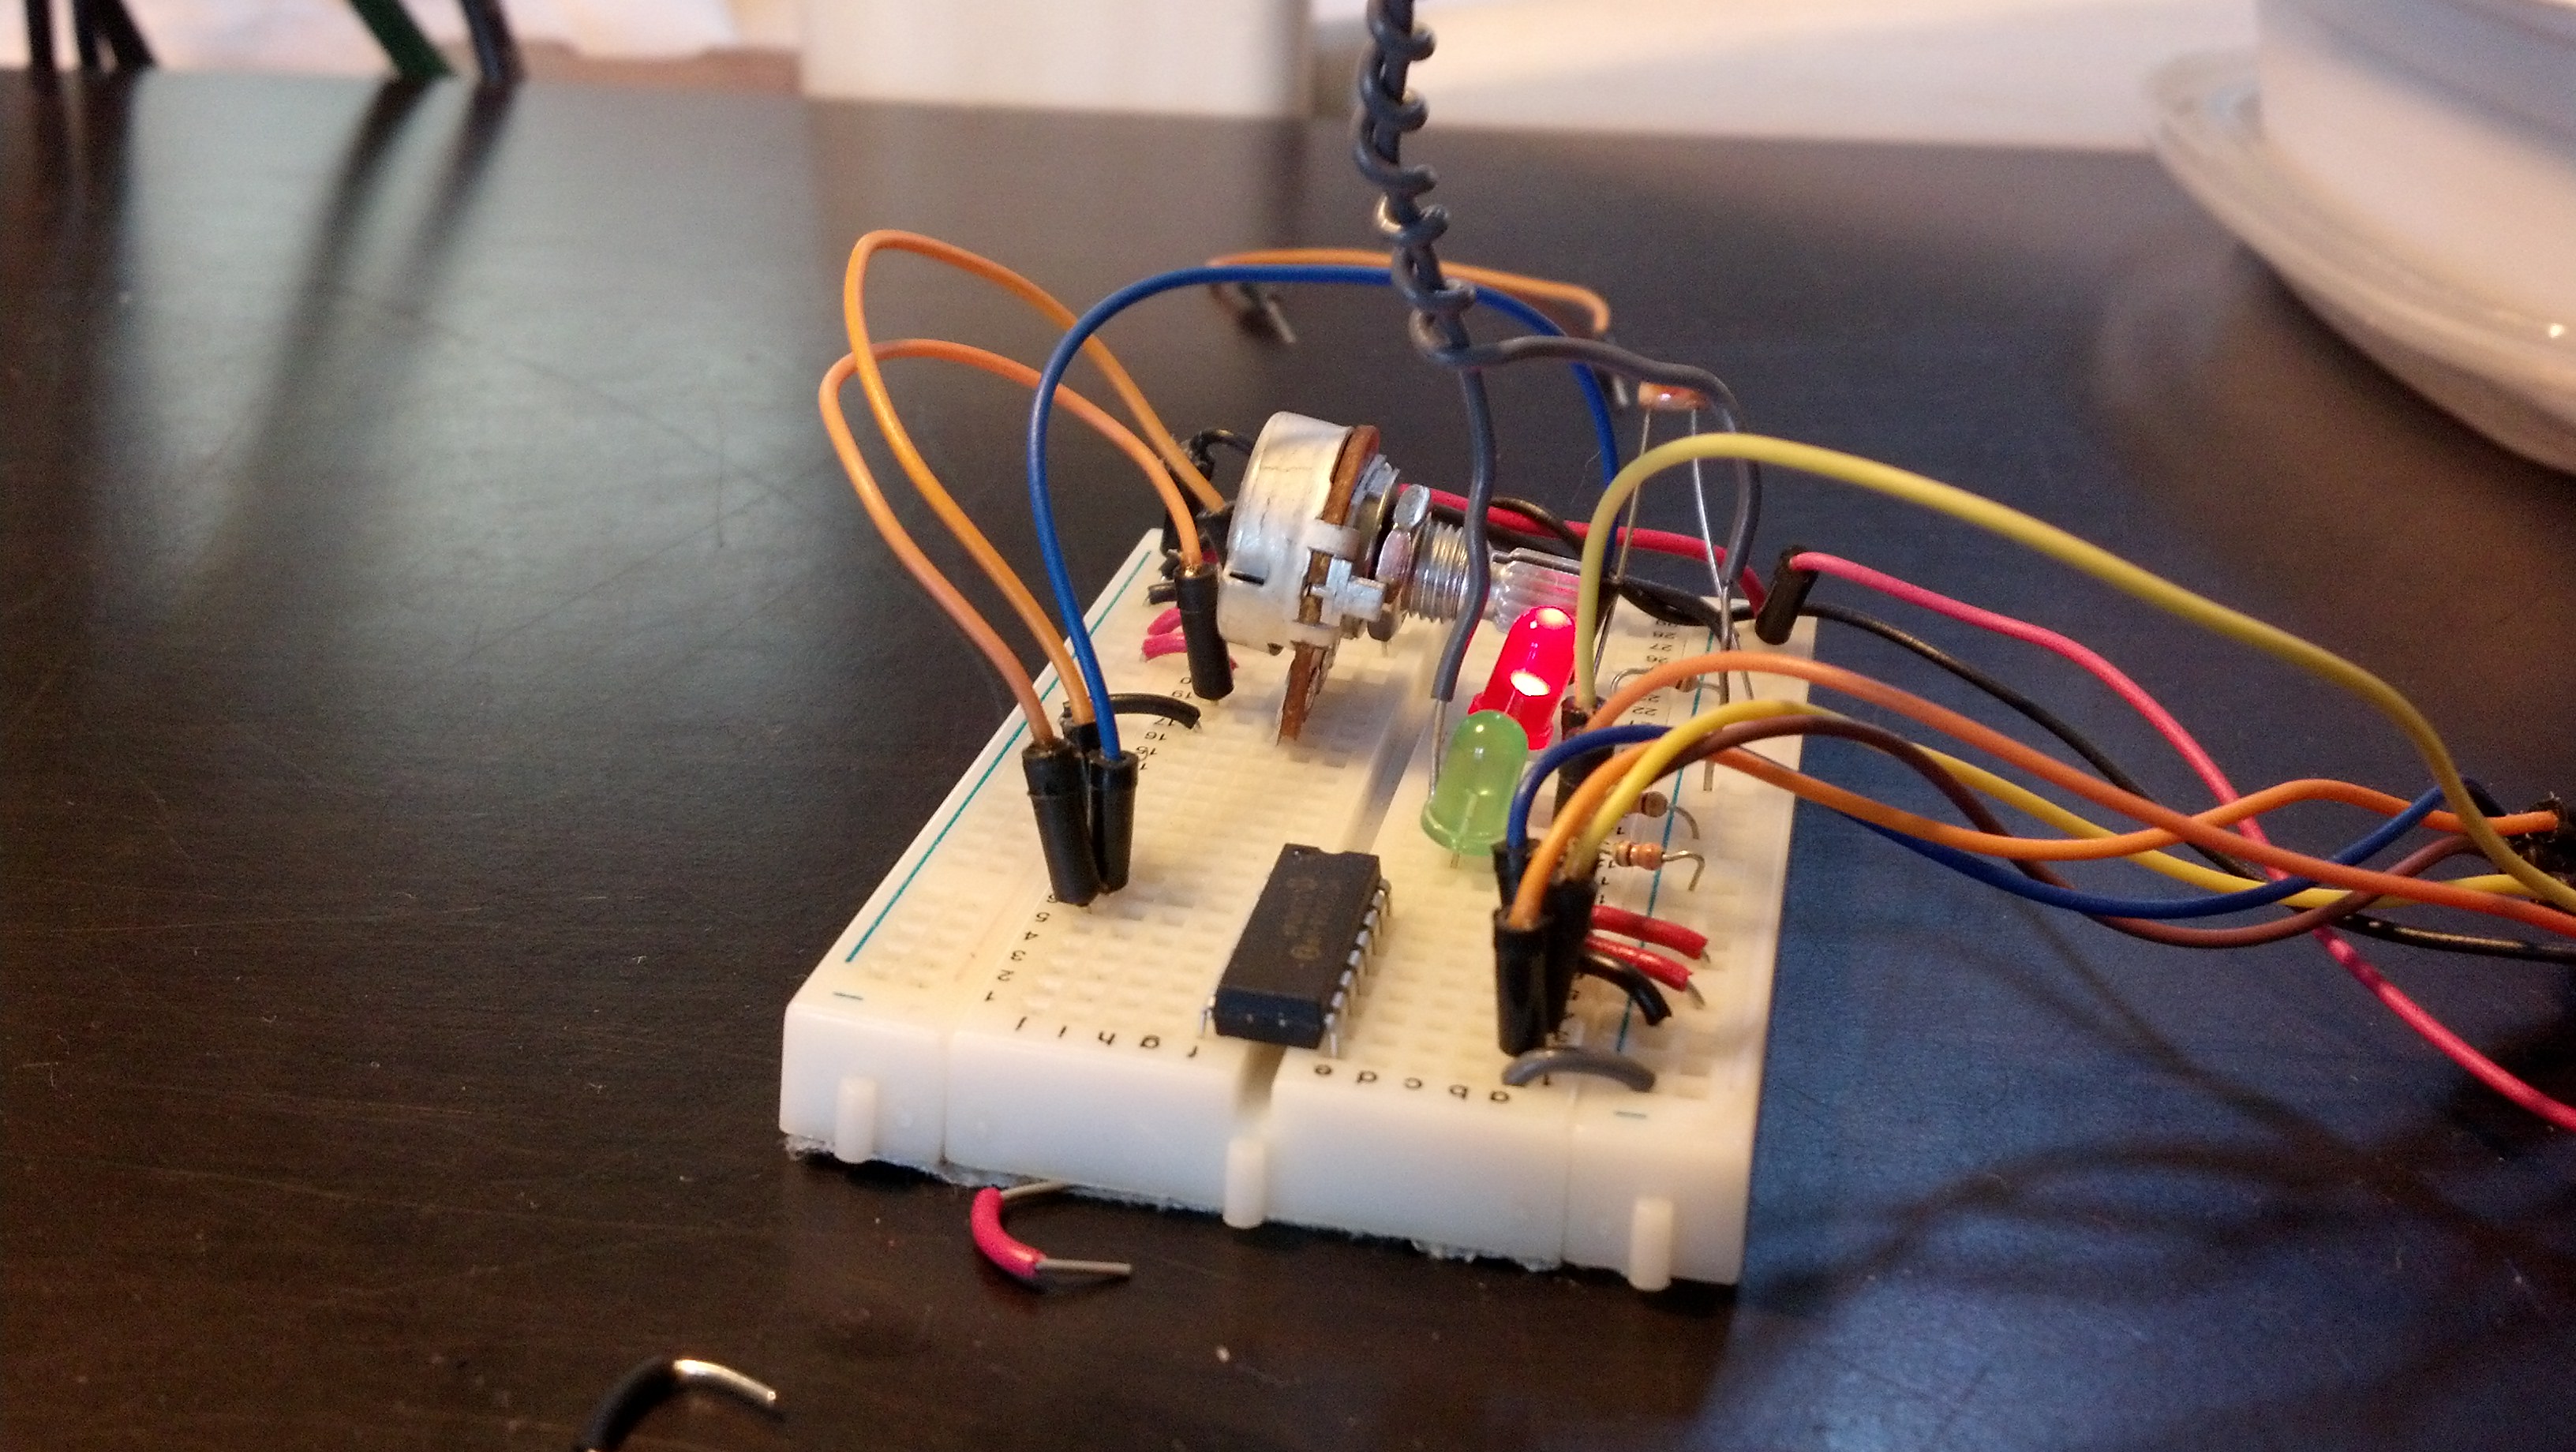
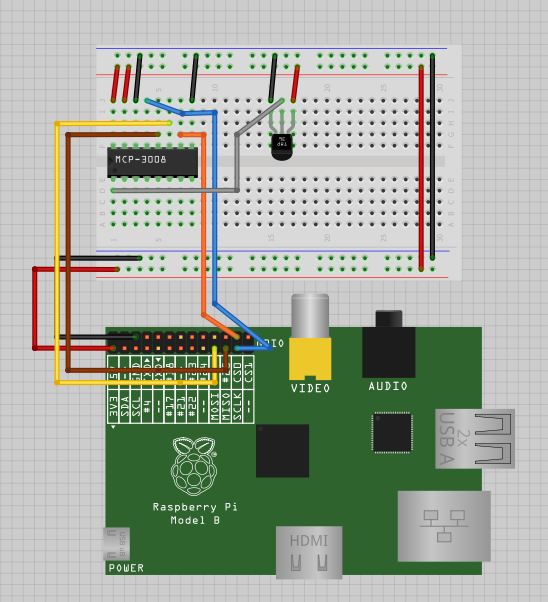
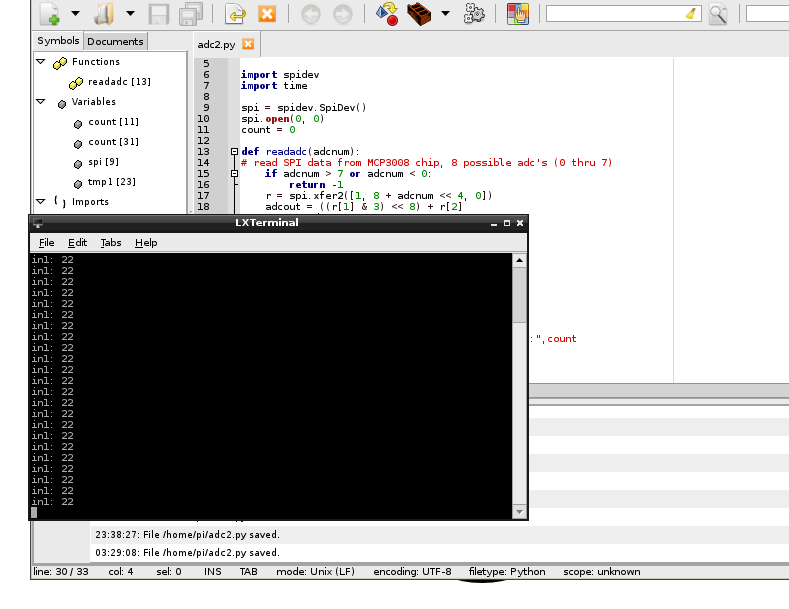
Here are some more photos of the build:

Hey! This post was written a long time ago, but I'm leaving it up on the off-chance it may help someone. Proceed with caution. It may not be a good idea to blindly integrate this code or work into your project, but instead use it as a starting point.

#goodprints – Episode #1

Here’s a video:

For a while I’ve been logging my favorite prints here but some of them are two small to warrant a post. So introducing: #goodprints! At first I’m going to shoot for monthly installments, but as I print more, I’ll post more.

This time we’ve got 3 prints in the above video. Here are the details:

Raspberry Pi Wire Shelf Mount – Everyone knows that wire shelves are the best. Now you can securely mount a Raspberry Pi to one. Thingiverse Link

Here is the drawing for mating with the shelf:

Wallet, Keys & Leatherman Wall Mount – I’m constantly loosing these things in my lab, now they’re not going anywhere. Thingiverse Link


Wall Hook – This is for mounting stuff like filament spools, wire, and tape to the wall. It accepts 3/4 inch dowels. There are two version, one 85mm long and one 150mm long (designed to fit hatchbox 1kg filament spools). Thingiverse Link

Hey! This post was written a long time ago, but I'm leaving it up on the off-chance it may help someone. Proceed with caution. It may not be a good idea to blindly integrate this code or work into your project, but instead use it as a starting point.

Automatically run Electron application at reboot on Raspberry Pi

Here is a quick  way to have an application built on electron run at boot on a Raspberry Pi. This worked for me running Raspian Stretch with Desktop.

Edit /home/pi/.config/lxsession/LXDE-pi/autostart with nano:

Add the following line:

The file should now look somewhat like this:

Save and exit nano and reboot. Your app should open after the desktop environment loads. Yay!

If you want to be able to get access to the terminal output of your application, install screen with:

And then swap:

For:

In the above code snippets.

After the pi boots, you can run screen -list to see what screens are available to attach to then attach to yours with screen -r yourscreen. Here’s an example:

Press enter, and then see your terminal output.
For more info on how to use screen, check out this link:

https://www.gnu.org/software/screen/manual/screen.html

Hey! This post was written a long time ago, but I'm leaving it up on the off-chance it may help someone. Proceed with caution. It may not be a good idea to blindly integrate this code or work into your project, but instead use it as a starting point.

#codehell 1 – Electron cannot be started from an SSH session

Update: If you run export DISPLAY=:0 in the terminal prior to npm start, the application runs just fine on the remote device. Thank you Alex!


In working on an project for work, I have figured out the hard way that Electron has to be started from a terminal session on your target device (ie the computer it is to be viewed on). I am developing an embedded system based on the Raspberry Pi that does not take user input but displays information on a screen.

Upon downloading the electron-quick-start example, everything installs correctly without error and can be done remotely via SSH. Upon running with npm start, the following error is thrown.

I spent most of the evening trying to debug npm ERR! code ELIFECYCLE to no avail. On a lark, I connected a keyboard to the device and ran npm start and it ran without error. Sigh.

The remote development alternative for doing this is to use Remote Desktop Connection a client comes bundled in with windows. The software can be installed on the remote system (the Raspberry Pi) using apt-get install xrdp. Upon connecting, opening up a shell in the RDP client, and running npm start, the example application works just fine.

Hey! This post was written a long time ago, but I'm leaving it up on the off-chance it may help someone. Proceed with caution. It may not be a good idea to blindly integrate this code or work into your project, but instead use it as a starting point.

My Raspberry Pi Networked Media/NAS Server Setup

I have come to a very good place with my media server setup using my Raspberry Pi. The whole thing is accessible using the network, over a wide range of devices which is ideal for me and the other people living in my house.

If you don’t need to see any of the installation, the following software is running on the server: SambaMinidlna, Deluge & Deluge-Web and NTFS-3G.

The combination of all of this software allows me to access my media and files on pretty much any device I would want to. This is a great combination of software to run on your Pi if you’re not doing anything with it.

So let’s begin with the install!


I’m using the latest build of Raspian, the download and install of that is pretty simple, instructions here.

Unless you can hold your media on the SD card your Pi’s OS is installed on, you’ll need some kind of external storage. In my case, I’m using a 3TB external HDD.

We’ll need to mount this drive, I’ve already written a post on how to do this, check that out here.


Now we should involve Samba. Again, it’s a pretty simple install.

Once it installs you should already see signs of it working. If you’re on windows, make sure network sharing is on, and browse to the “network” folder. It should show up as “RASPBERRYPI” as seen in this image:

The only real tricky part is configuring it. Here is an untouched version of the samba config file. On your pi, it is found at:

You can edit it like you would any config file. This is the configuration following is the configuration I am running on my Pi, if you want a configuration that will work with no problems without any modifications, replace the existing /etc/samba/smb.conf with this version.

There are only a few differences between the standard version and the version I’m using. The biggest one being the actual “Share” being used seen here:

Basically, this shares the external HDD you just mounted to the network. You can insert this share anywhere in your document and it will work. Once you update your config file, you have to add your user to samba. If you haven’t done anything but install raspbian, your username on the pi should still be “pi” so the following should do the following:

Enter your new samba password twice and then you’re good to go after restarting samba.

In windows you can go to “network” option in My Computer and see your share.

If you’re like me though, you’re going to want multiple users for multiple shares. Samba only can only have users that are members of the system, so in order to add a new user to samba, you have to add a user to the Raspberry Pi. For example, let’s add the user ‘testuser’:

I have written a bash script to do this automatically.

On the share level, the line of valid users = should be set to whichever user you want to be able to use the share.

That’s pretty much it for Samba. I’m probably going to do a guide on accessing your shares via SSH tunneling when the need for me to do so arises. I’ll link that here if it ever happens. Now on to minidlna.


MiniDLNA is a very lightweight DLNA server. DLNA is a protocal specifically for streaming media to a huge array of devices from computers to iOS devices or gaming consoles or smart TV’s. I have spent quite a bit of time using minidlna, and have reached a configuration that works extremely well with the raspberry pi. The install is very easy, much like samba, it’s the configuration that is tricky.

The config file i’m using is found here. There Pi actually handles the streaming really really well, and there only a few things you need to change in the config file, and they are mostly aesthetic. The following lines are examples of media locations for each type of file.

And changing this line will change the name of the DLNA server on the network:

That’s pretty much all there is to it.

You can stream the files all over the place, the following images show it being used on my kindle and another computer. I stream files to my xbox 360 all the time.

The last major component of this media server is Deluge, let’s proceed with that install.


Deluge is a torrent client for linux servers. The coolest part is it has a very good web based GUI for control. The install isn’t too straightforward, but there is no real specific configuration. The following commands will get things up and running.

And there you go! You can now torrent files directly into your Samba shares which is hugely useful and more secure, the following is me doing just that:


The last thing that needs to be done is run a few commands at boot, particularly mount the HDD and start deluge-web. The easiest way to do this crontab. First run:

Then add the following two lines:

So it looks like this:

And everything will start working upon boot!


Thank you very much for reading. If you have any questions, please leave a comment.

Hey! This post was written a long time ago, but I'm leaving it up on the off-chance it may help someone. Proceed with caution. It may not be a good idea to blindly integrate this code or work into your project, but instead use it as a starting point.

PiPlanter | Bringing most of it together

Last night I finished the majority of the software for this project. Here’s a video of me going over what happened and what the program does in simpler terms:

Essentially, every hour, the raspberry pi samples data from 4 humidity probes, an LDR and a tmp sensor. Once the sampling is complete, it dumps the data into a mysql database. From there the data is rendered into a graph using pChart in the form of a .png image. From there, that .png files is uploaded to flickr using this api. Once the file is uploaded, it returns it’s photo ID to the python script. From there, a tweet is built containing the brightness at the time of the tweet, the temperature at the time of the tweet, and the average moisture of the plants. It also uses the photo ID from flickr obtained earlier to build a URL leading to that image on flickr which it tweets as well. The final part of the tweet is a url that leads to this post!

That was a lot of explanation, but this program does quite a bit. The source comes in two parts, here’s the python script that handles the brunt of the processing. You will need a bunch of libraries to run this, you could pick through past posts of mine to find what those are, but when I do a final post for this project I will include all of those.

Here’s the .php script that renders the graph from the mysql data. It is called by the python script.

Thanks for reading!

Hey! This post was written a long time ago, but I'm leaving it up on the off-chance it may help someone. Proceed with caution. It may not be a good idea to blindly integrate this code or work into your project, but instead use it as a starting point.

PiPlanter | Second round of data collection

So as I said in one of my previous posts, I am going to be collecting a lot of data over the next few weeks while the tomato plants grow. I will be doing this to determine when soil is “dry” and how temperature and light effect that process. For the last week I have been collecting data in the configuration seen in my last post and here is the graph it produced you can click to see the full image:

This graph proves a few things. The first thing is that the relative moisture sensor works. As one can intuitively understand, if you don’t add more water into the system, nature will remove water via evaporation. The overall trend of the blue line (the rel mst sensor) is downward, backing up this point.

The problem with this setup was that I was spitting the voltage across the two probes constantly, which along with the water caused the nails to rapidly oxidize, which is something I would like to avoid in the long term. This also may have seriously corrupted the data so besides general trends, this whole set is unusable.

This isn’t necessarily a bad thing though, as I wanted to conduct a second trial with more probes and more dirt.

I decided to go with 4 probes, and here are a few pictures of the assembly process. Assembly process is the same, I just did it at my school:

I cut it into 3cm sections and then drilled holes on the midpoints of the 2nd and 3rd cm as seen in a photo below.

Here are the holes drilled for the nails

Here are the nails inserted into all 4

Here is the wire wrapped around the nail

Once solder is applied, the connection is very strong and conductive

Here’s the gluing process

Here are all of the sensors assembled. I attached headers to the other ends as seen in the last post.

Since i’m using 4 sensors now, and to get around the oxidation problem, I added a NPN transistor to cut the ground current when the sensor isn’t being used so it only turns on when it’s getting polled. Here is the new python code:

It’s pretty much the same thing.

The graph is also very similar, but I won’t post that code as it’s not different enough.

Here are pictures of setting up the whole system:

I used the same soil as seen in the previous post, and added 125mL of water to each sample.

Here’s a video of me explaining the whole process:

Once enough data is collected I’ll post a graph of it here.

Hey! This post was written a long time ago, but I'm leaving it up on the off-chance it may help someone. Proceed with caution. It may not be a good idea to blindly integrate this code or work into your project, but instead use it as a starting point.

PiPlanter | Using APScheduler to get timed samples in python

I’m taking a “break” from my drone while I save some money to buy more tricopter parts, and since the weather’s getting nicer and nicer I’ve decided to start working on my PiPlanter again.

As a refresher, the PiPlanter is a Raspberry Pi powered garden. The goal is for it to just be able to be plugged in and add water to a water source and have the Pi monitor temp and moisture levels to be able to add more water as needed.

I’ve shown that is relatively easy to go from analog sensors to good looking tables and graphs using the raspberry pi, the problem that I ran into however was timing.

It became harder and harder to use the time.sleep function in python to handle long periods of time. When you are dealing with things like plants, you don’t need to water it very often, but for data’s sake, you should be polling the sensors a lot.

I’ve landed on the use of APScheduler in python, and here’s my source code:

[py]
#Timing setup
from datetime import datetime
from apscheduler.scheduler import Scheduler
import time

import logging #if you start getting logging errors, uncomment these two lines
logging.basicConfig()

#GPIO setup
import RPi.GPIO as GPIO
GPIO.setmode(GPIO.BOARD)

GPIO.cleanup()

pin = 26 #pin for the adc
GPIO.setup(pin, GPIO.OUT)
led1 = 11 #pin for the short indicator led
GPIO.setup(led1, GPIO.OUT)
led2 = 13 #pin for other long indicator led
GPIO.setup(led2, GPIO.OUT)

#the adc’s SPI setup
import spidev
spi = spidev.SpiDev()
spi.open(0, 0)

going = True

#fuction that can read the adc
def readadc(adcnum):
# read SPI data from MCP3008 chip, 8 possible adc’s (0 thru 7)
if adcnum > 7 or adcnum < 0:
return -1
r = spi.xfer2([1, 8 + adcnum << 4, 0])
adcout = ((r[1] & 3) << 8) + r[2]
return adcout

def rapidSample():
sampleTemp1 = (((readadc(0)*3.3)/1024)/(10.0/1000)) #this translates the analog voltage to temperature in def F
sampleLght1 = readadc(1)
samplePot1 = readadc(2)

GPIO.output(led1, True) #turns the led on
time.sleep(.1) #sleeps a little bit so you can see the LED on
print "Job 1", datetime.now(),"LDR:",sampleLght1 ,"Pot:",samplePot1,"Temp:",sampleTemp1 #prints the debug info
time.sleep(.1)
GPIO.output(led1, False) #turns the led off

def slowSample():
print "Job 2" , datetime.now()
GPIO.output(led2, True) #turns the led on
time.sleep(5)
GPIO.output(led2, False) #turns the led on

if __name__ == ‘__main__’:
#the following 3 lines start up the interval job and keep it going
scheduler = Scheduler(standalone=True)
scheduler.add_interval_job(rapidSample, seconds=1)
scheduler.add_interval_job(slowSample, minutes=1)
scheduler.start()
[/py]

This produces a loop that flashed a green led on and of for .1 seconds at a time per second, and then every minute, turns on a speaker and a red led for 5 seconds then turns it off. There are some images of what goes on below.

Here is a picture of the the print dialog in python:

You can see that the first job (green led) posts the values from the analog sensors every second

The second job (red led) just posts the time. But the function is expandable to do anything at any time.

Here are pictures of the board and the circuit in action:

Both LED’s off

The Green LED on, the red circled process in the printout

Here are both on

The next step is adding the mySQL in as seen in some other posts.

Hey! This post was written a long time ago, but I'm leaving it up on the off-chance it may help someone. Proceed with caution. It may not be a good idea to blindly integrate this code or work into your project, but instead use it as a starting point.

Simple ADC with Raspberry Pi using MCP3008

Hello!

So for my own benefit, here’s the steps you need to take to get analog inputs working with a Raspberry Pi.

I’m grabbing most of this from: http://scruss.com/blog/2013/02/02/simple-adc-with-the-raspberry-pi/

The first thing you’ll need is an MCP3008. Using jumper wires, hook it up to your pi using this diagram.

Power your RPi up and run the following commands to get it all set up.

First thing’s first, you’ll need to enable SPI in the kernel so:

Comment out the spi-bcm2708 line so it looks like this:

Then run this to make it more permanent.

Now for the real meat of it. You’ll need these packages for SPI and the WiringPi library makes things a whole lot easier for us.

Now everything should be good to go, now for the python.

You can debug this any way you like, but my favorite way to do it is using the program geany. I like to start up a VNC server with root so I don’t get into any trouble with the GPIO permissions.

But here’s the program.

And that’s pretty much it, the result should look something like this:

There you go!

Hey! This post was written a long time ago, but I'm leaving it up on the off-chance it may help someone. Proceed with caution. It may not be a good idea to blindly integrate this code or work into your project, but instead use it as a starting point.